
Bread has a history of more than 30,000 years, and as a food that’s eaten in every corner of the world, its smell and texture bring a feeling of warmth and familiarity to millions of households and restaurants. From a simple loaf to more complex breads, baking bread can be both an art and a science. It is an interesting blend of biology, chemistry, and physics in which raw materials go through a process of fermentation, heating, and chemical reactions to produce a tasty, flavorful loaf. Understanding the science behind bread-making can not only enrich your love for bread but also empower you to bake better bread in your home kitchen.
Types of Bread
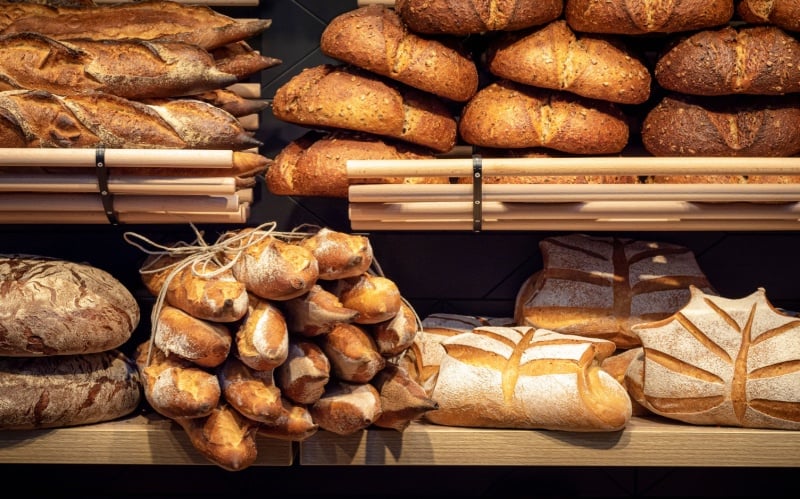
Bread comes in dozens of types, which may be categorized based on their ingredients, how they’re leavened, their shape, or their country of origin. White breads made from wheat flour are some of the most popular, with this category including baguettes, sourdough, and ciabatta. Many white breads have a crusty exterior and a chewy interior. Rye bread, another popular variety, is made with rye flour and tends to be denser and have a malty flavor. This darker-colored type of bread is popular in eastern Europe. Cornbread is a type of bread very popular in southern U. S. cuisine, characterized by a crumbly structure and a sweet taste. And in Asian countries, softer breads made with rice flour are often made and eaten.
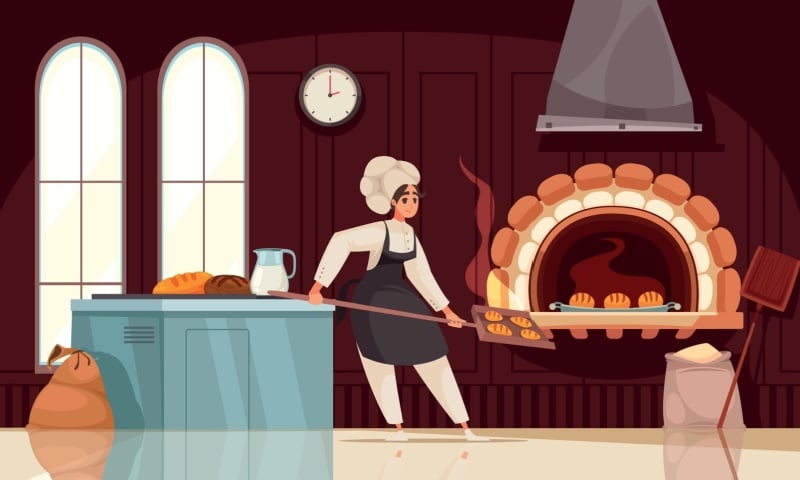
Stages of Bread-Making

The basic steps required to make bread will vary based on the type of bread you’re making and the specific recipe you’ve chosen. But in general, most yeast-leavened breads will follow this process:
- Get together your ingredients and equipment to make sure that you have everything you need.
- Combine your yeast with warm water and sugar and let it stand for a few minutes, until you see foam on top.
- Measure the rest of your ingredients and mix them together according to the recipe.
- Let the dough rest for about 15 minutes, which will help the flour to fully hydrate and let the dough relax so that it’s easier to work with.
- Knead the dough until it’s smooth and elastic.
- Let the dough rise in a warm place until it doubles in size.
- Punch the dough down so that it completely deflates.
- Shape the dough into a loaf.
- Let the dough rise again.
- Preheat the oven.
- Score the top of the loaf as your recipe indicates.
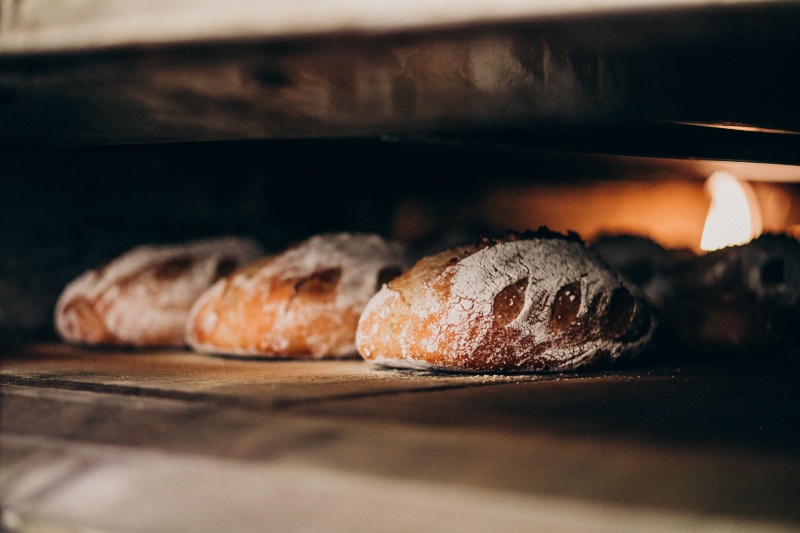
- Bake the bread. For a standard loaf of white bread, it will be done when it looks golden and it sounds hollow when tapped on the bottom.
- Let the bread cool on a rack to maintain a crisp crust.
Chemistry of Bread-Making

Making good bread involves multiple chemical and physical reactions. When water and flour are mixed, gluten is created, which gives bread its chewy texture. The gluten helps to trap carbon dioxide that’s made when the yeast consumes the sugar in the dough. This fermentation gives the bread flavor, and the trapped carbon dioxide makes the bread fluffy. Salt improves the bread’s flavor and helps to make the gluten stronger. And sugar not only feeds the yeast but also promotes browning of the crust. Together, all of these ingredients and reactions give bread its texture and taste.
Helpful Tips and Troubleshooting

One of the best ways to ensure that your bread-baking is successful is to start with good-quality, fresh ingredients. If you’re in doubt about the potency of your yeast, proof some of it to test it before you get started. You should also make sure that you’re using warm water, not hot water, to proof your yeast; hot water will kill it. The rest of your ingredients should be at room temperature before you get started. It’s also a good idea to measure out everything before you start mixing anything, just to be sure that you have what you need and that you’ll be able to proceed smoothly once you get started.
If you’re disappointed when how your bread comes out, go over what you did to see what you can learn for next time. For example, if the dough wouldn’t rise, your yeast were probably dead, either because the yeast had gone bad in your kitchen cabinet or because the water you proofed the yeast with was too hot. If your bread seemed fine but collapsed in the oven, it may have been left to rise for too long before baking, or your oven temperature might have been too low. It’s also possible that there wasn’t enough gluten in the dough; using bread flour instead of all-purpose flour can help to fix this. If your loaf comes out gummy in the middle, the oven may have been too hot, browning the outside before the inside was done. And if the crust of your bread is soggy, it probably sat in the pan too long after baking, where moisture in the loaf was able to condense on its surface.
Helpful Resources
- The Fundamentals of Bread-Baking Science
- The Science of Baking Bread and How to Do it Right
- Yeast and How it Makes Bread Rise
- A Beginner’s Guide to Gluten
- Tips for Baking With Yeast
- Raising Agents: Biological (Fermentation)
- 12 Tips for Making Perfect Bread
- Very Basic Bread Recipe
- Making Real Bread at Home
- How to Fix Common Bread-Baking Mistakes
- Outdoor Kitchens for Baking and Cooking
- Solving Your Most Common Bread-Baking Problems