You can save yourself from costly mistakes that damage your equipment by knowing how to clean a pizza oven stone. Here’s something surprising: that black char covering your pizza stone is food-safe and part of the seasoning process, as with cast-iron pans.
But many people panic at the sight of the blackened surface and reach for harsh chemical cleaners. This approach can be dangerous, since pizza ovens reach temperatures twice as high as those of almost any other domestic appliance. You need to know how to clean a black pizza stone without using harmful chemicals for safe pizza oven cleaning.
We’ll walk you through the proper, step-by-step techniques for cleaning a pizza oven stone in this piece and help you maintain your stone safely.
Understanding Your Pizza Oven Stone and Why Proper Cleaning Matters
What Makes Pizza Stones Different
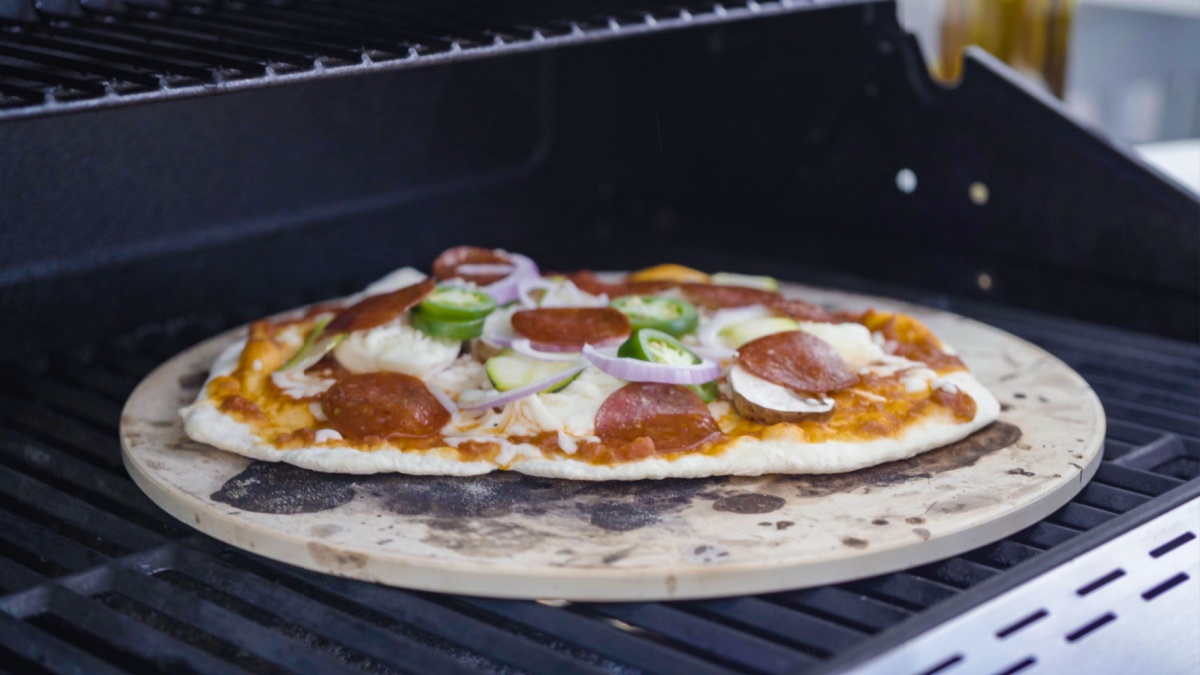
Pizza stones are manufactured from specialized materials designed to withstand extreme temperatures. Most stones use cordierite, ceramic, or fireclay as their base material. Cordierite stands out because of its exceptional resistance to thermal shock cracking. This prevents the stone from shattering during heating and cooling processes. The material can withstand higher temperatures than other ceramics and allows for faster cooking times.
The defining characteristic of pizza stones is their porous structure. This porosity serves a specific purpose: it absorbs excess moisture from your pizza dough during cooking. Your crust becomes crispy rather than soggy as moisture escapes through the stone’s tiny pores. The same porous nature that creates perfect crusts also means the stone absorbs oils, cheese, sauce, and other ingredients during cooking.
Cordierite stones heat evenly over their entire surface. This eliminates cold spots that lead to unevenly cooked pizzas. Fireclay stones excel at heat storage and distribution, making them ideal for achieving crispy results.
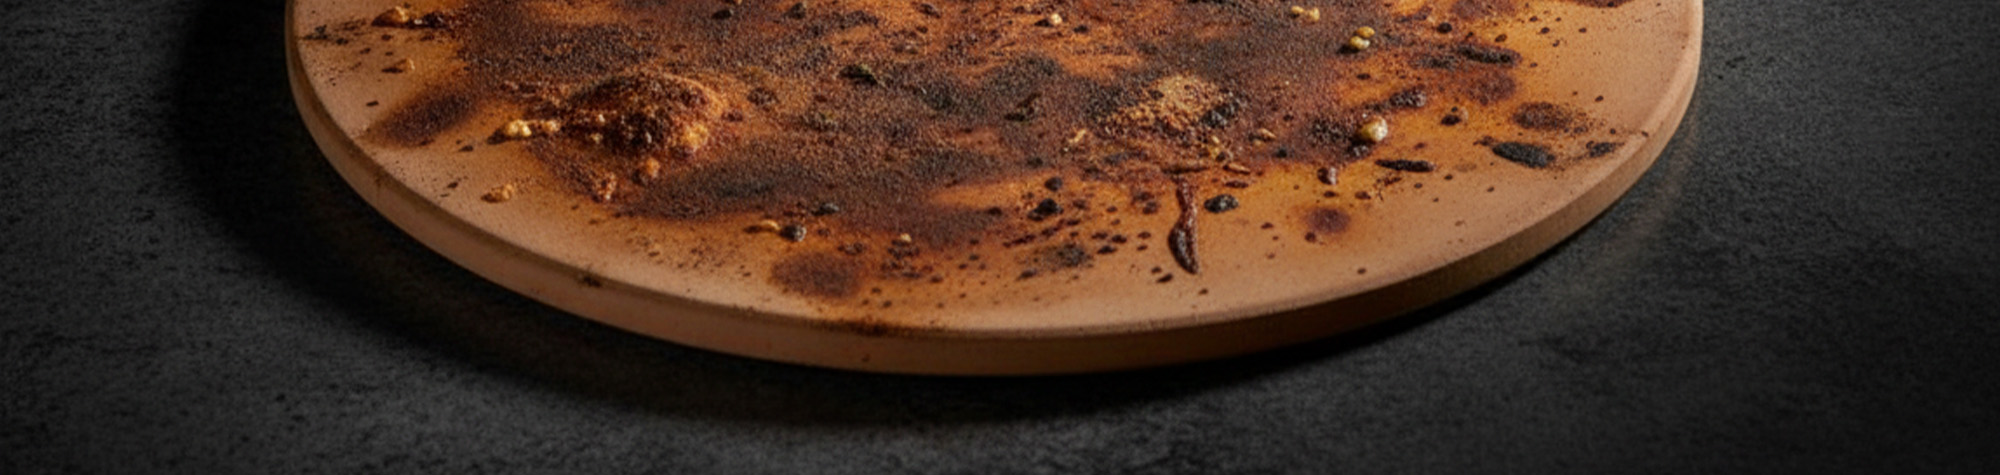
Why Pizza Stones Turn Black
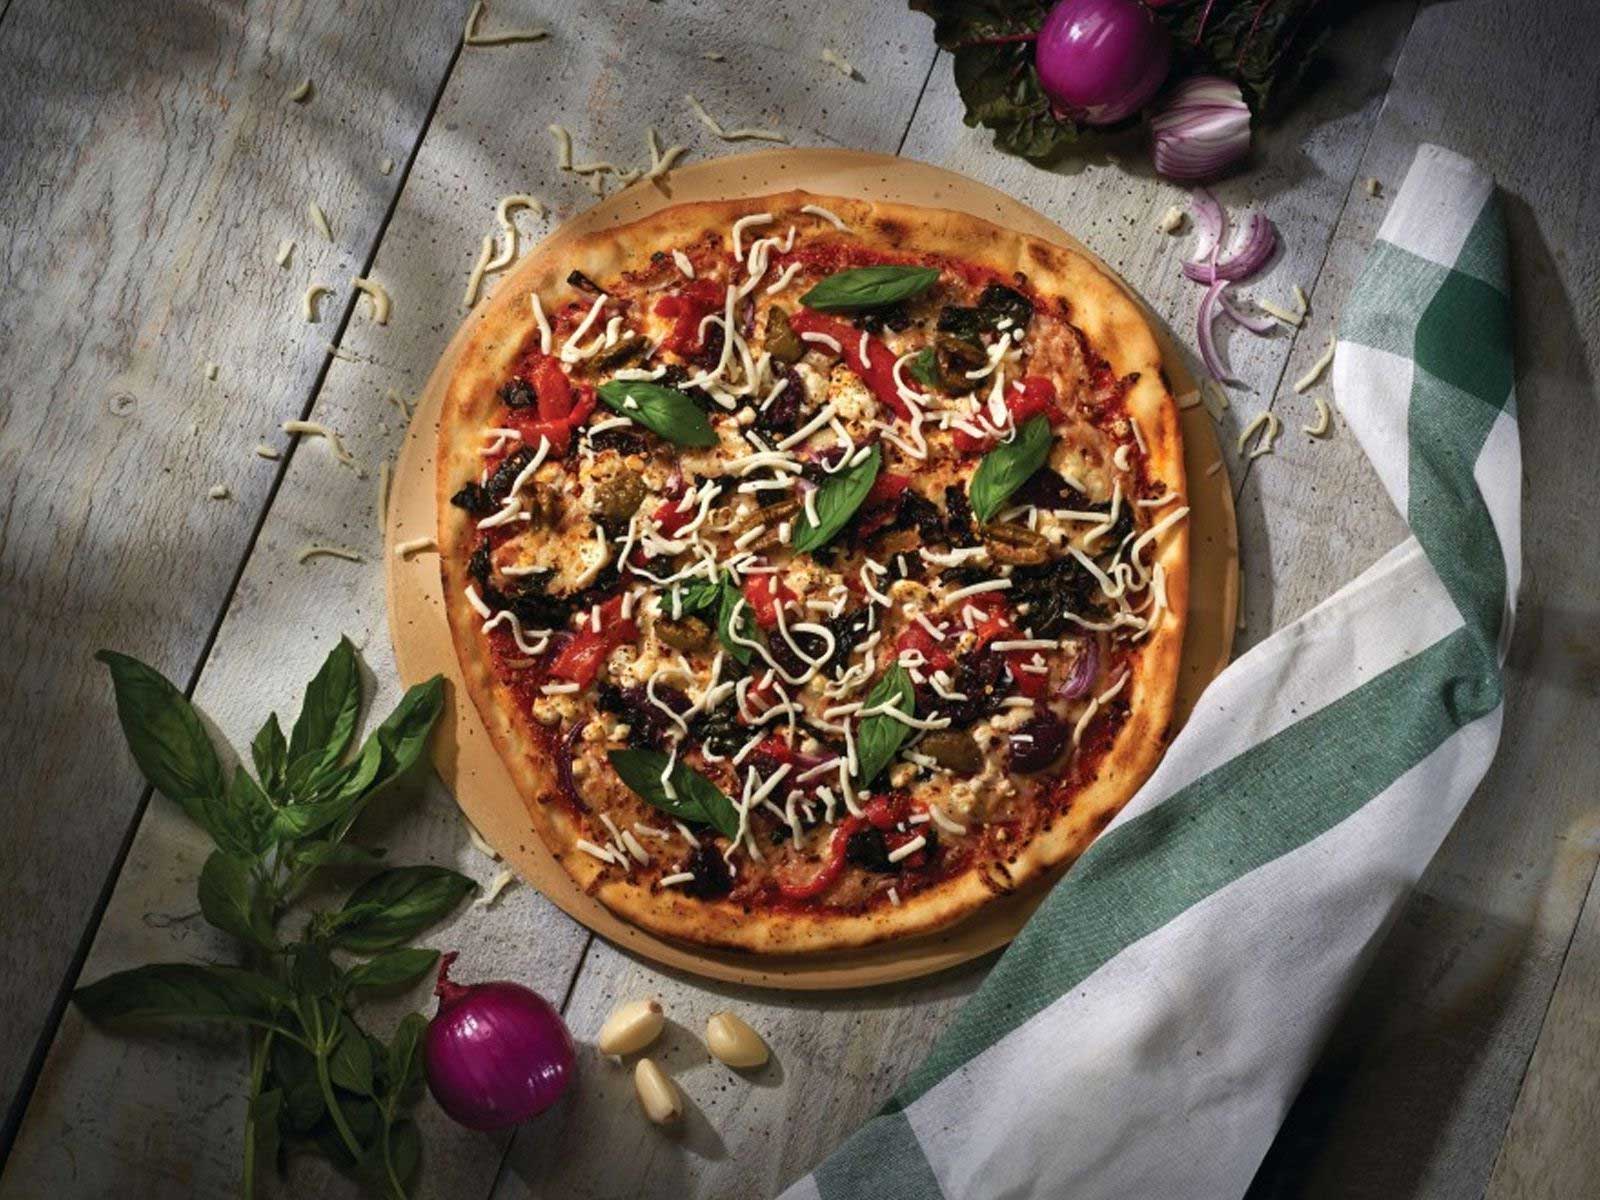
The dark patches and discoloration on your stone represent seasoning, not dirt. Your stone absorbs oils from dough, cheese drippings, and sauce with each use because of the porous structure. These absorbed materials create a patina that deepens in color with time.
A well-used stone develops character through this natural aging process. The blackening indicates that your stone has been through multiple cooking sessions and is seasoned properly. This patina actually improves the stone’s non-stick properties.
Common Cleaning Mistakes That Cause Damage
Several cleaning practices damage your pizza stone:
-
Using soap or detergent: The porous material absorbs soap, which then transfers soapy flavors to your next pizza
-
Submerging in water: Stones absorb water like sponges. Trapped moisture causes cracking when the stone heats up
-
Cleaning while hot: Sudden temperature changes create thermal shock and lead to cracks or complete shattering
-
Metal utensils or wire brushes: Scratching the surface creates spots where food burns more severely
-
Dishwasher cleaning: The combination of water submersion and harsh detergents damages the stone for good
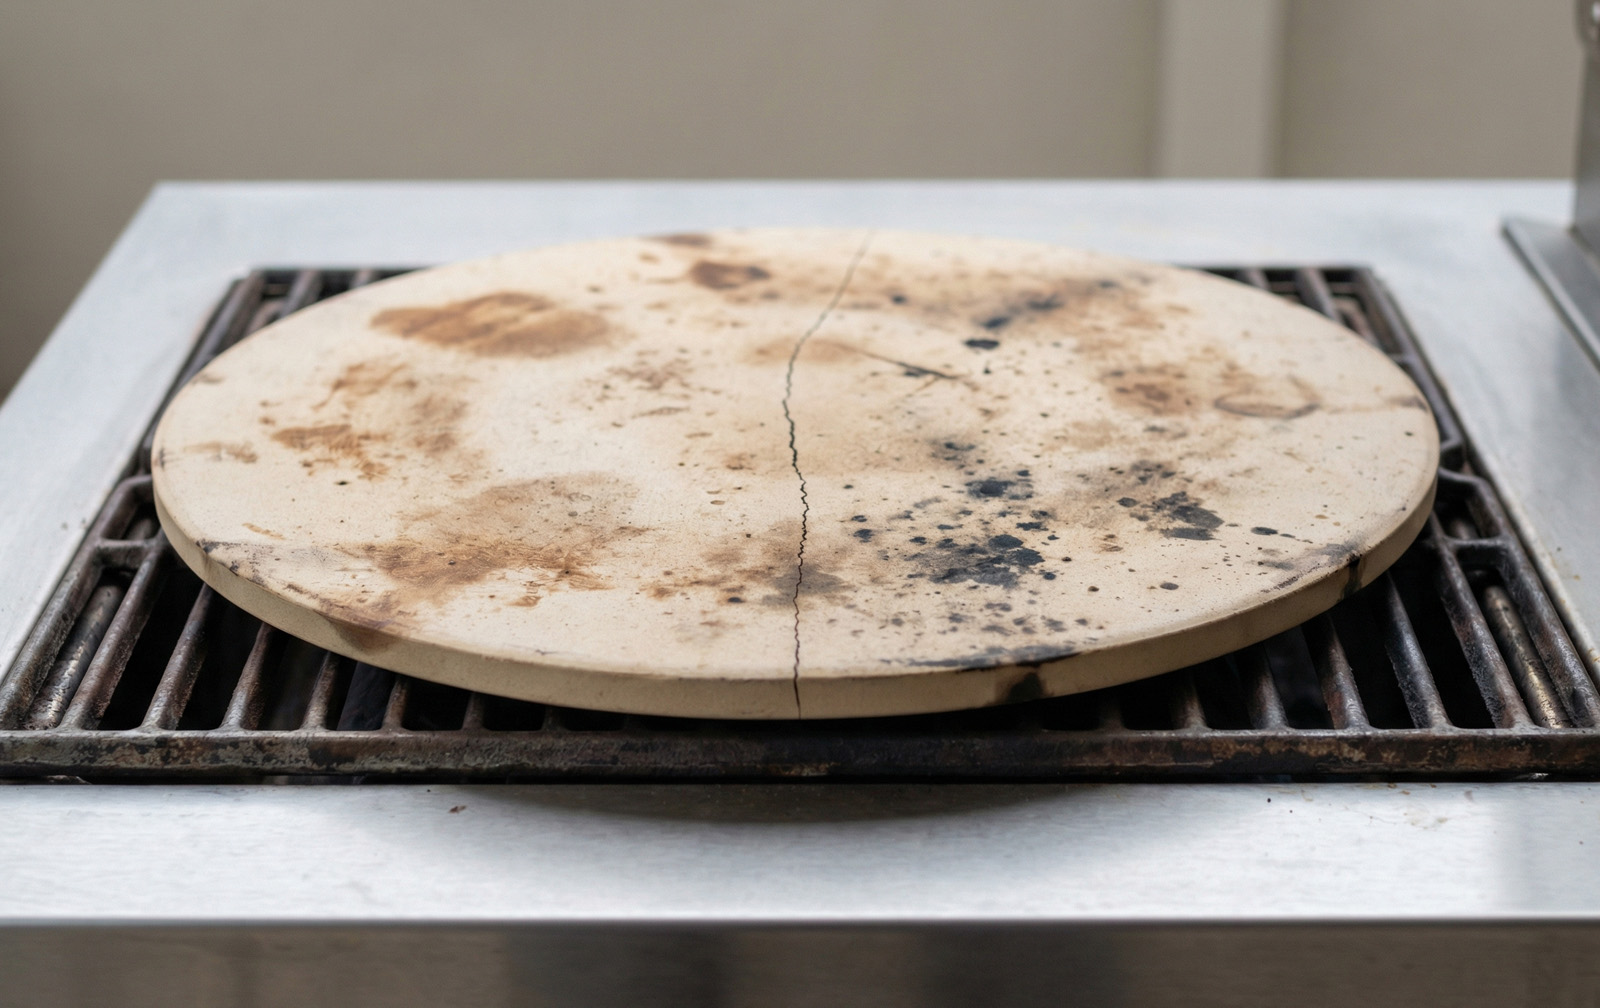
Pizza stones can crack within 1-3 years from thermal shock, drops, or repeated improper cleaning.
Preparing to Clean Your Pizza Stone Safely
Safety First: Cooling Down Your Stone
Turn your oven off after baking, but leave the stone inside with the door slightly ajar (about half an inch) for 60 minutes. This gradual cooling prevents thermal shock. Remove the stone using insulated gloves and place it on a wood or cork trivet once it reaches ambient temperature (100°F or below). Never set a hot stone on metal or stone surfaces. This accelerates heat loss unevenly.
Wait until the stone cools to room temperature before cleaning. Most sources recommend a minimum 2-hour cooling period. Disaster awaits if you attempt to clean while the stone is warm. Any contact with moisture while the stone exceeds 150°F (65°C) creates a steam explosion risk and instant fracture. Patience during this stage protects both you and your equipment.
The recommended temperature for safe cleaning is less than 120°F. Touch the surface before proceeding. If it feels warm, wait longer.
Gathering the Right Tools and Materials
Clean pizza stone maintenance requires minimal equipment. A stiff nylon brush is your main cleaning tool for removing debris. Wooden or silicone scrapers work well for stubborn spots without scratching the surface. Keep dry baking soda on hand for abrasive action when needed. A dry microfiber cloth completes your toolkit to wipe away dust after scrubbing.
What NOT to Use on Your Pizza Stone
Several common cleaning products will ruin your stone. Never use soap or dish detergent. The porous structure absorbs these chemicals, leaving a permanent soapy taste in future pizzas. Avoid vinegar, citrus, and commercial cleaners as well, since they accelerate cordierite degradation through acid leaching.
Metal scrapers and wire brushes create micro-scratches that become fracture initiation sites. Steel wool and abrasive pads cause similar damage. Skip the cooking oil. It carbonizes unevenly, creating hot spots and trapping moisture beneath the residue.
Step-by-Step Guide: How to Clean a Pizza Stone
Step 1: Remove Loose Debris with a Brush
Once your stone reaches room temperature, use a soft-bristle brush to remove crumbs and burnt residue. A brass bristle brush works well for this task. Brush in circular motions over the surface and pay attention to areas where cheese or toppings are baked onto the stone.
Step 2: Scrape Off Stubborn Burnt-On Food
Use a plastic spatula, a rubber scraper, or a wooden spatula to lift stubborn burnt-on food. Plastic putty knives or even old gift cards work in a pinch. Avoid metal utensils, as they scratch the surface and create spots where food tends to adhere more during future use.
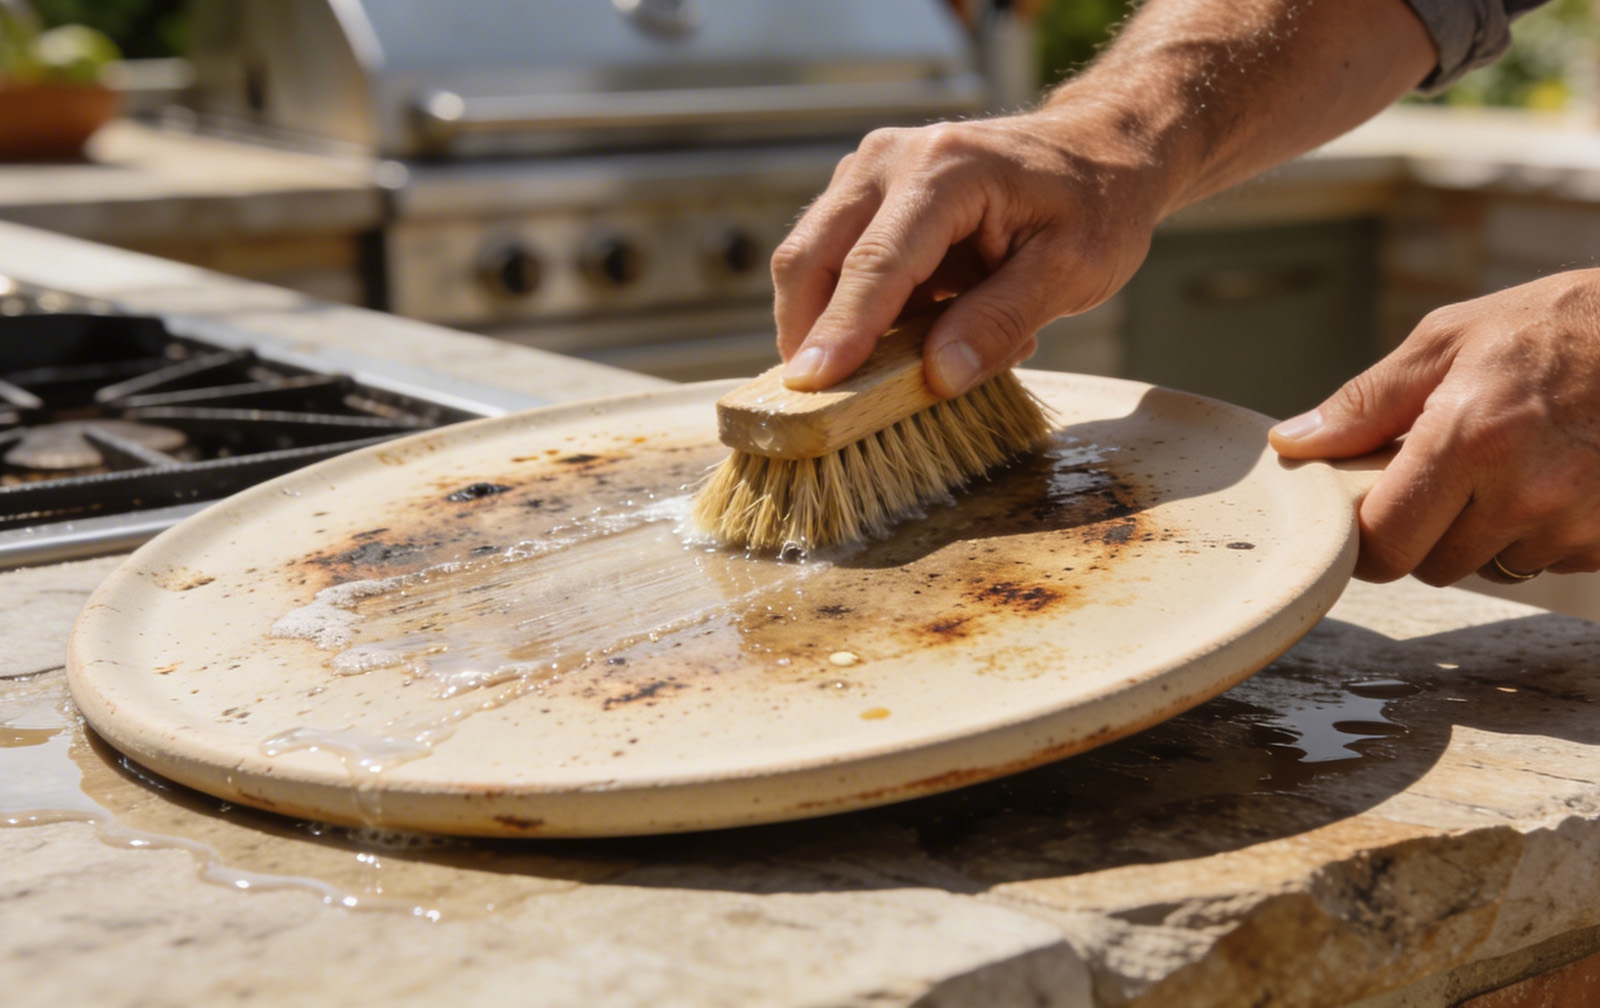
Step 3: Use Minimal Water for Tough Stains
If debris remains after brushing and scraping, create a paste using one tablespoon of baking soda and a few drops of water. Apply this paste to problem areas and scrub with your brush. Wipe away the baking soda and loosened particles with a damp cloth. Use as little water as possible since the porous stone absorbs moisture fast.
Step 4: Let Your Stone Dry Completely
Allow your stone to air dry after cleaning. This process may take 24 to 48 hours if water penetrates the pores. Never place a damp stone into a hot oven, as this will cause cracking. Set the stone on a drying rack in a well-ventilated area to speed up the process.
Step 5: Self-Cleaning Method Using Heat
Use a heat cleaning method for stubborn residue that resists scraping. Preheat your oven with the stone inside to 250°C (480°F). Let it sit empty for 30 to 45 minutes to burn off residue. You can also heat to 500°F for one hour. Allow the stone to cool in the oven before removing it.
Maintaining Your Pizza Stone and Preventing Future Buildup
How Often Should You Clean Pizza Oven Stone
Cleaning frequency remains a personal choice. Some pizza makers never clean their stones beyond removing simple debris, while others prefer regular maintenance. Your stone will function properly regardless of your cleaning schedule. Note that any food residue burns into harmless ash during the next preheating cycle.
Seasoning Your Stone Over Time
Seasoning is not strictly required to maintain stone integrity. Some prefer seasoning every few months, though many find it unnecessary. Your stone naturally darkens and absorbs oil from pizzas as you use it. Water will bead up on the surface over time. This natural seasoning process happens automatically without oiling on purpose.
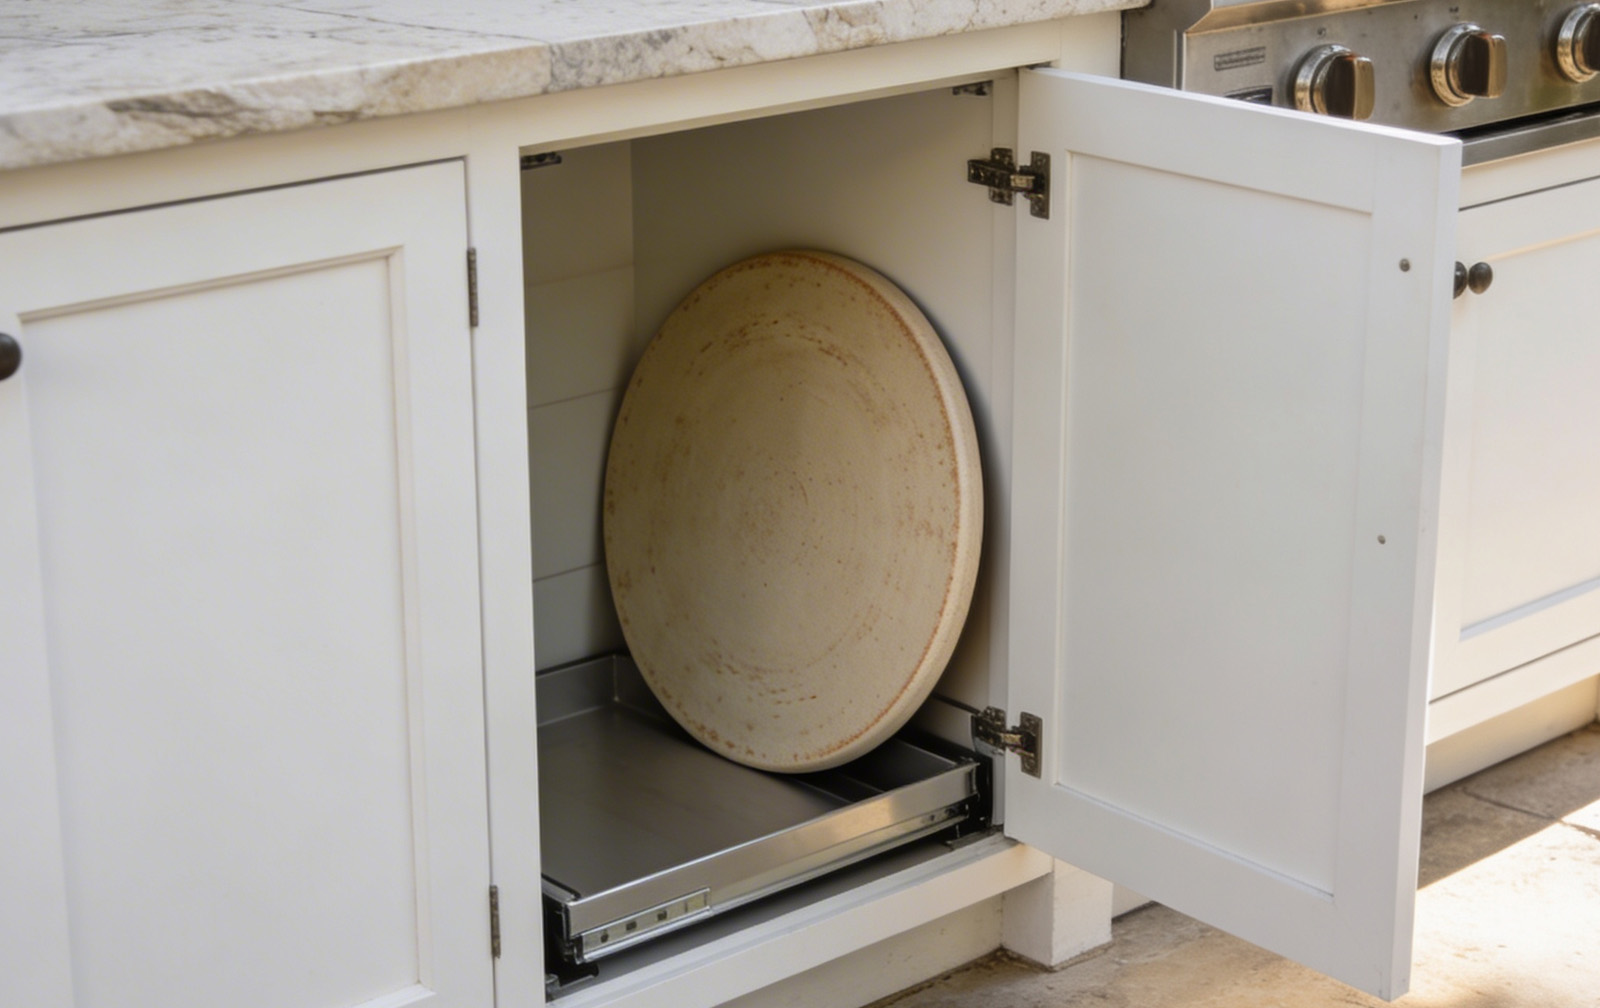
Proper Storage Between Uses
A dry location at room temperature works best for your stone. Extreme temperature changes cause cracking and should be avoided. The stone needs a flat, stable surface to prevent warping. Heavy items stacked on top will damage it. If you use your stone outdoors seasonally, keep it covered or inside during off-seasons to protect it from moisture and dirt. Your stone must be fully dry before storage. Some keep their stone permanently in the oven, though this increases energy bills. When storing in your oven, turn the stone over every two months to minimize carbon accumulation.
Tips to Minimize Mess While Cooking
Wheat bran, cornmeal, or flour under your pizza prevents sticking. Jiggle the pizza on your peel before you launch it onto the stone.
Conclusion
You now have all the knowledge needed to clean your pizza stone safely without causing damage. Note that dark patina is your friend, not your enemy. Avoid soap and excessive water at all costs, and let your stone cool before touching it.
Do this and use the right tools, and your stone will last for years. Most importantly, don’t stress about achieving a pristine appearance. Focus on removing loose debris and let the heat do the rest during your next pizza baking session.