
How to
Winterize Your Outdoor Kitchen & Grill
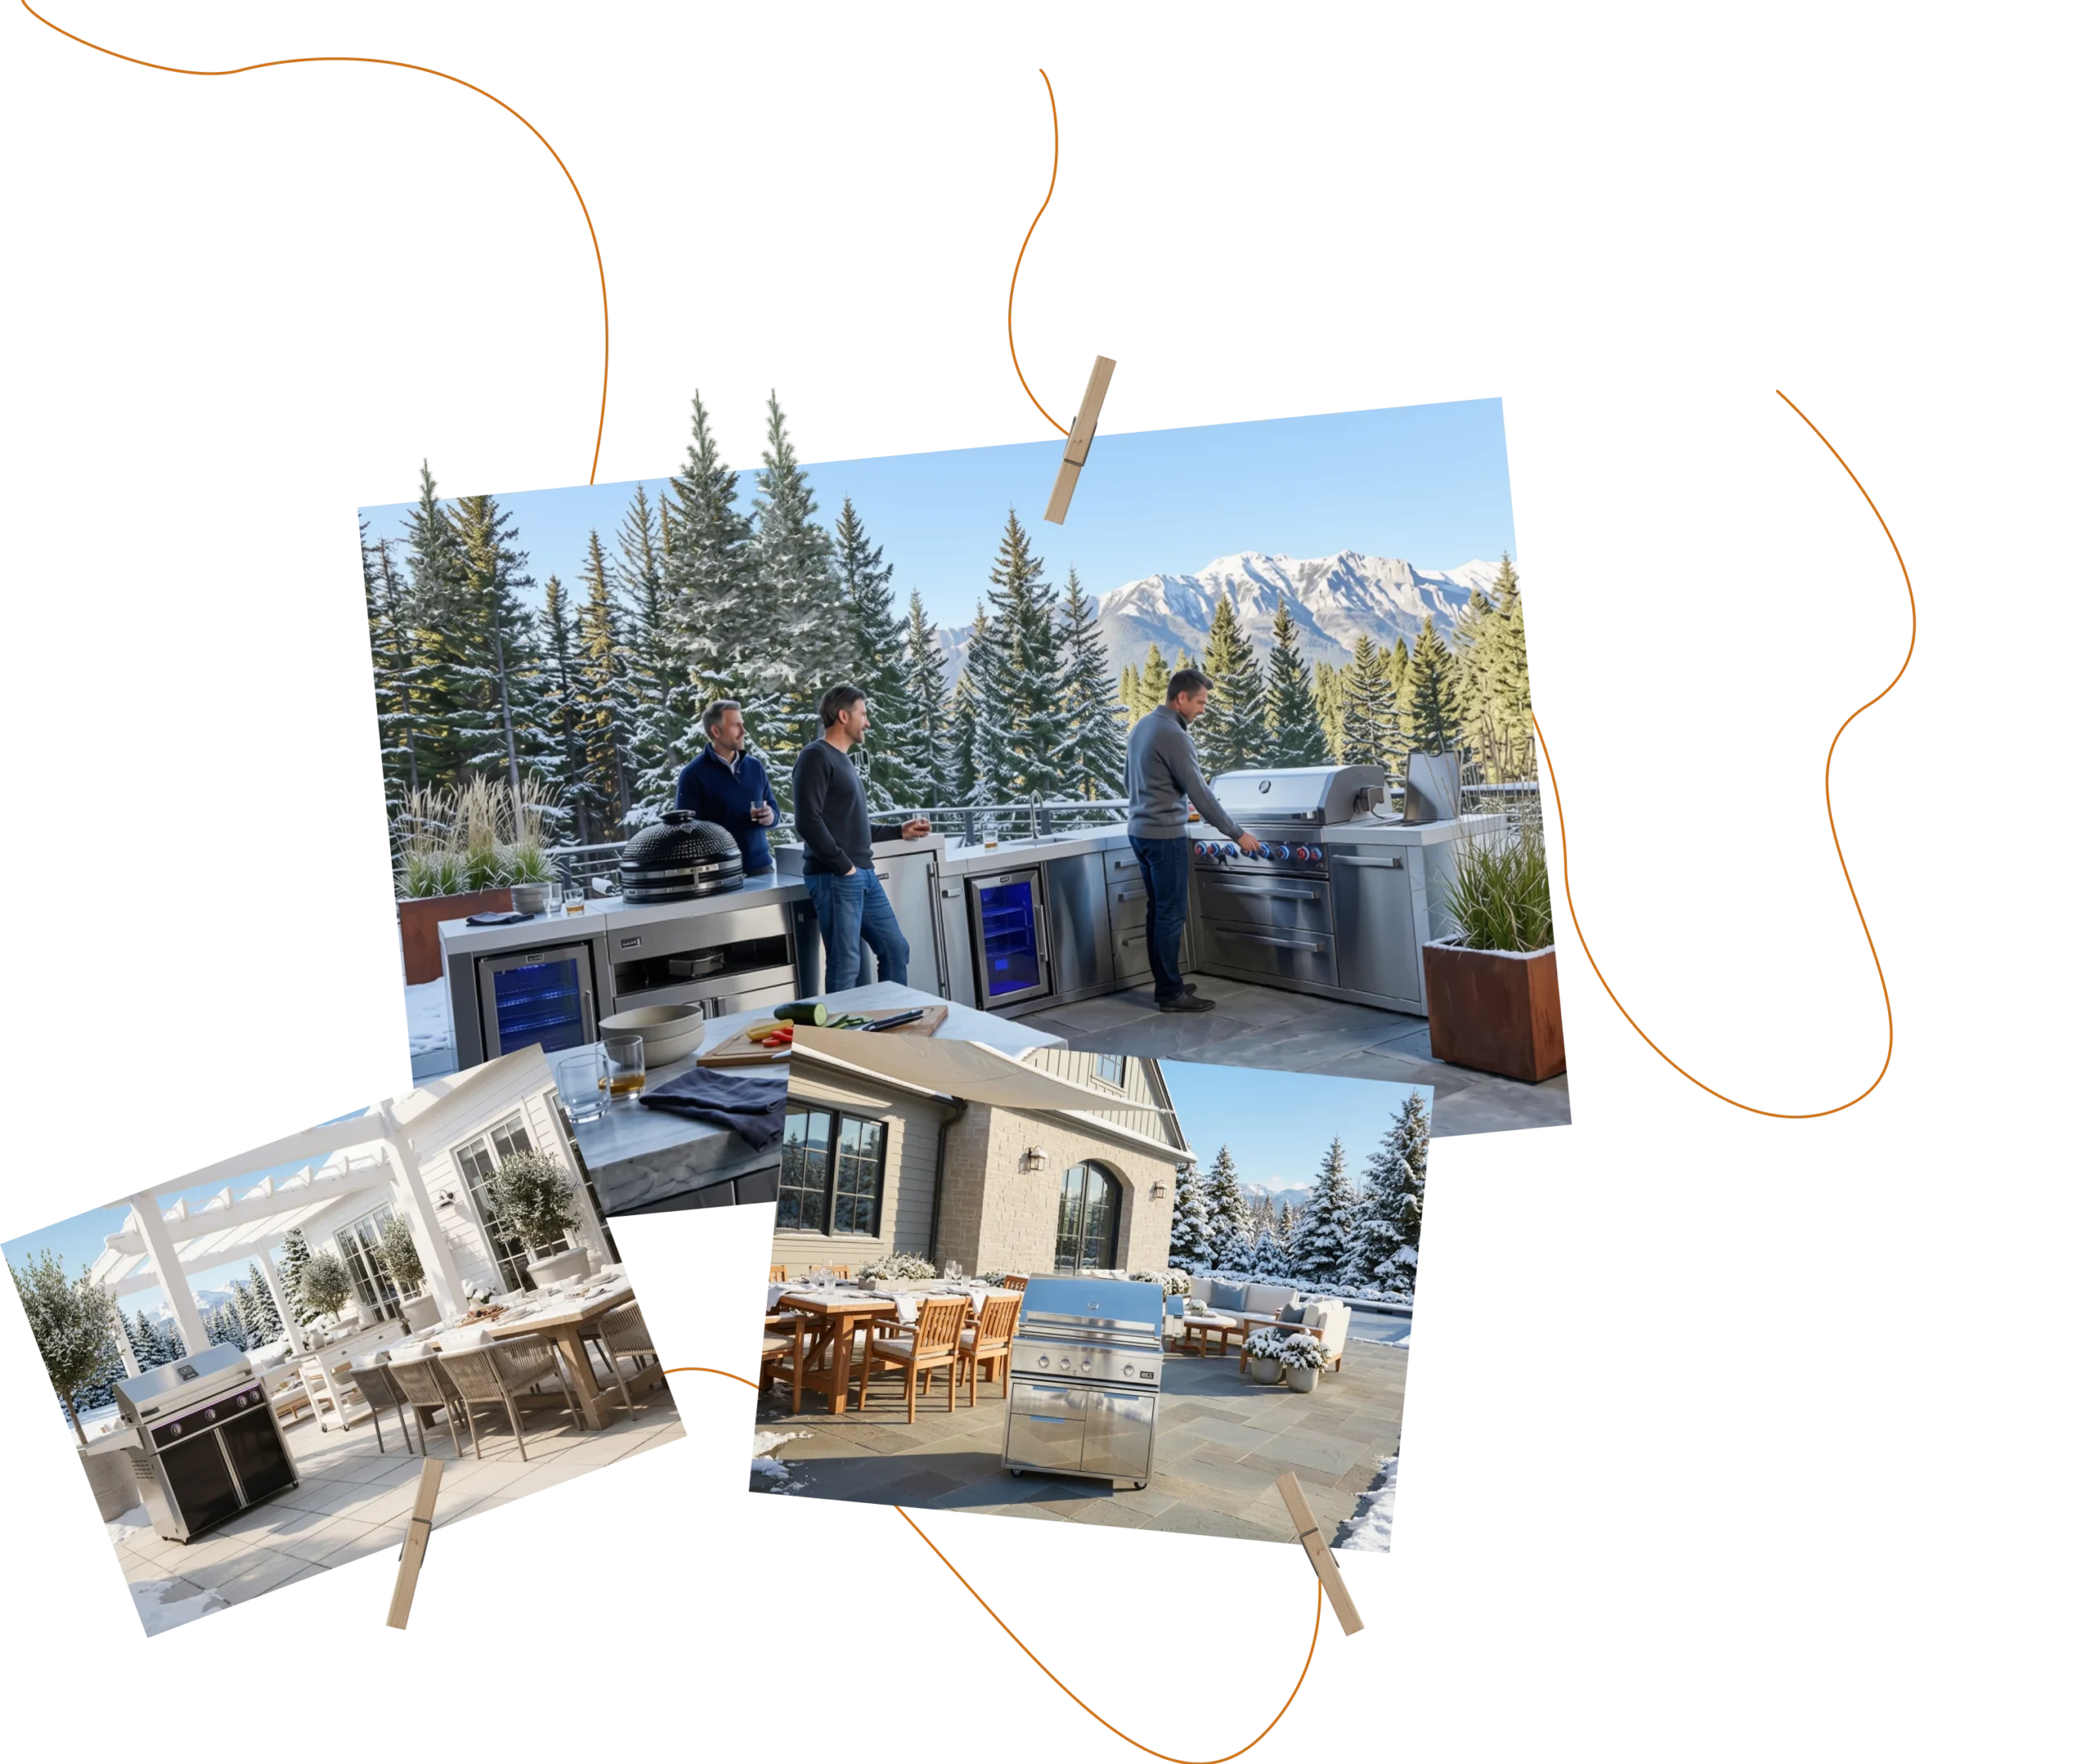
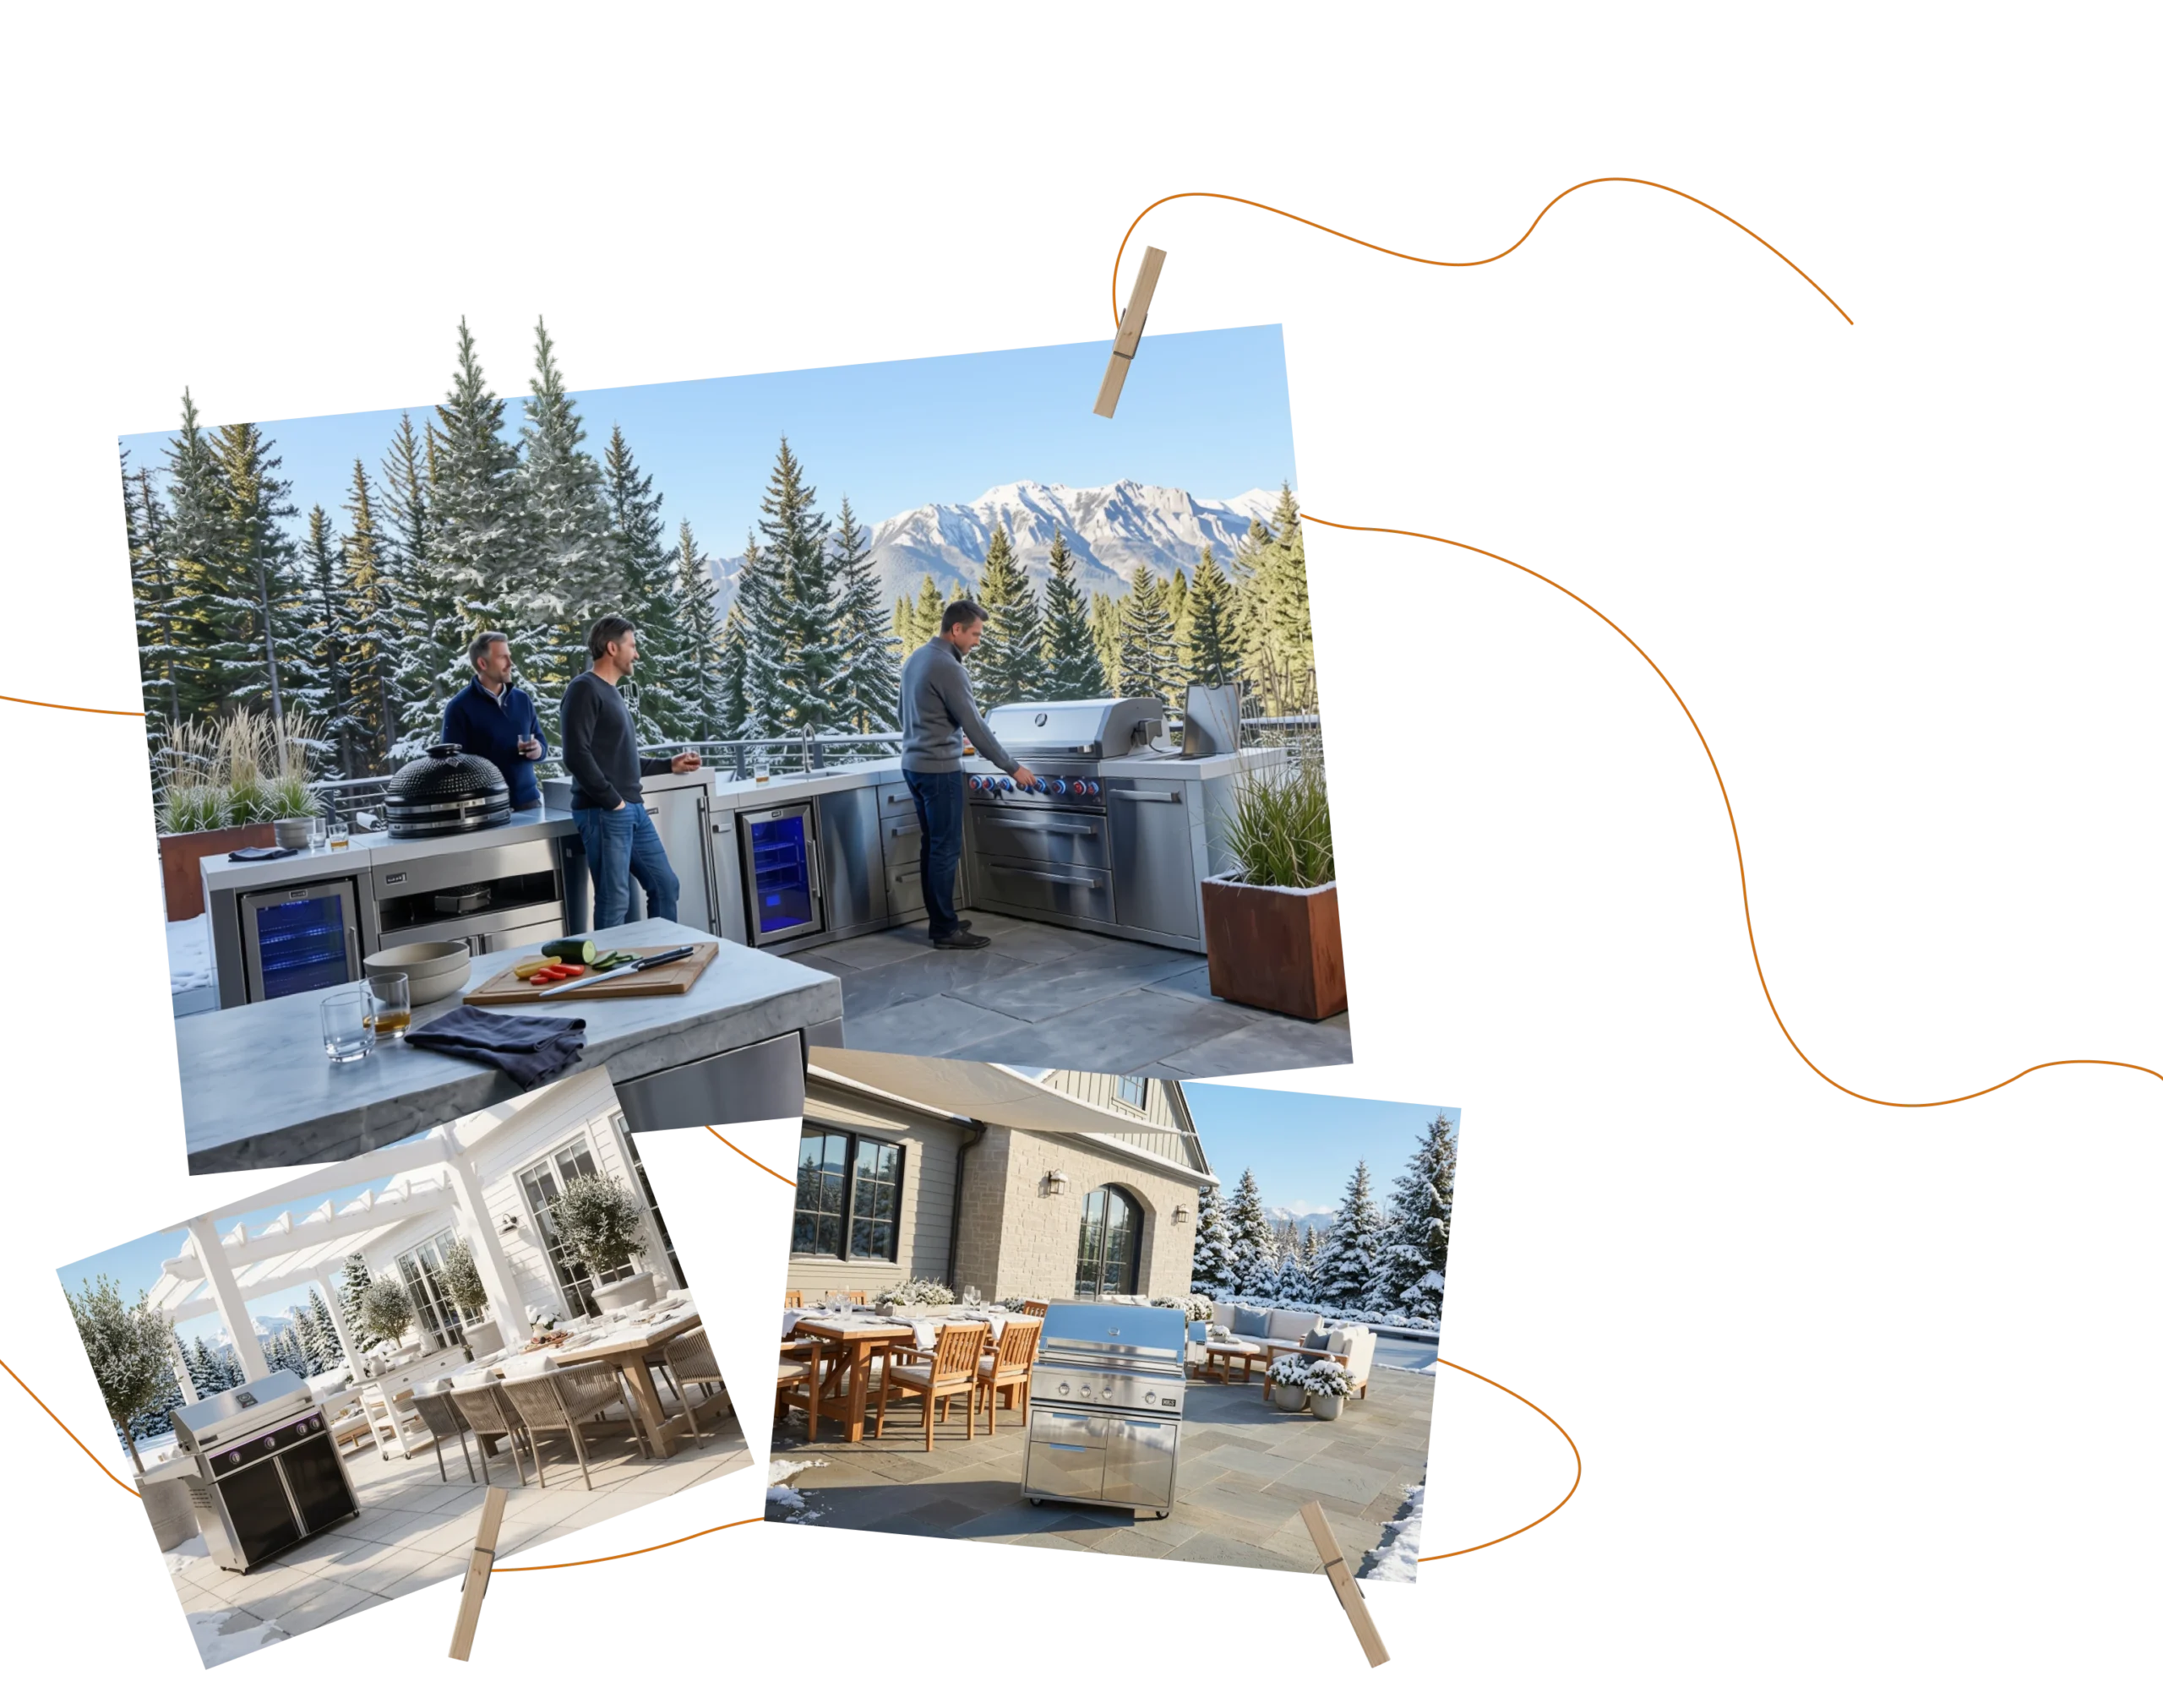
The best way to winterize an outdoor kitchen is to thoroughly clean every appliance, shut off and protect gas and water lines, remove grease and moisture that can cause corrosion, seal vulnerable surfaces, and cover or properly store equipment before the first hard freeze. Taking a few hours to prepare your outdoor cooking space before winter arrives helps prevent rust, frozen plumbing, damaged burners, pest infestations, and expensive repairs when grilling season returns.
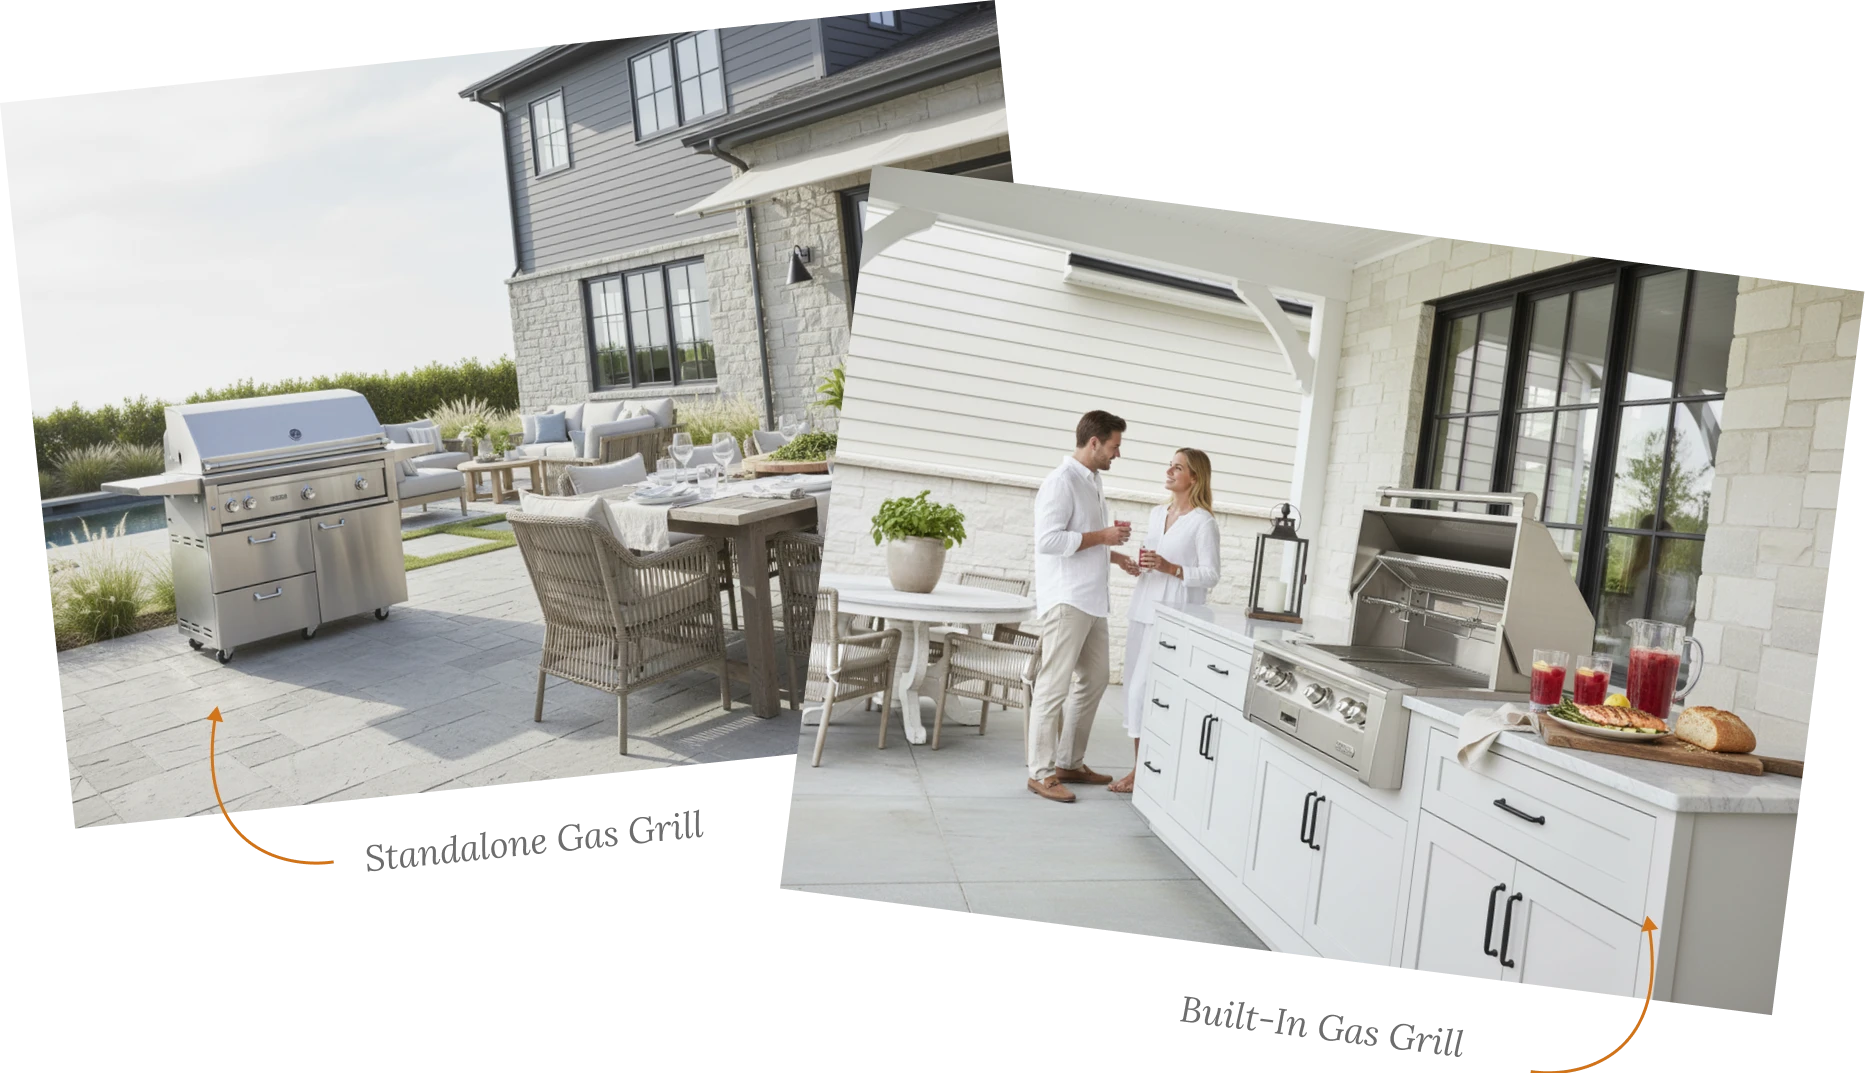
Whether your backyard setup consists of a standalone gas grill or a fully equipped outdoor kitchen with built-in refrigeration, side burners, sinks, storage cabinets, and stone countertops, every component is exposed to the same winter threats: moisture, freezing temperatures, snow, ice, UV exposure, and repeated freeze-thaw cycles. Even in milder climates where temperatures rarely stay below freezing for long, condensation, heavy rain, and fluctuating weather can quietly damage equipment over the course of a single off-season.
After working with outdoor kitchens across climates ranging from humid Gulf Coast patios to snow-covered Midwestern backyards, one maintenance lesson consistently proves true: the homeowners who spend an afternoon winterizing their equipment rarely face costly surprises in spring. Those who skip it often discover seized burners, cracked plumbing, mold inside refrigerators, rusted cooking grates, or rodent nests tucked inside burner tubes—problems that are almost always preventable.
This guide walks you through everything you need to know to protect your investment. You’ll learn exactly when to winterize, which supplies to keep on hand, how to prepare different types of grills, how to protect plumbing and appliances, the most common mistakes homeowners make, and what to inspect before firing everything back up in spring.
Why Winterizing Your Outdoor Kitchen Matters
Winterize Your Outdoor Kitchen & Grill
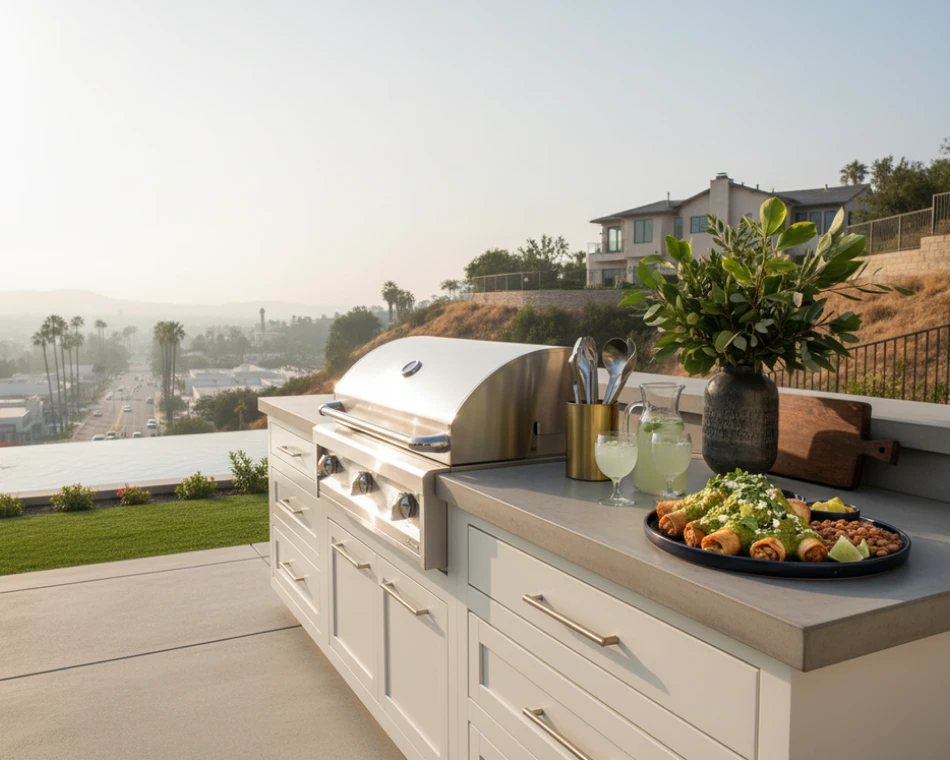
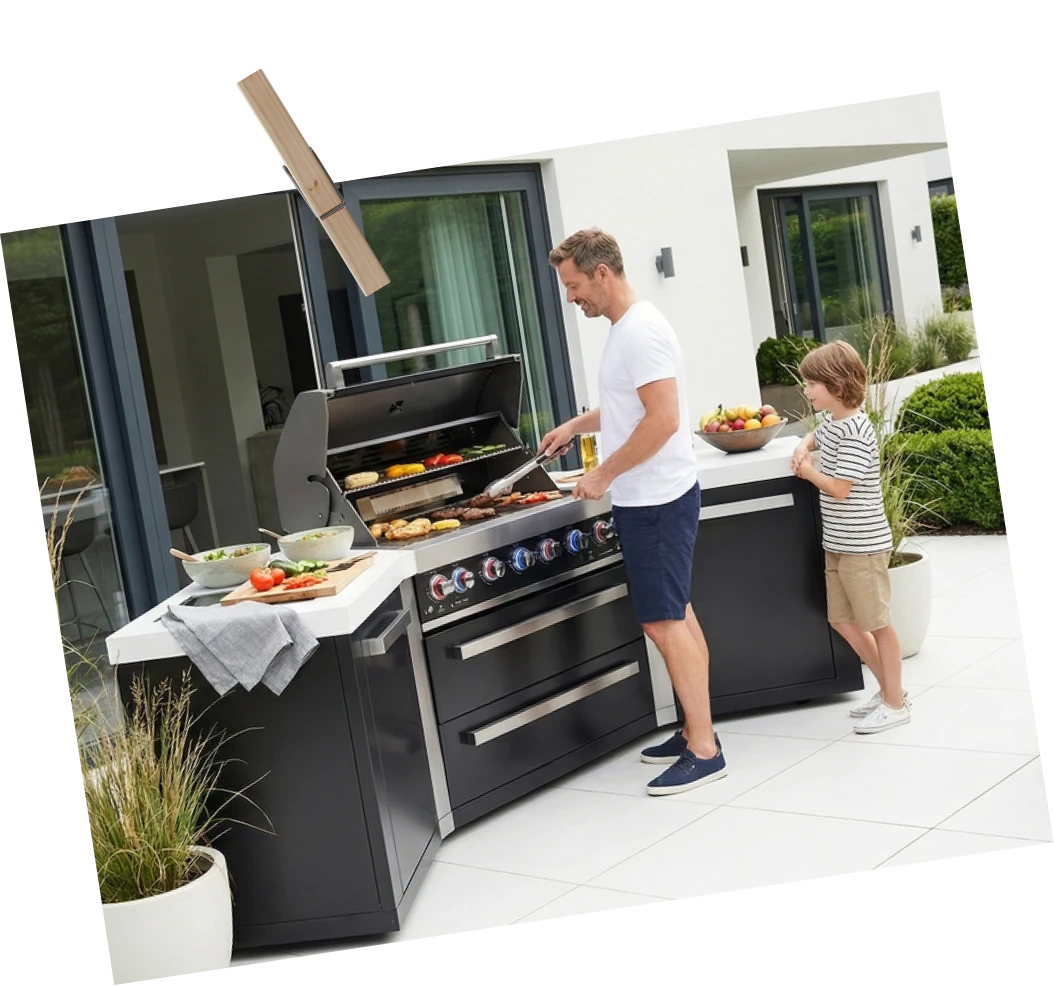
Winterizing your outdoor kitchen isn’t just about keeping it clean—it protects one of the largest investments many homeowners make in their outdoor living space.
A quality outdoor kitchen can easily represent several thousand dollars in appliances, cabinetry, countertops, plumbing, gas infrastructure, and electrical components. Leaving that investment exposed to months of moisture, freezing temperatures, and debris without proper preparation dramatically increases the likelihood of corrosion, cracked plumbing, damaged ignition systems, and premature component failure.
One of the biggest misconceptions among homeowners is that “outdoor-rated” means “maintenance-free.” In reality, outdoor appliances are engineered to withstand the elements—not to be neglected throughout an entire winter.
What Can Go Wrong If You Skip Winterizing?
Ignoring seasonal maintenance creates a chain reaction that often isn’t discovered until the first warm weekend of spring.
Common problems include:
These aren’t unusual failures—they’re exactly the types of issues manufacturers expect owners to prevent through seasonal care.
Moisture Is the Real Enemy
Many homeowners assume freezing temperatures are the biggest threat.
In reality, moisture causes most winter damage.
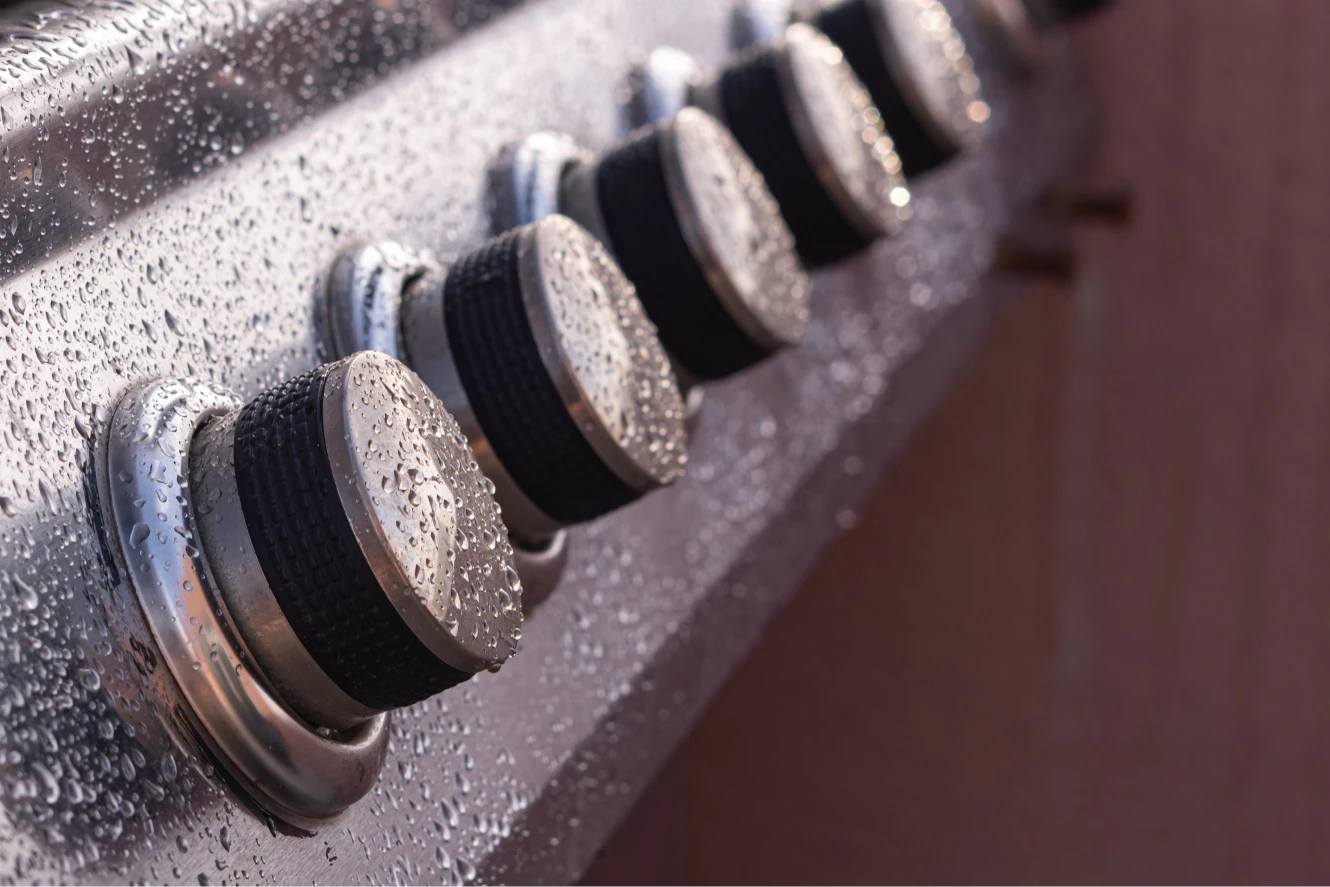
Rain, melting snow, condensation, morning dew, and humidity all find their way into burner boxes, grease trays, hinges, plumbing lines, cabinet interiors, and electrical connections. Once trapped, that moisture accelerates oxidation, encourages mold growth, freezes inside plumbing, and creates ideal nesting conditions for insects and rodents.
The repeated expansion and contraction caused by freeze-thaw cycles also places stress on stone countertops, grout joints, concrete surfaces, and plumbing fittings. Over time, even tiny cracks can grow into expensive repairs.
Winterizing Saves More Than Money
While avoiding repairs is a compelling reason to winterize, it’s not the only benefit.
Proper end-of-season maintenance also helps:
Perhaps most importantly, you’ll spend the first beautiful weekend of spring grilling with family and friends instead of troubleshooting equipment that sat neglected all winter.

From Experience
One of the most common spring service calls isn’t for broken equipment—it’s for perfectly functional grills that simply weren’t cleaned before storage.
Old grease hardens, insects clog burner ports, rodents chew ignition wires, and homeowners mistake preventable maintenance issues for mechanical failures.

When Should You Winterize? (Timing & Signs)
Winterize Your Outdoor Kitchen & Grill
The short answer is simple:
Winterize your outdoor kitchen before the first hard freeze arrives, not after.
Waiting until temperatures drop below freezing increases the risk that water has already frozen inside plumbing lines, condensation has begun forming inside covered appliances, or weather conditions make proper cleaning difficult.
For most homeowners, the ideal time is when overnight temperatures consistently approach 35–40°F (2–4°C) and weather forecasts begin predicting repeated overnight freezes.
Timing Depends on Where You Live
Every climate requires a slightly different approach.
| Region | Typical Winterizing Window |
|---|---|
| Northern U.S. | Late September through October |
| Midwest | October through early November |
| Mountain States | September through October |
| Northeast | October through November |
| Pacific Northwest | October through November |
| Southeast | November through December |
| Southern California | Often minimal winterization required, but seasonal maintenance is still recommended |
| Gulf Coast & Florida | Focus more on moisture, hurricanes, and salt air than freezing temperatures |
If your outdoor kitchen includes plumbing, always let the weather forecast—not the calendar—determine when to winterize.
A single overnight freeze can burst an unprotected water line.
Five Signs It’s Time to Winterize
Even if temperatures haven’t reached freezing yet, these signs indicate it’s time to start preparing your outdoor kitchen.
01
Overnight Temperatures Continue Falling
Once nighttime temperatures consistently approach freezing, your maintenance window begins shrinking quickly.
02
You’re Grilling Less Frequently
Many homeowners naturally reduce outdoor cooking after football season or the holidays. If your grill will sit unused for several weeks, seasonal maintenance becomes worthwhile.
03
Leaves and Debris Are Collecting
Falling leaves trap moisture around grills, clog drainage areas, and create sheltered spaces for rodents.
Cleaning before winter helps eliminate these problem
04
Outdoor Furniture Is Being Stored
If you’re already covering patio furniture, umbrellas, and cushions, your outdoor kitchen deserves the same level of preparation.
05
Long-Range Forecasts Predict Sustained Cold Weather
Don’t wait for the first snowfall.
Winterization is always easier and far more effective when performed on a dry, mild autumn afternoon than during freezing temperatures.
What If You Grill All Winter?
Winterize Your Outdoor Kitchen & Grill
Not everyone shuts down their outdoor kitchen for the season.
In many parts of the world, homeowners grill year-round, even when temperatures fall well below freezing.
If that’s you, don’t skip winterization entirely. Instead, focus on protecting the components most vulnerable to cold weather while keeping the grill ready for occasional use.
A practical approach includes:
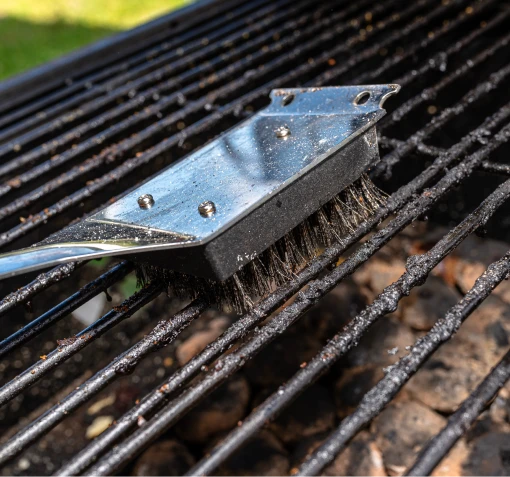
Deep-cleaning the grill before winter begins.
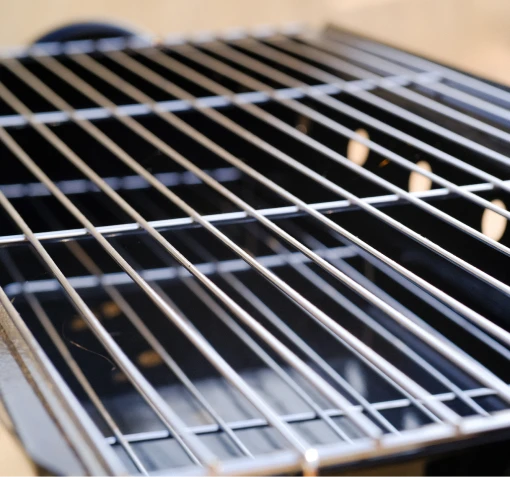
Keeping burners and grease trays free of buildup.
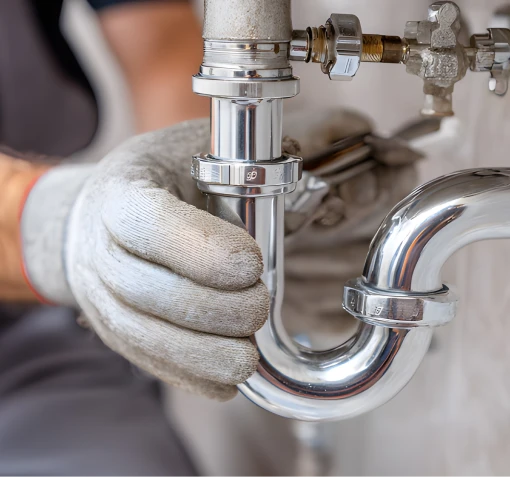
Shutting off and draining outdoor plumbing if sinks won’t be used.
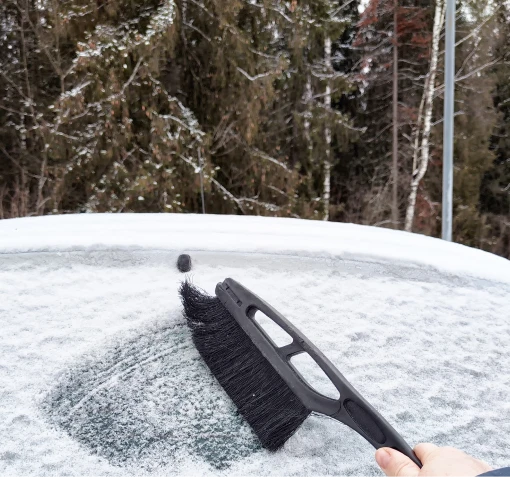
Regularly brushing snow away from appliance vents.
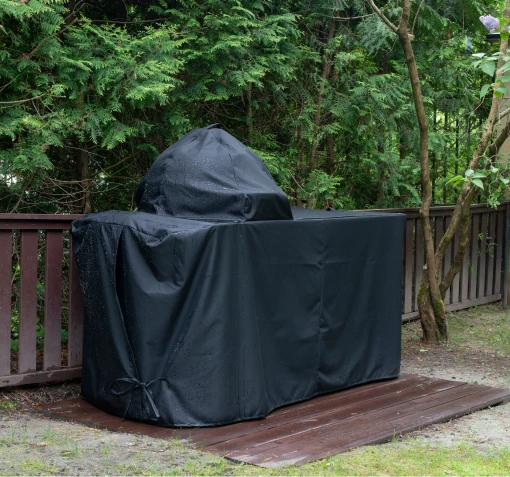
Inspecting the grill cover after heavy rain, wind, or snow.
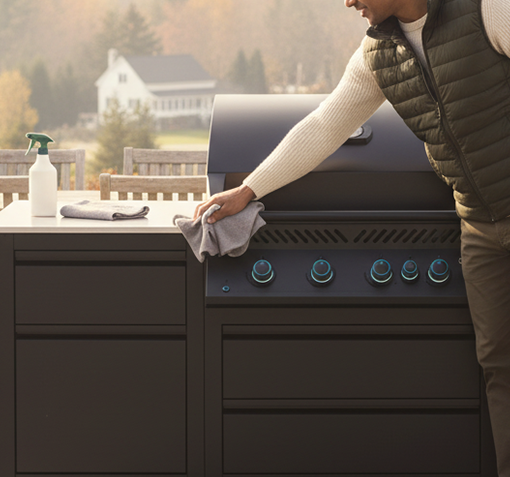
Removing standing water from countertops and cabinet surfaces.
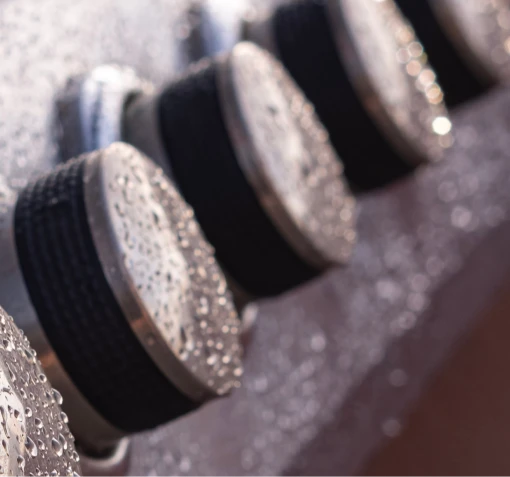
Performing monthly visual inspections for moisture, rust, or pest activity
Many experienced grill owners continue cooking throughout winter without issue because they maintain their equipment instead of simply covering it and hoping for the best.
Expert Tip
Snow itself rarely damages a quality grill. The real problems come from trapped moisture, poor ventilation under inexpensive covers, and repeated freeze-thaw cycles that allow condensation to form inside burners and cabinets.
Why Fall Is Also the Best Time for Maintenance
Winterization isn’t just about putting things away—it’s the perfect opportunity to inspect your equipment while everything is clean and accessible.
Take advantage of this time to:

Replace worn
burner covers.

Install fresh igniter
batteries.

Upgrade aging grill
grates.

Tighten loose
hardware.

Touch up chipped
paint.

Replace cracked
gaskets or seals.

Inspect flexible gas
hoses for wear.

Order replacement
accessories before
spring demand
increases.
By combining maintenance with winterization, you’ll avoid the annual rush when everyone else is trying to repair or replace grill components at the beginning of barbecue season.
What You’ll Need (Winterizing Checklist & Supplies)
Winterize Your Outdoor Kitchen & Grill
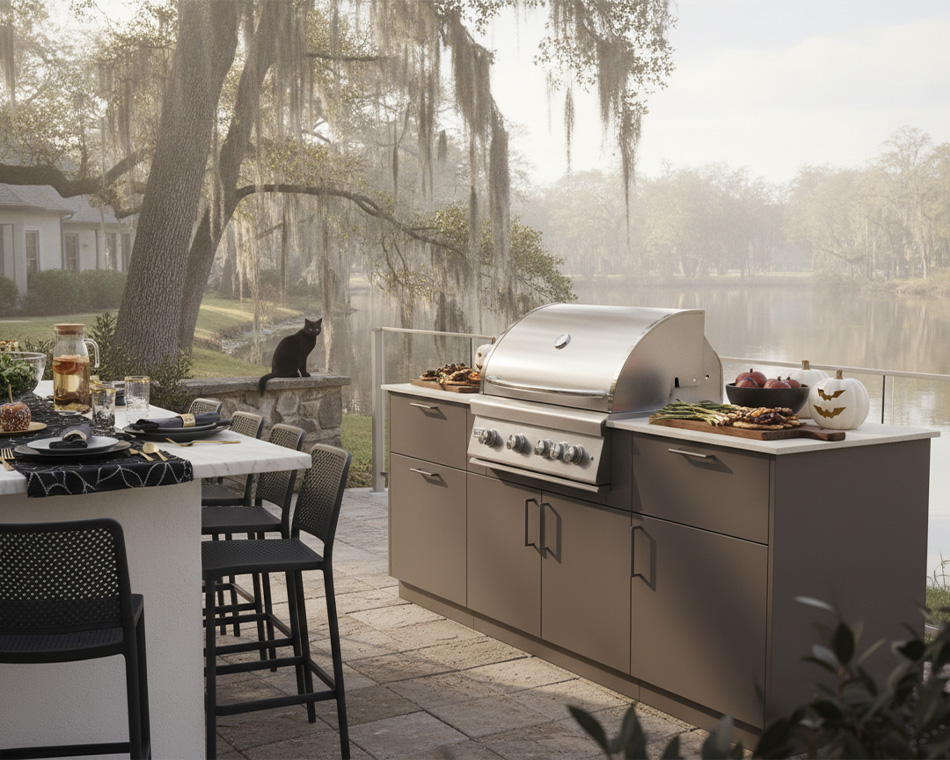
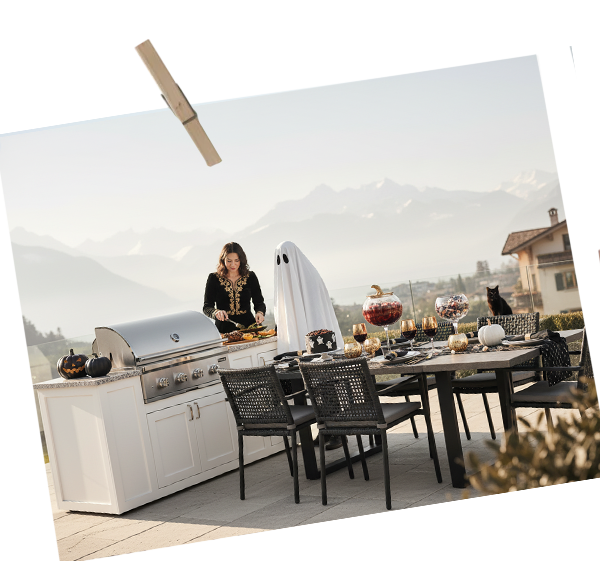
The biggest mistake homeowners make when winterizing an outdoor kitchen is starting the job without the right supplies. That usually leads to shortcuts—skipping the plumbing blowout, using harsh household cleaners on stainless steel, or grabbing an old tarp instead of a breathable grill cover.
Fortunately, you don’t need a garage full of specialty equipment. Most outdoor kitchens can be winterized in an afternoon using a small collection of maintenance essentials, many of which you may already own.
Your Outdoor Kitchen Winterization Checklist
Before you begin, gather the following:
Cleaning Supplies
Maintenance & Protection Products
Plumbing Supplies
Grill & Appliance Protection
Safety Items
Expert Tip
Keep these supplies together in a dedicated grill maintenance tote.
Instead of buying replacements every fall, you’ll simply restock cleaners and disposable items before winter arrives.
Replace Worn Parts Before Spring
Winterization is also the ideal time to inspect components that naturally wear over years of grilling.
Look closely at:
Replacing these parts during the offseason is often less expensive and avoids delays when grilling season returns.
Protect Your Investment with the Right Accessories
One area that’s often overlooked is protection after the cleaning is finished.
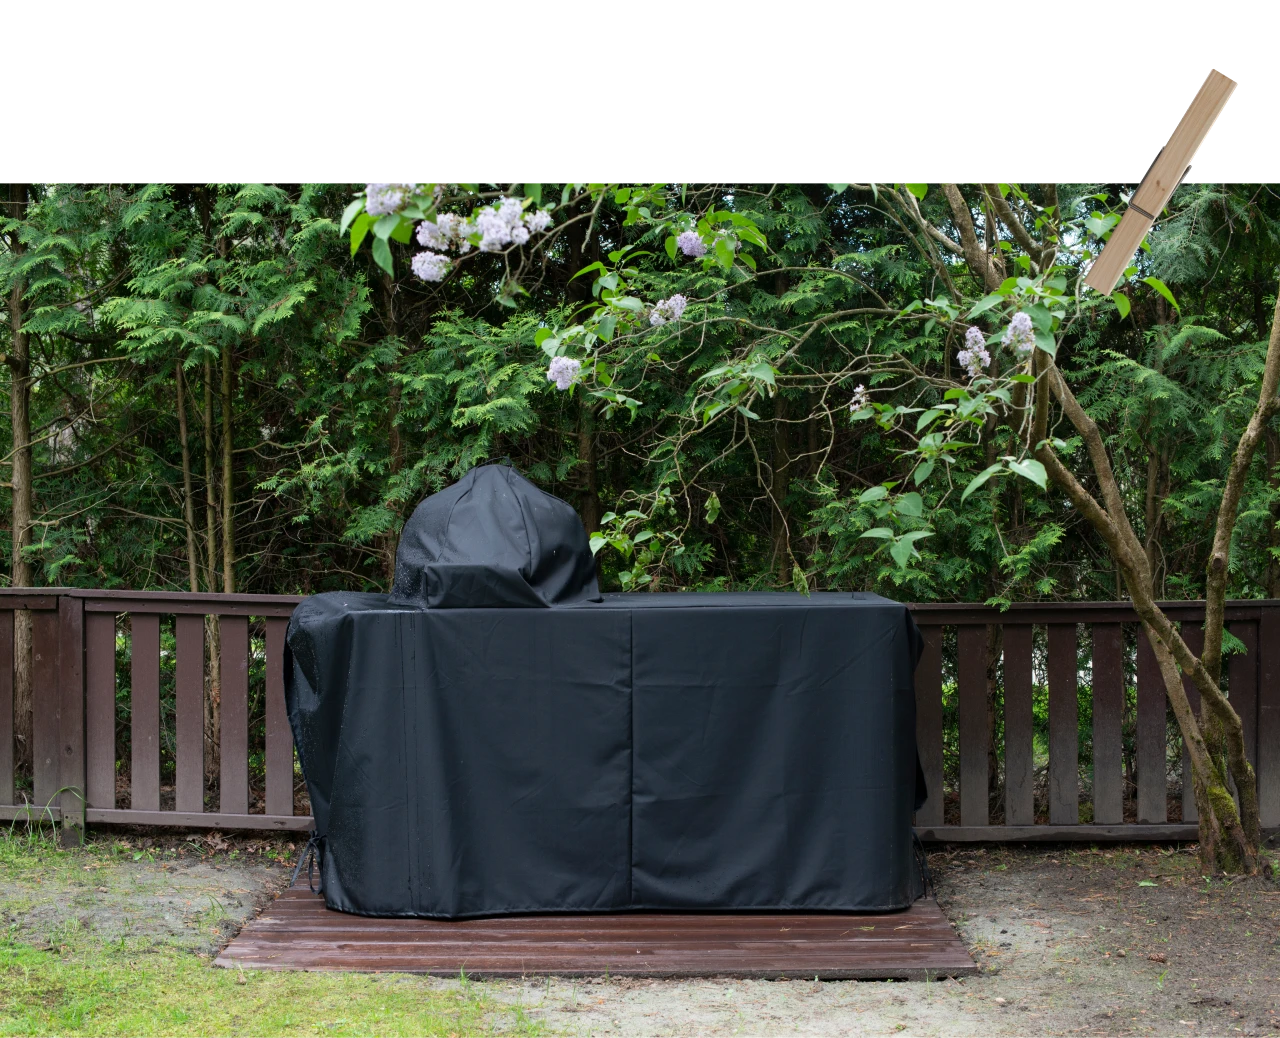
A quality grill cover, stainless steel maintenance products, replacement drip trays, cleaning brushes, and protective care products aren’t upgrades—they’re part of routine ownership.
If you’re replacing worn covers or refreshing your maintenance kit, this is an excellent opportunity to choose accessories specifically designed for outdoor cooking equipment. Grillio offers weather-resistant grill covers, cleaning tools, and outdoor cooking accessories that fit naturally into a seasonal maintenance routine, helping protect your investment without turning winterization into a complicated project.
How to Winterize Your Grill (Step by Step)
Winterize Your Outdoor Kitchen & Grill
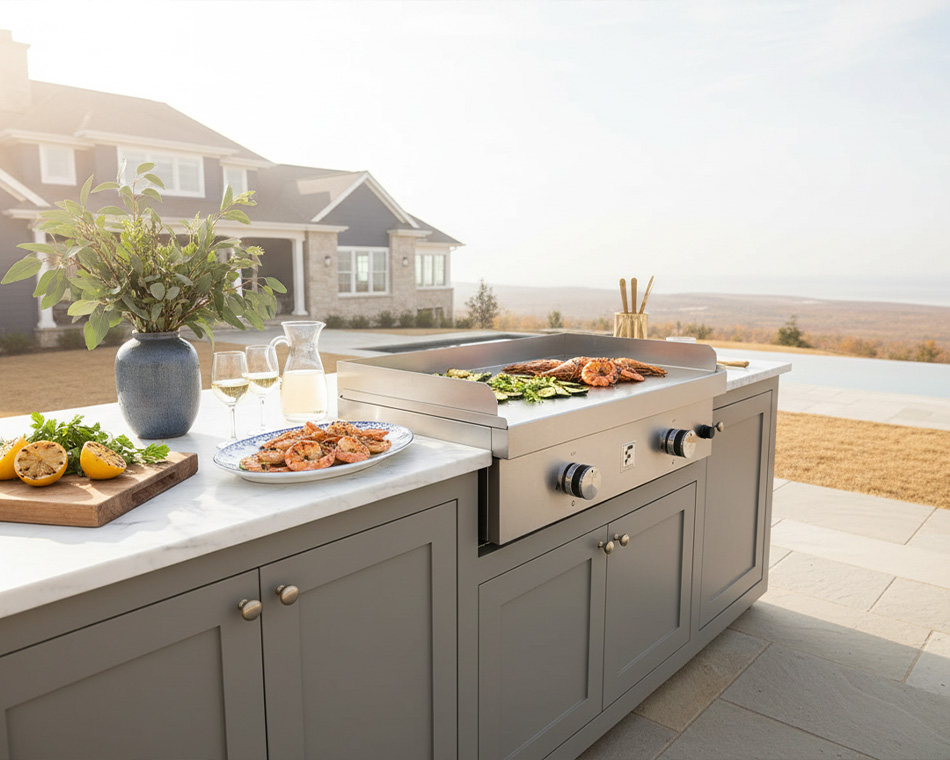
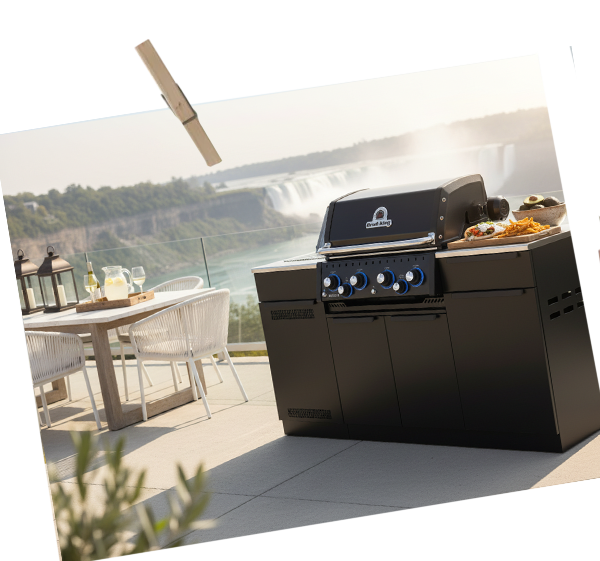
Now it’s time to prepare the grill itself.
Whether you own a built-in gas grill, a freestanding propane model, a charcoal kettle, or a premium pellet smoker, the overall goal remains the same:
Remove everything that attracts moisture, eliminate grease, protect exposed metal, secure the fuel source, and shield the grill from months of changing weather.
The order matters. Each step builds on the previous one.
Step 1 —
Deep Clean the Cooking Grates, Burners, & Interior
Every successful winterization starts with a thorough cleaning.
Skipping this step is one of the primary reasons grills develop corrosion, unpleasant odors, insect infestations, and ignition problems during storage.
Burn Off Remaining Grease
Before taking the grill apart, preheat it for approximately 10 to 15 minutes.
The heat softens grease deposits and carbon buildup, making them much easier to remove.
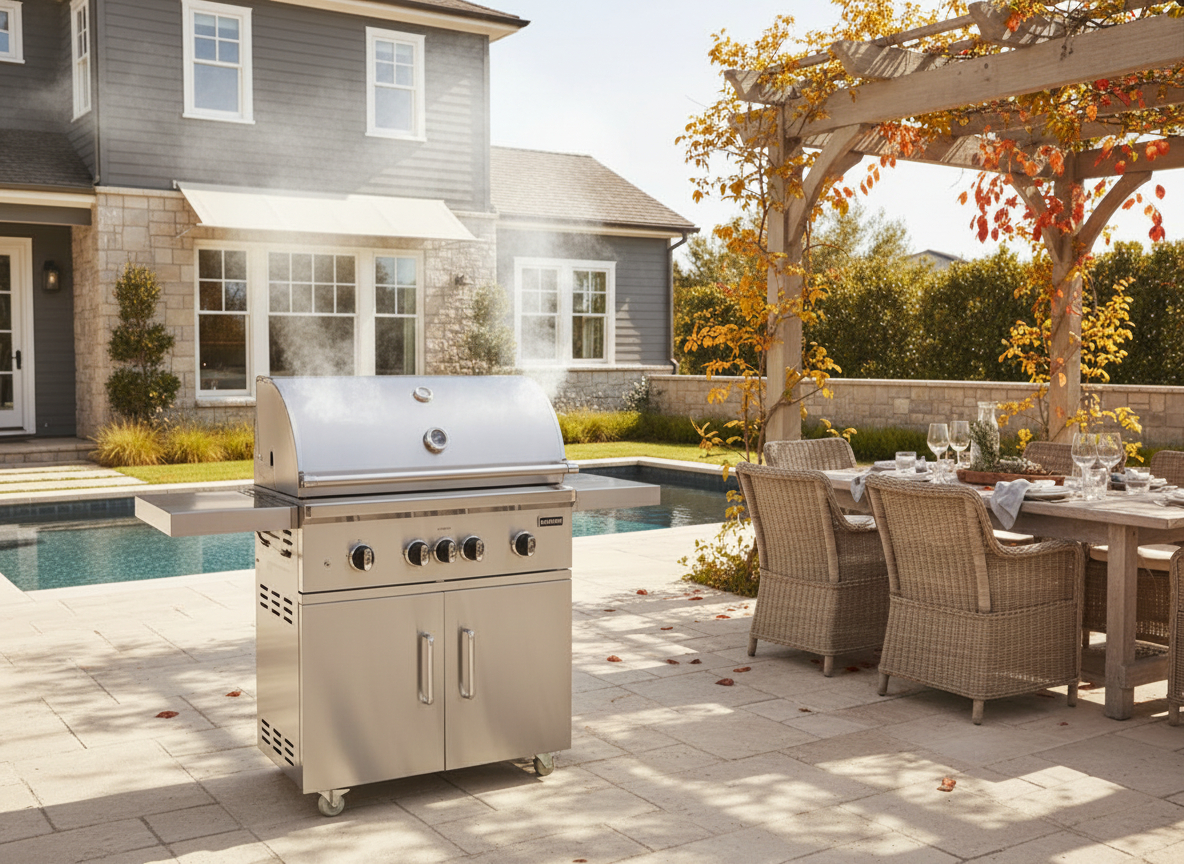
Once complete:
Turn off all burners.
Shut off the fuel supply.
Allow the grill to cool until it’s safe to handle.
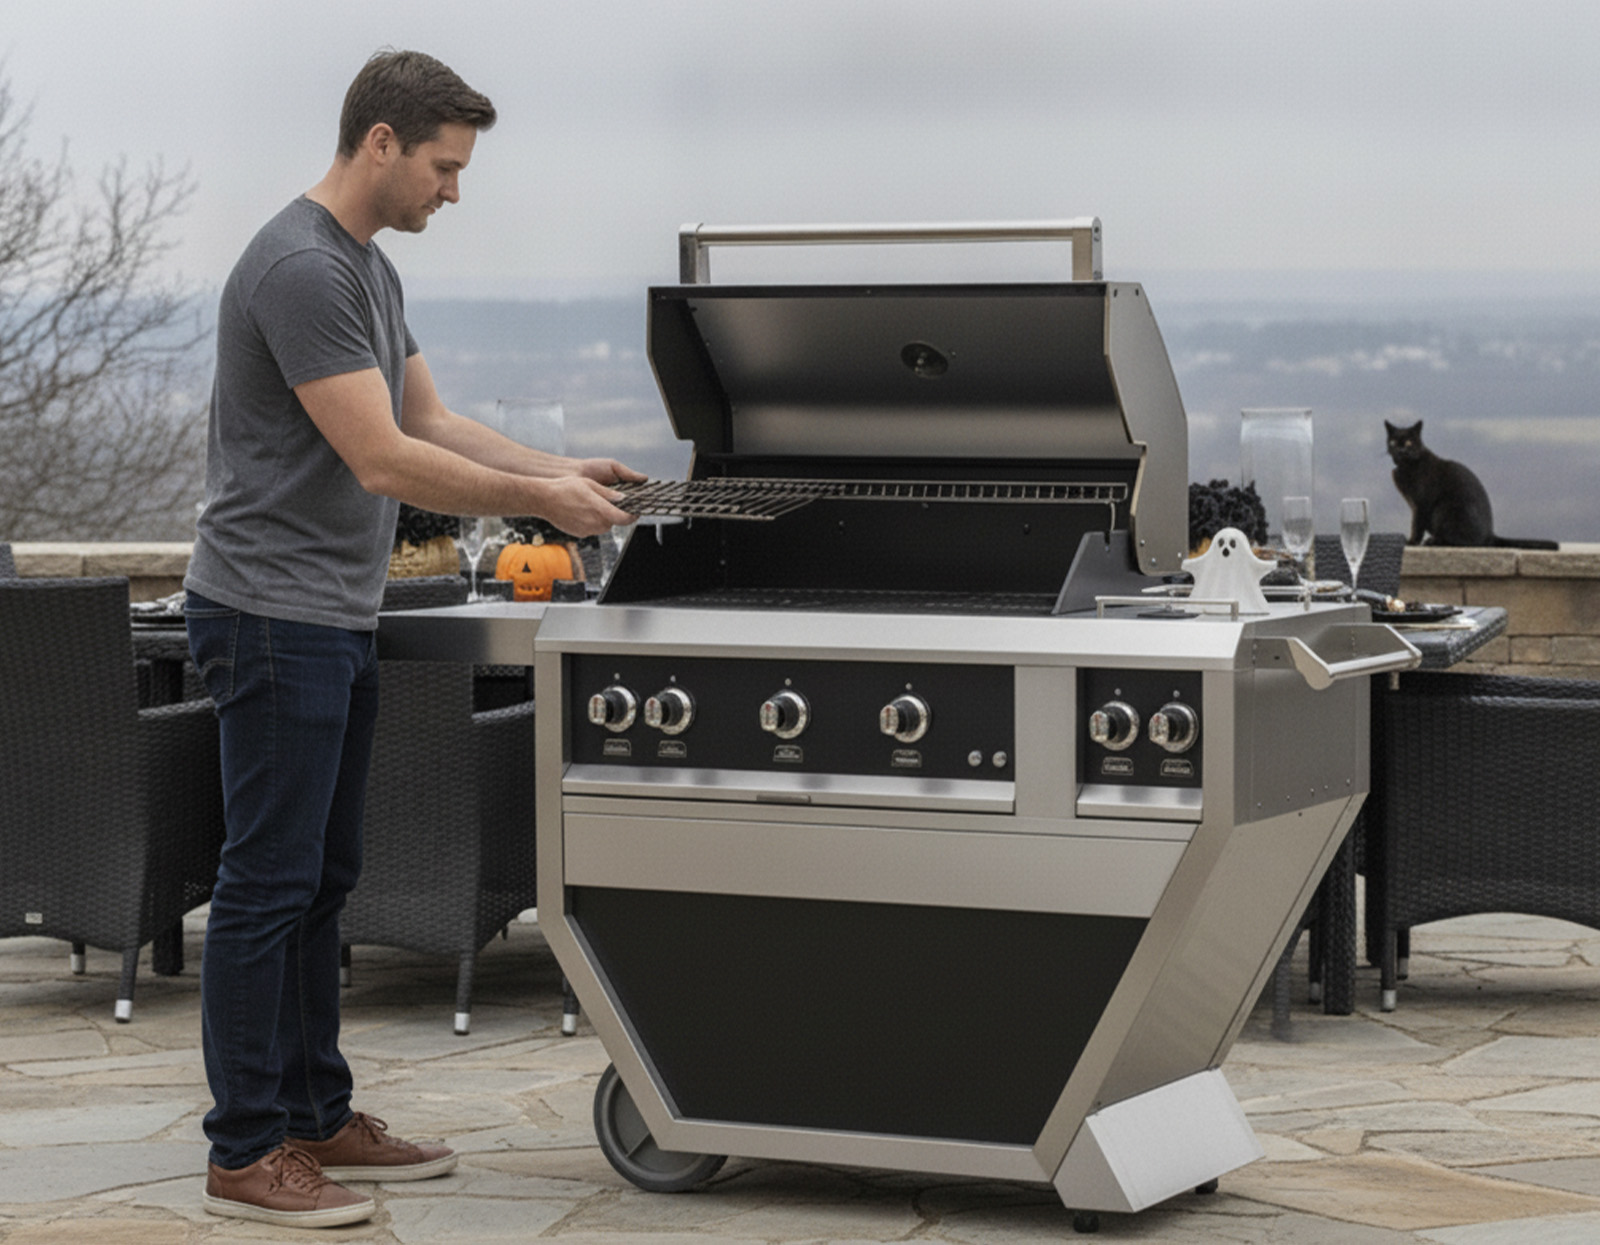
Remove Internal Components
Clean Every Surface
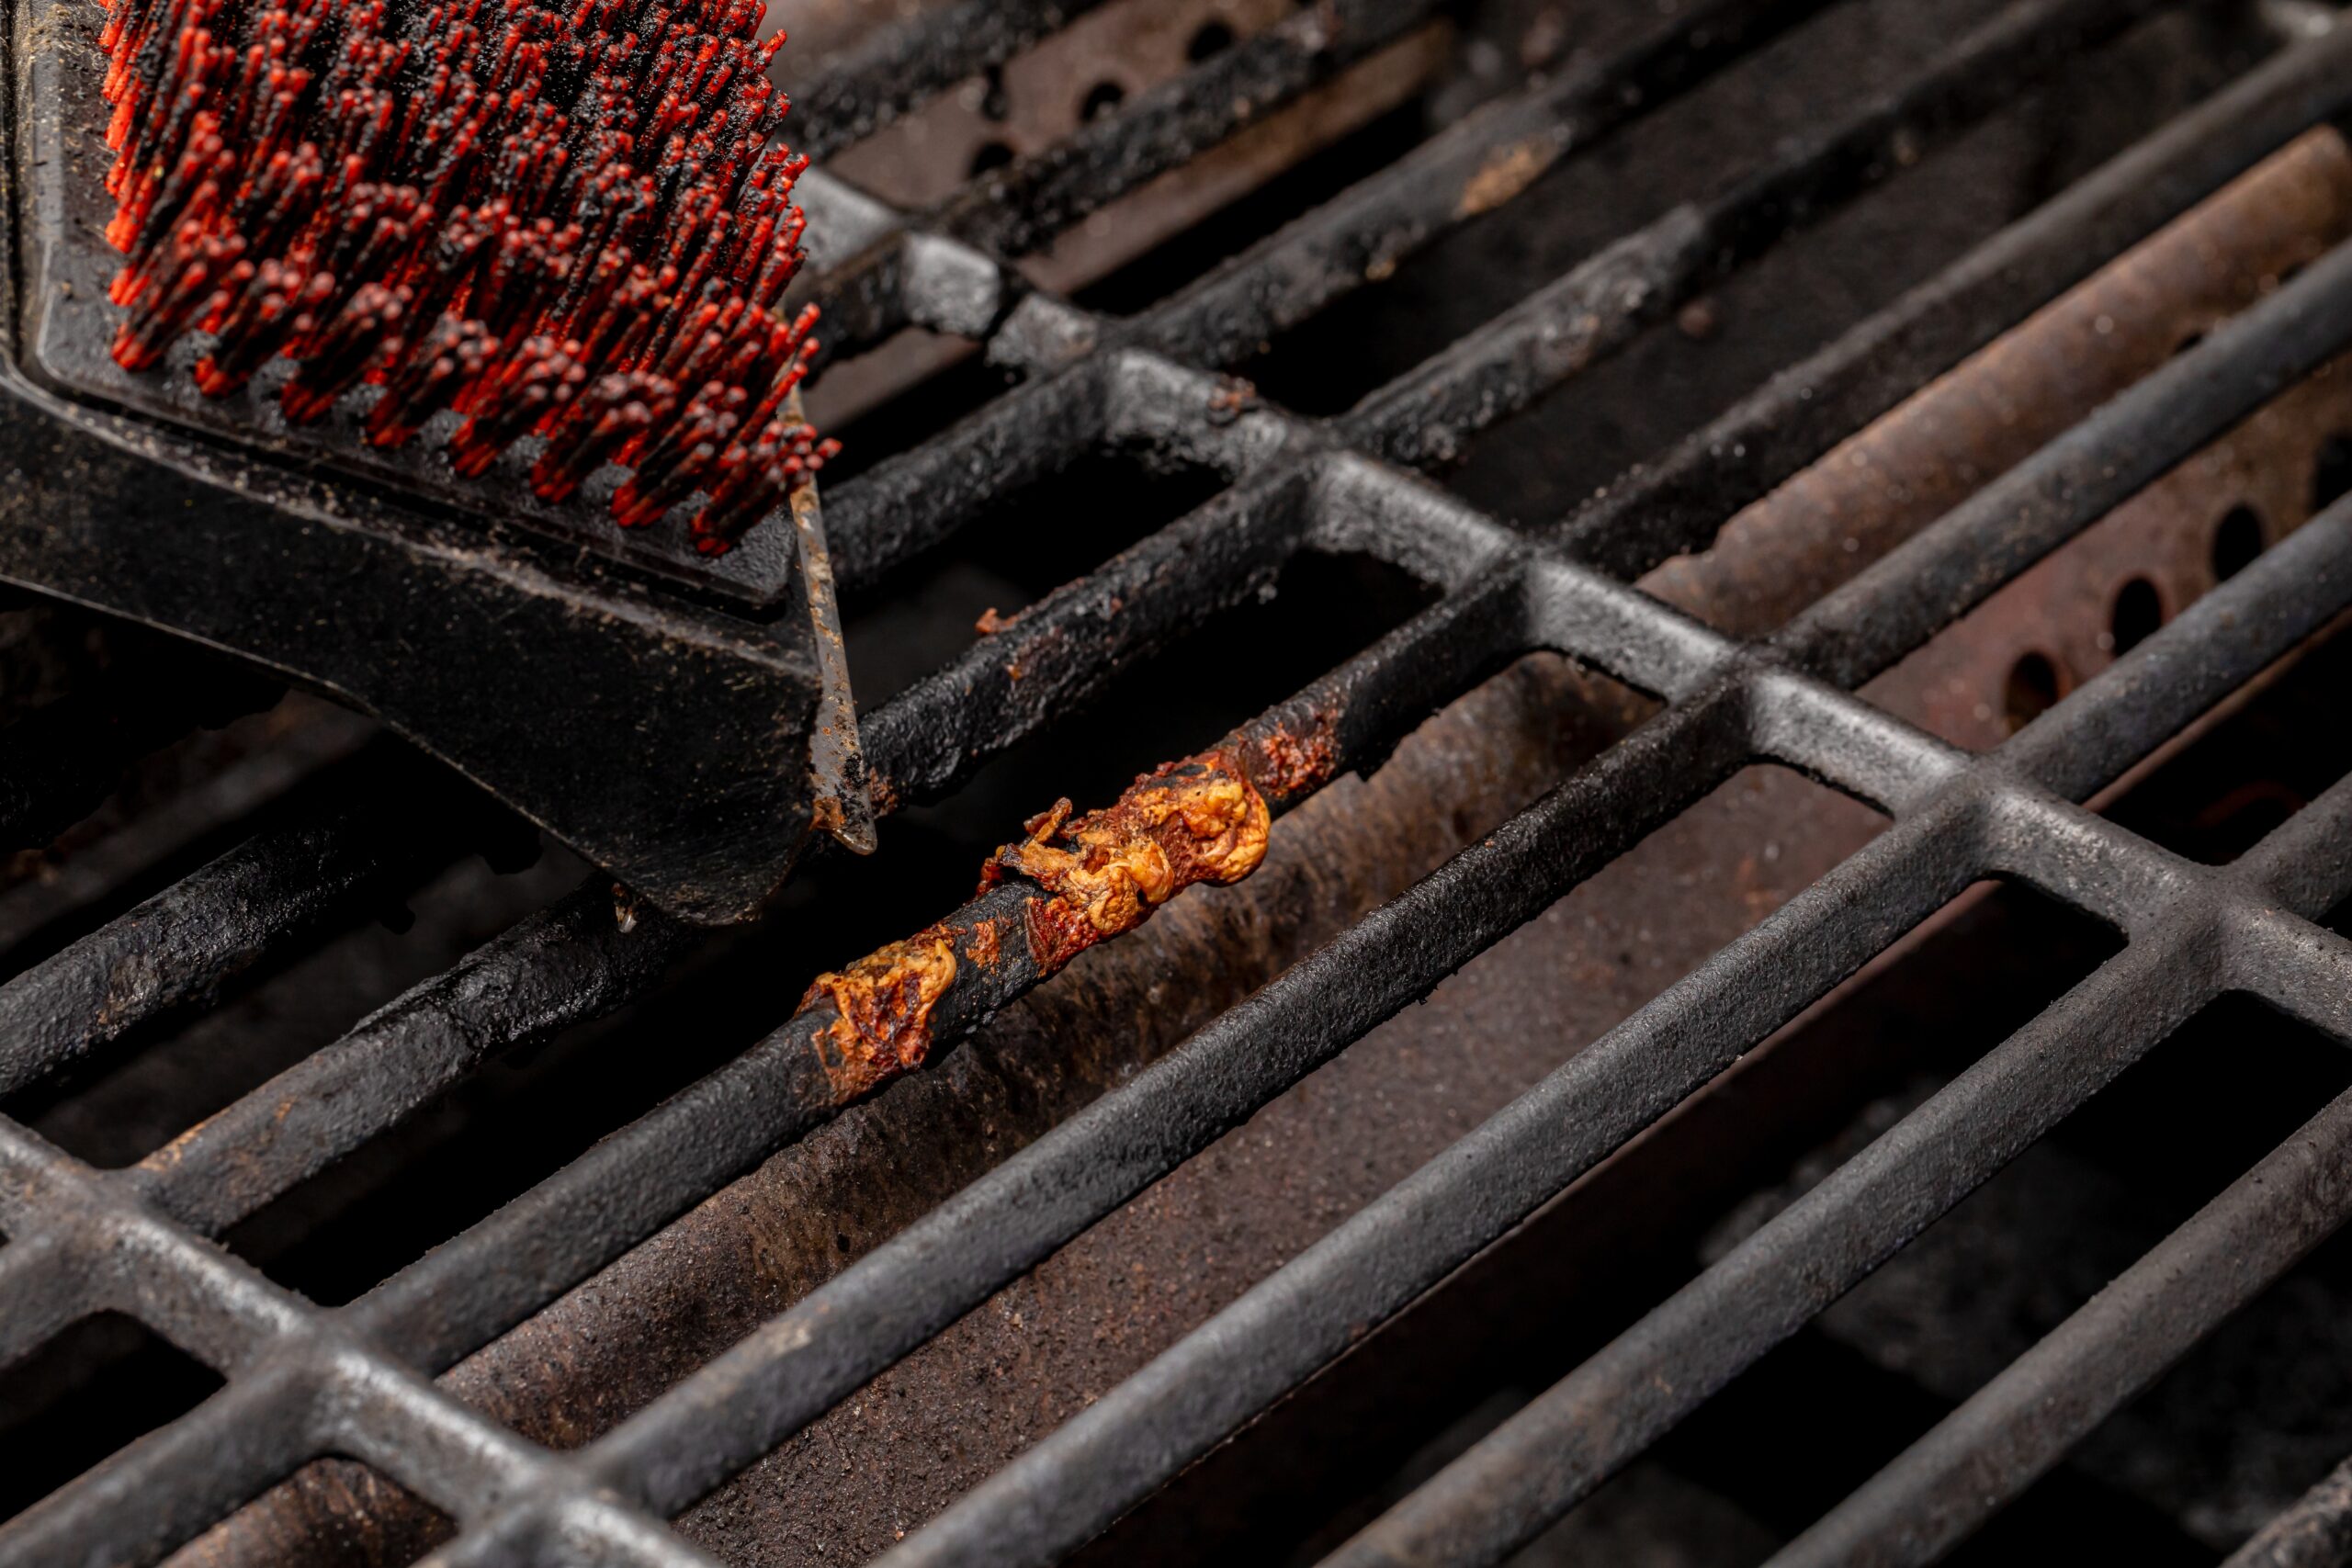
For stainless steel interiors, avoid steel wool or abrasive cleaners that can scratch protective finishes.
For porcelain-coated components, use only non-abrasive brushes recommended by the manufacturer.
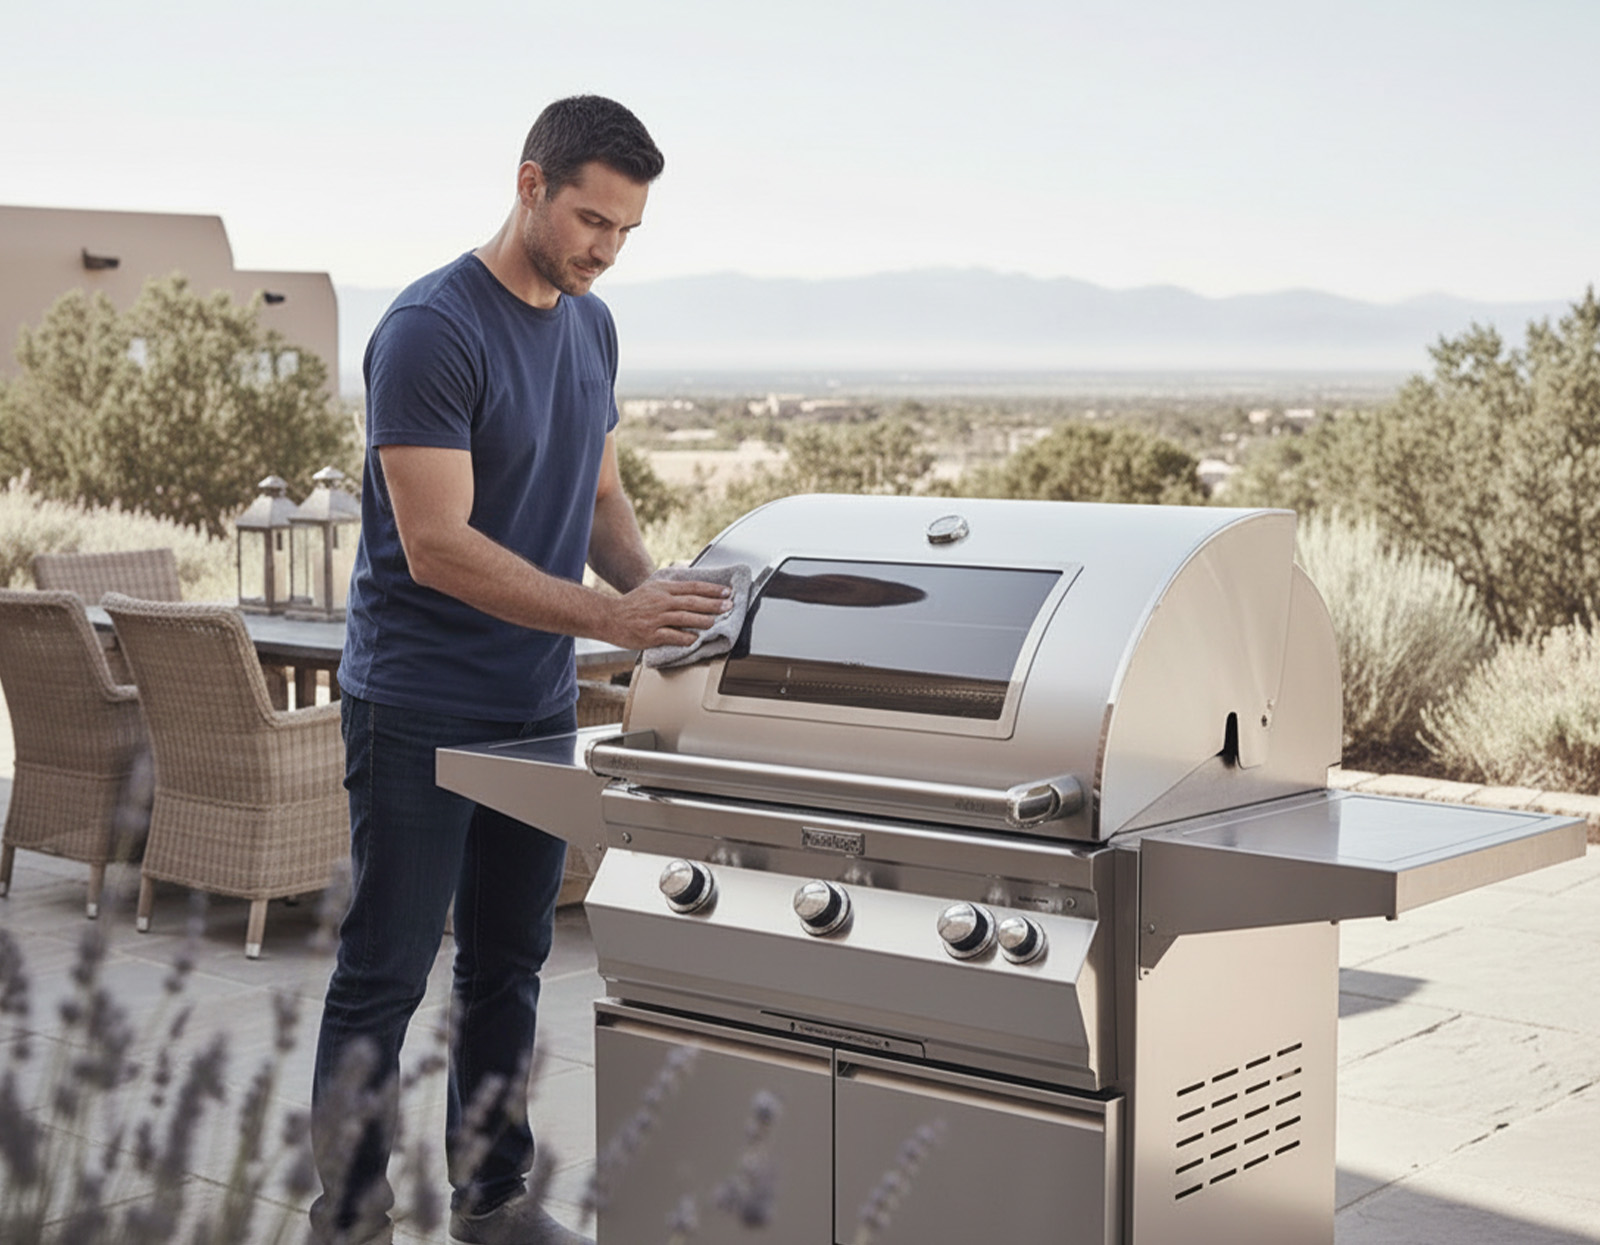
Cast Iron Requires Special Care
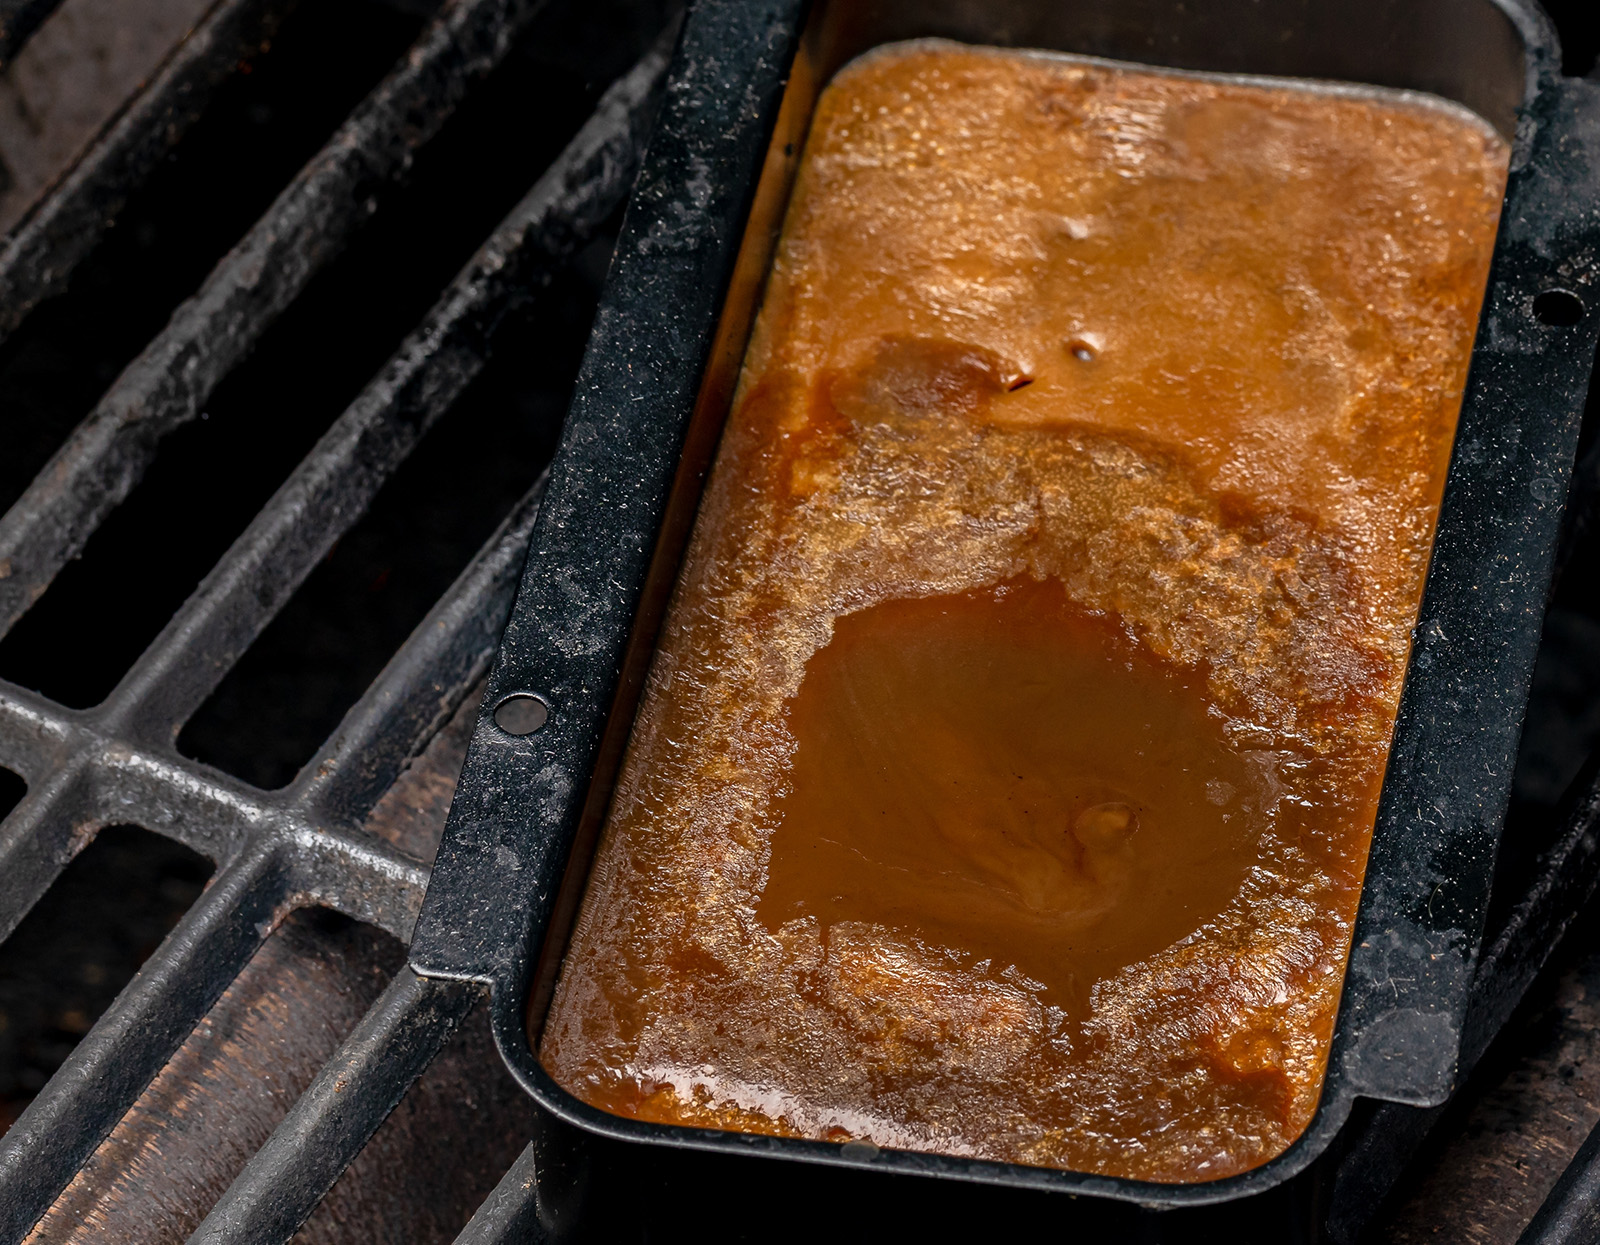
Don’t Forget the Grease System
From Experience
Many homeowners think they have rust problems in spring when they actually have hardened grease mixed with carbon deposits.
Proper fall cleaning dramatically reduces the amount of scrubbing required after winter.
Step 2 —
Inspect & Protect Burners,
Igniters, & Gas Components
Cleaning removes visible dirt.
Inspection finds the problems you can’t easily see.
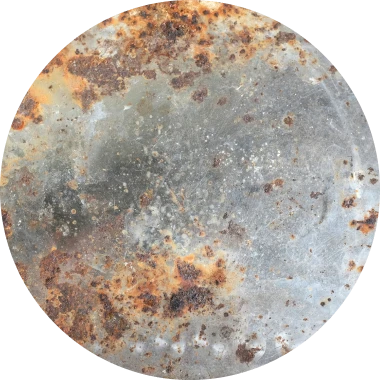
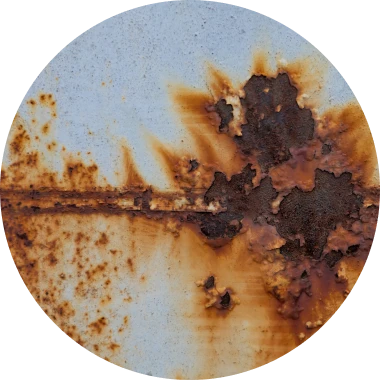
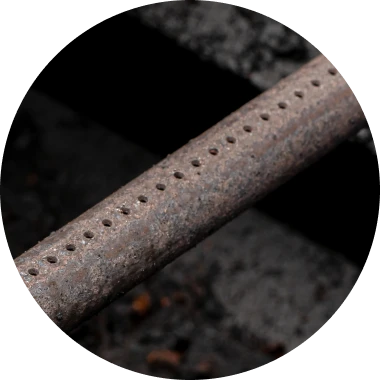
Check Burner Tubes
Before reassembling the grill, inspect every major component carefully.
Rust
Corrosion
Cracked burner tubes
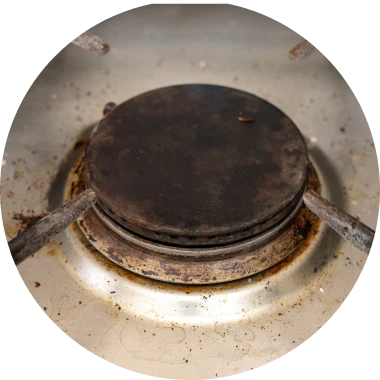
Blocked burner ports
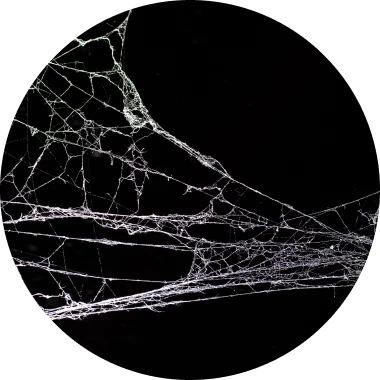
Spider webs
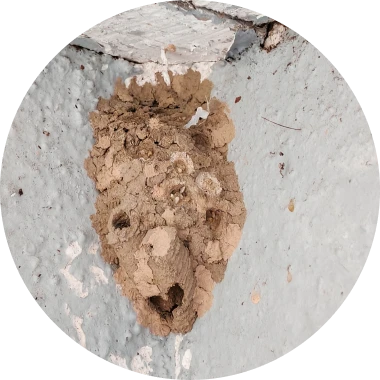
Mud dauber nests
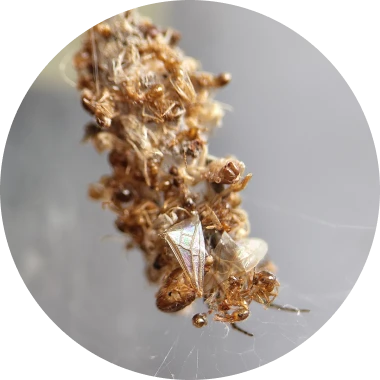
Insect debris
Spider webs deserve special attention.
Certain spiders are attracted to the smell of propane and frequently build nests inside venturi tubes. These block airflow, creating uneven flames and potentially dangerous burner performance.
Use compressed air or a soft nylon brush to remove debris.
Never enlarge burner ports using nails, drill bits, or sharp metal objects.
Inspect the Ignition System
Replace weak batteries now instead of discovering ignition problems during your first cookout next spring.
Examine Gas Hoses
Run your hands gently along the gas hose.
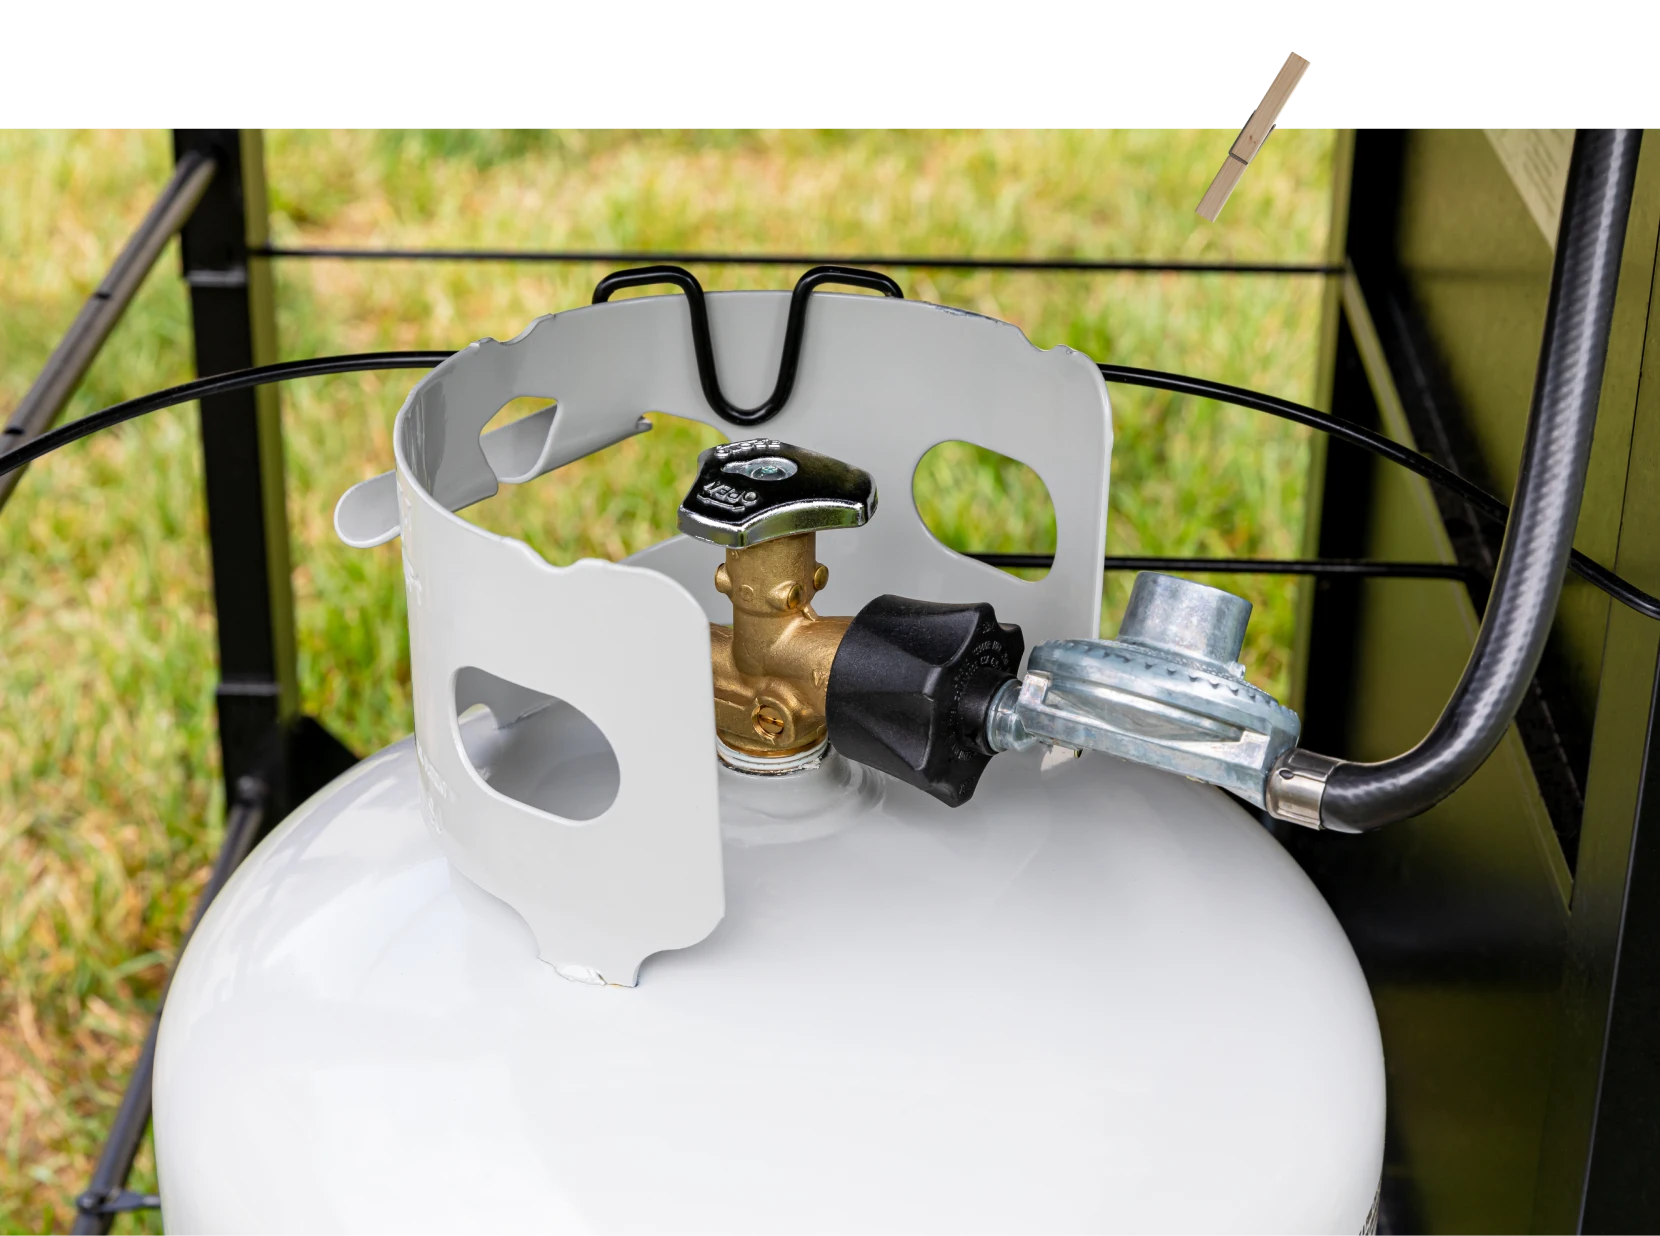
If anything appears questionable, replace the hose before using the grill again.
Gas hoses are relatively inexpensive compared to the safety risks of operating damaged fuel lines.
Lubricate Moving Parts
If recommended by your manufacturer:
Avoid spraying lubricants onto burners, igniters, or cooking surfaces.
Step 3—
Shut Down & Protect the Fuel Source
Fuel systems require careful handling, both for equipment longevity and safety.
The exact process depends on whether your grill runs on propane, natural gas, charcoal, or wood pellets.
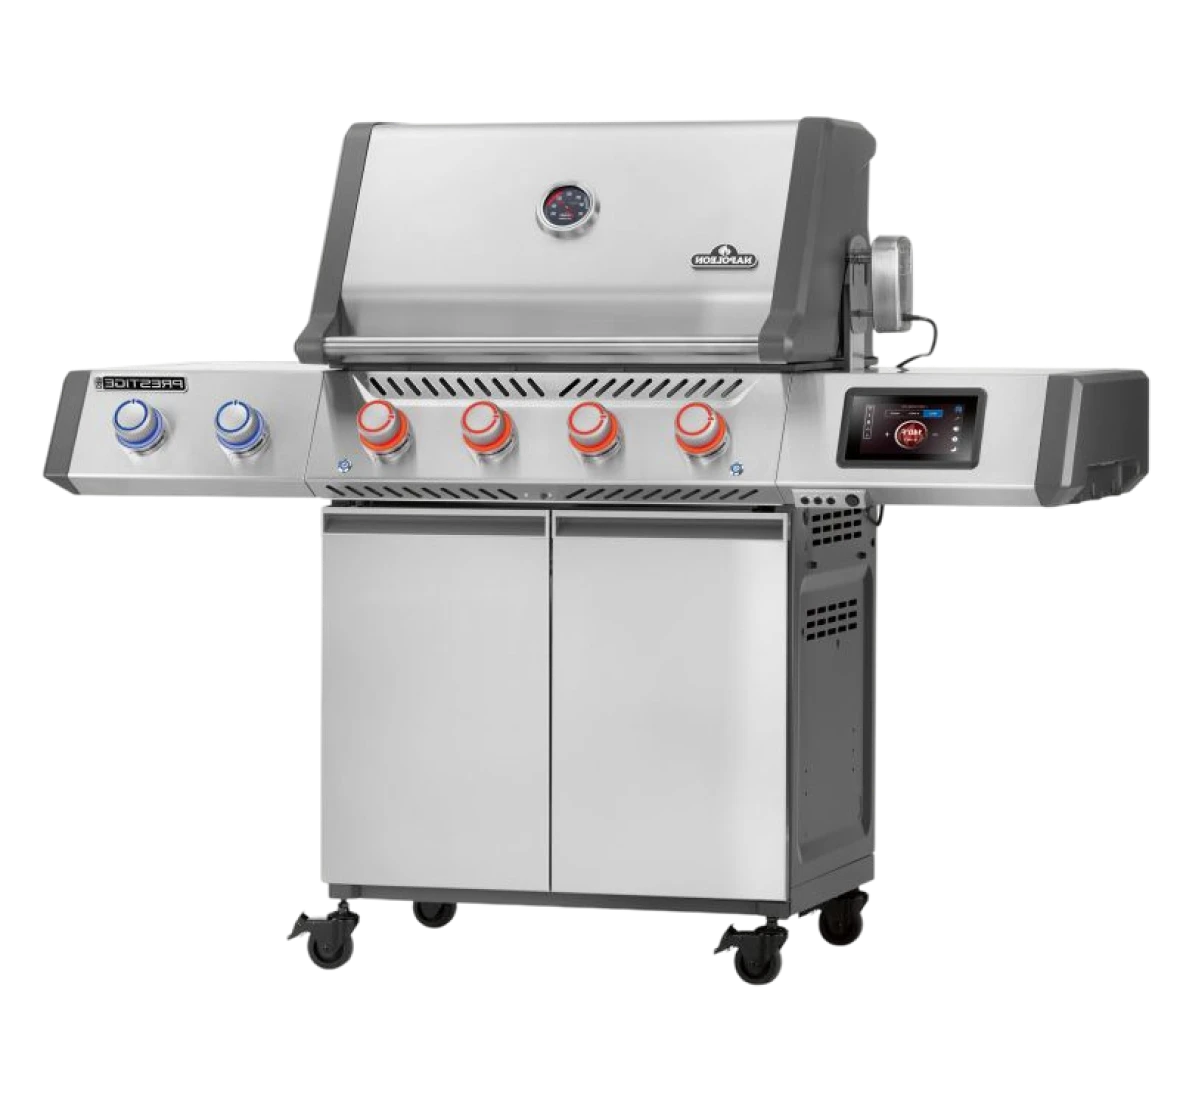
Propane Grills
Natural Gas Grills
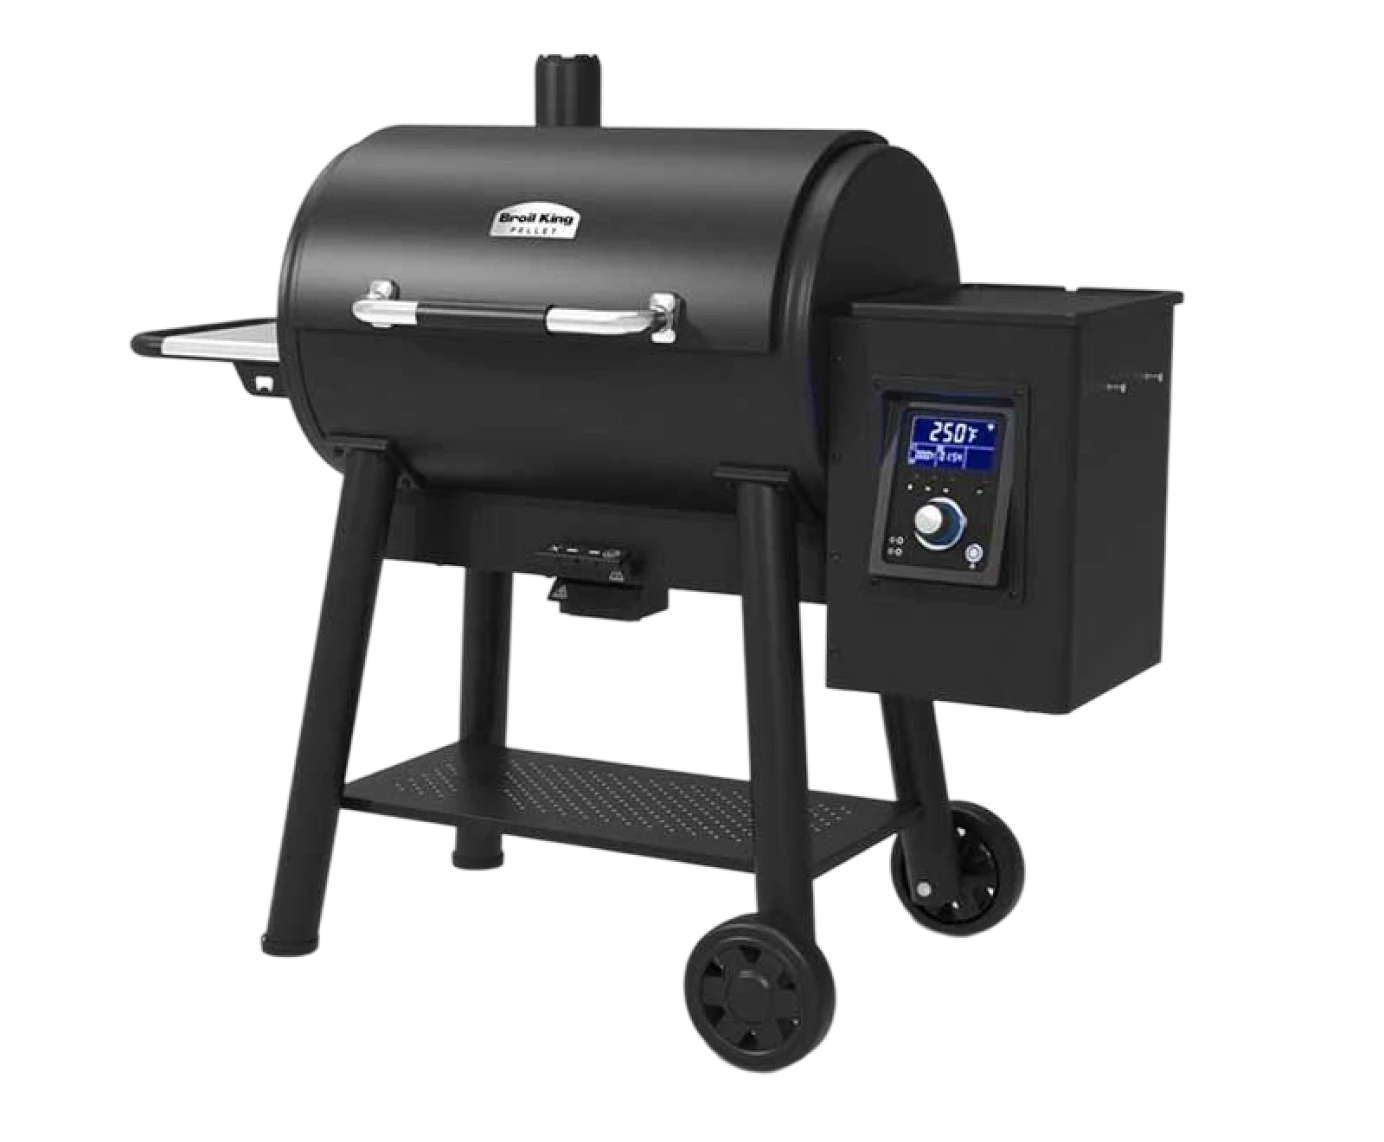
Pellet Grills
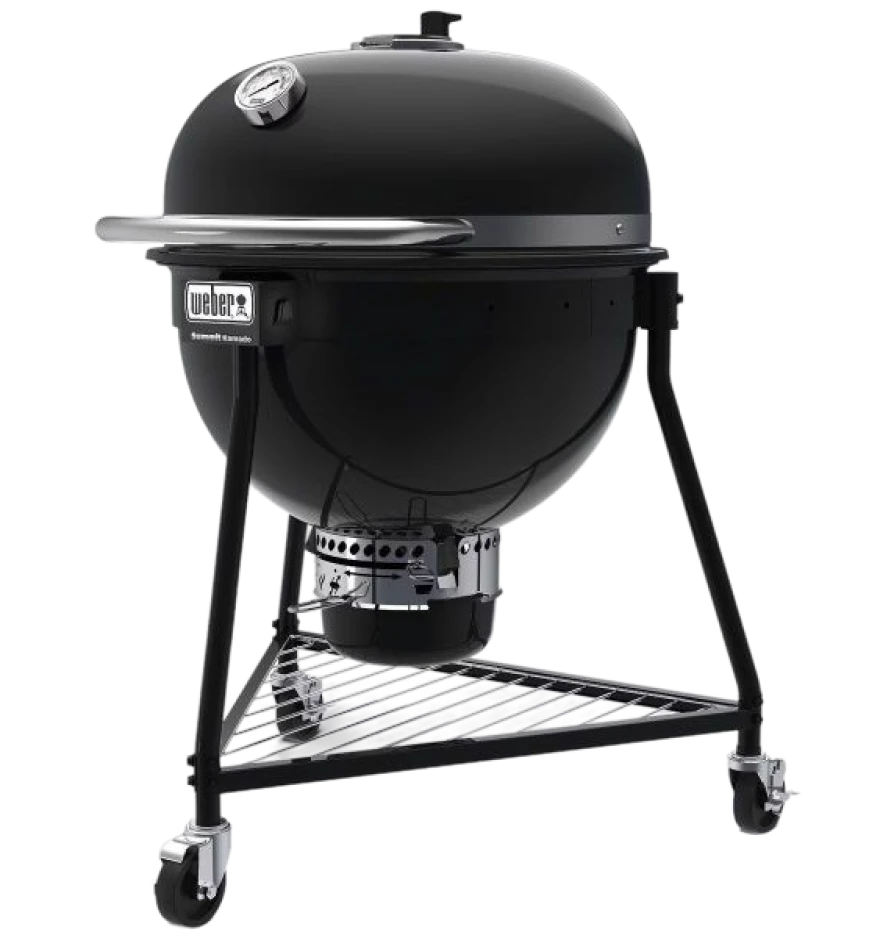
Charcoal Grills
Step 4 —
Protect Every Metal Surface Against Rust
Rust prevention begins only after every component is completely dry.
This is where patience pays off.
Any trapped moisture sealed beneath protective oils or covers simply remains there throughout winter.
Allow every component to air dry before proceeding.
Protect Cast Iron
Apply a thin coating of:
Avoid thick coatings that become sticky or attract dust.

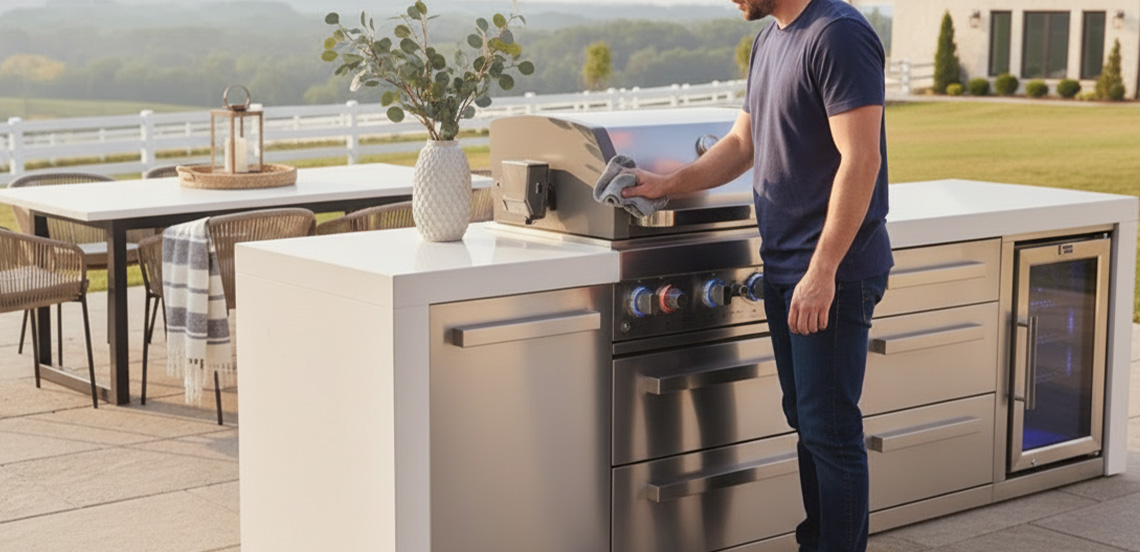
Protect Stainless Steel
Use a stainless steel cleaner formulated specifically for outdoor appliances.
Wipe with the grain of the metal to reduce streaking while leaving behind a protective barrier against moisture and fingerprints.

Protect Painted Components
Inspect painted surfaces for:
Small chips should be touched up before moisture reaches bare steel underneath.
Don’t Forget Small Metal Parts
Also protect:
These smaller components often begin rusting long before the larger body panels.
Step 5 —
Cover or Move the Grill Into Storage
The final step is also the one most people think of first.
But remember:
A grill cover is not a substitute for proper cleaning and maintenance.
It simply protects all the work you’ve already completed.
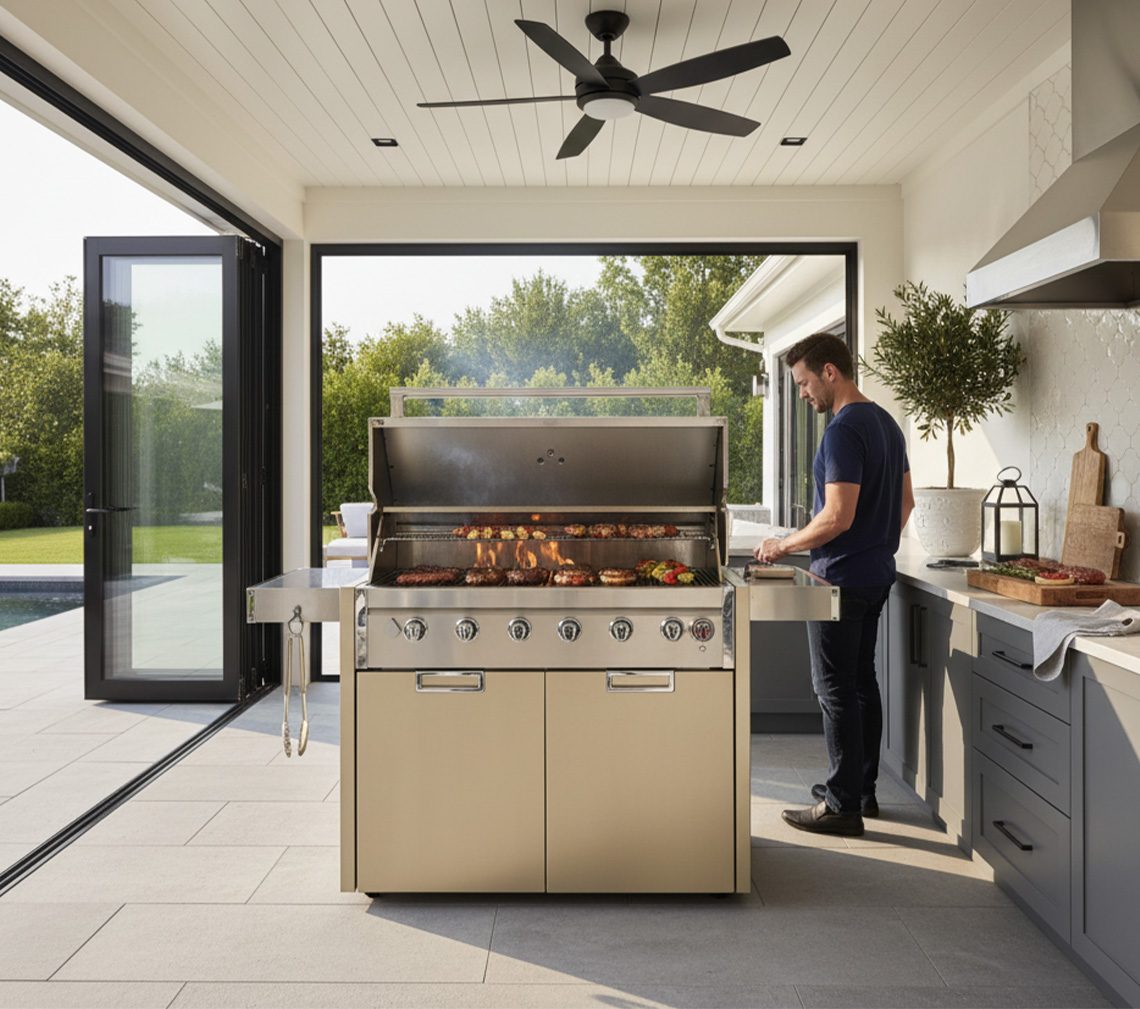
If Indoor Storage Is Available
If the Grill Stays Outdoors
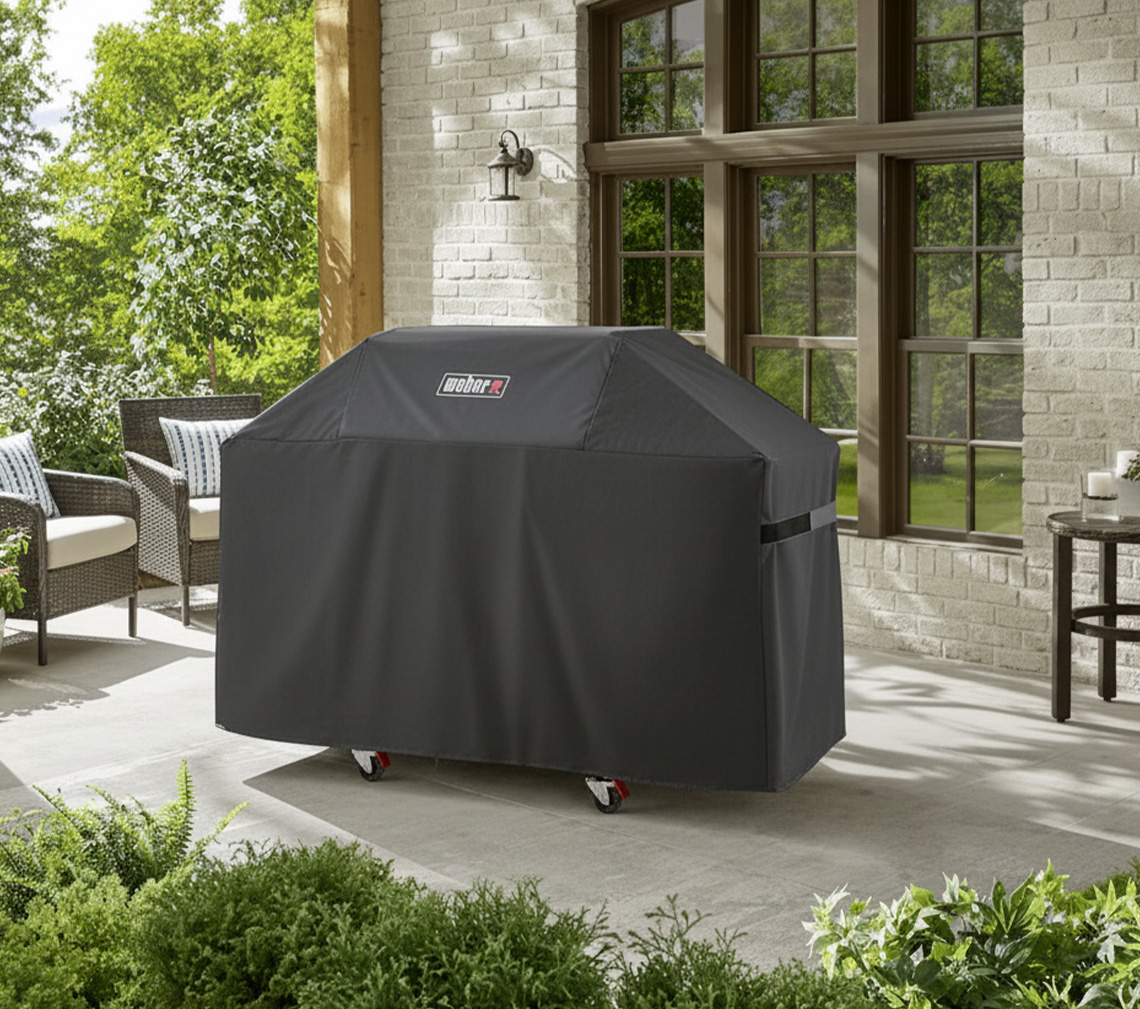
A well-fitted, breathable grill cover protects against snow, rain, bird droppings, tree sap, and airborne debris while allowing moisture to escape naturally.
For homeowners replacing worn covers, this is another area where Grillio’s weather-resistant grill covers and outdoor protection accessories can help extend the life of your equipment without adding unnecessary maintenance.
Winterizing Different Grill Types: At-a-Glance Comparison
| Grill Type | Key Winterization Priorities |
|---|---|
| Gas Grill | Clean burners, disconnect propane or shut off natural gas, inspect hoses, protect ignition system, cover with a breathable cover. |
| Charcoal Grill | Remove all ash, oil cast iron grates, clean vents, empty ash catcher, cover securely. |
| Pellet Grill | Empty hopper, vacuum fire pot, remove pellets, clean auger area, store pellets indoors in airtight containers. |
| Kamado Grill | Remove ash, inspect gaskets, keep top vent slightly ventilated if recommended by the manufacturer, protect ceramic surfaces with a fitted cover. |
How to Winterize the Rest of Your Outdoor Kitchen
Winterize Your Outdoor Kitchen & Grill
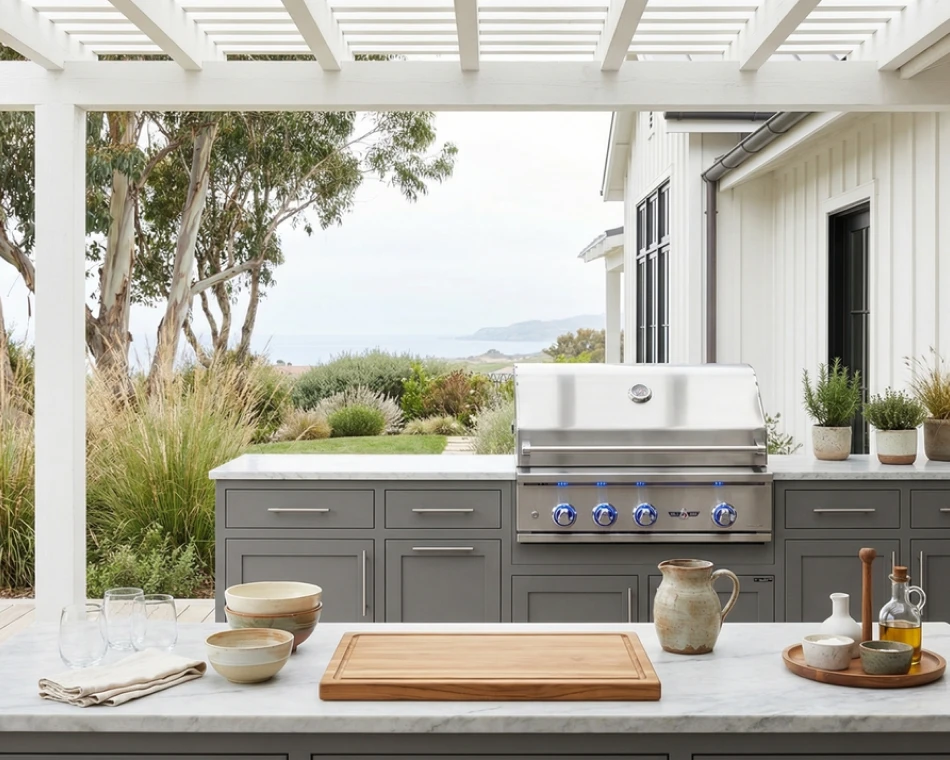
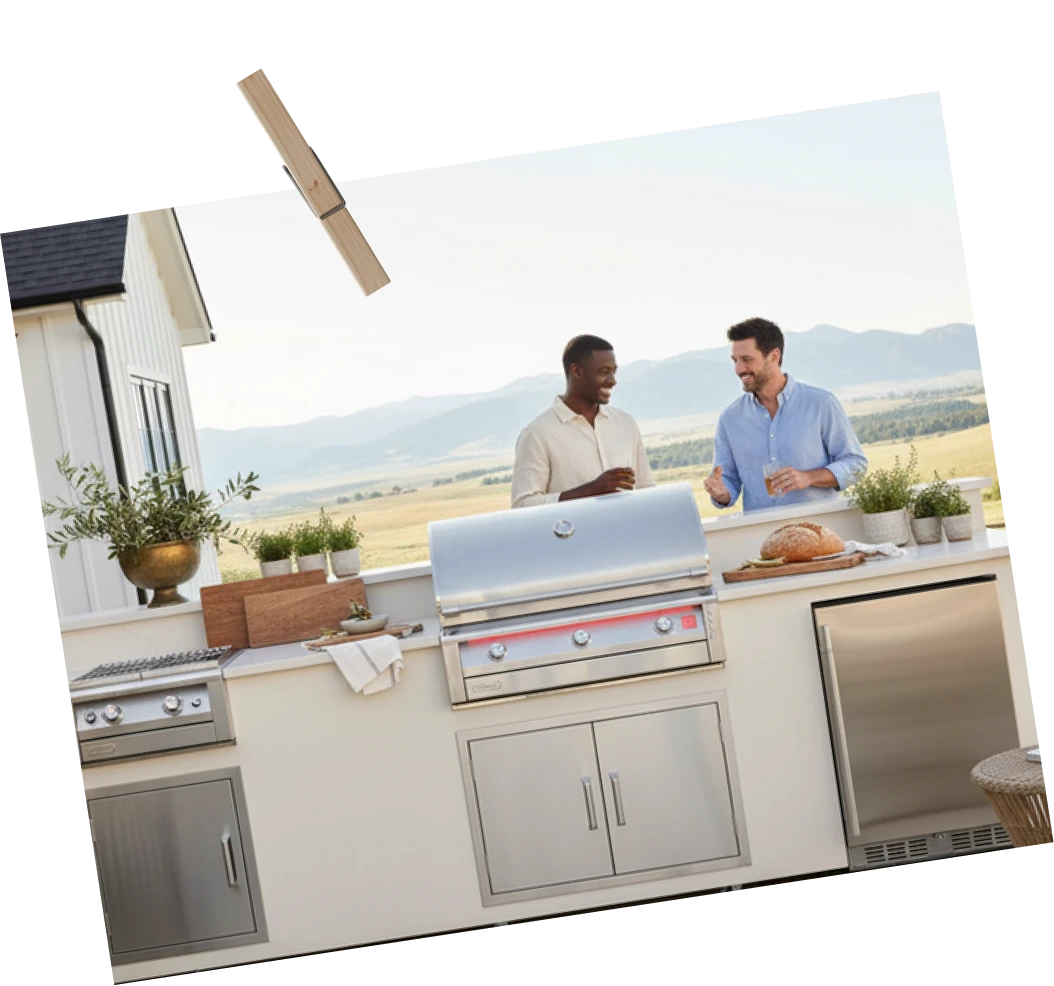
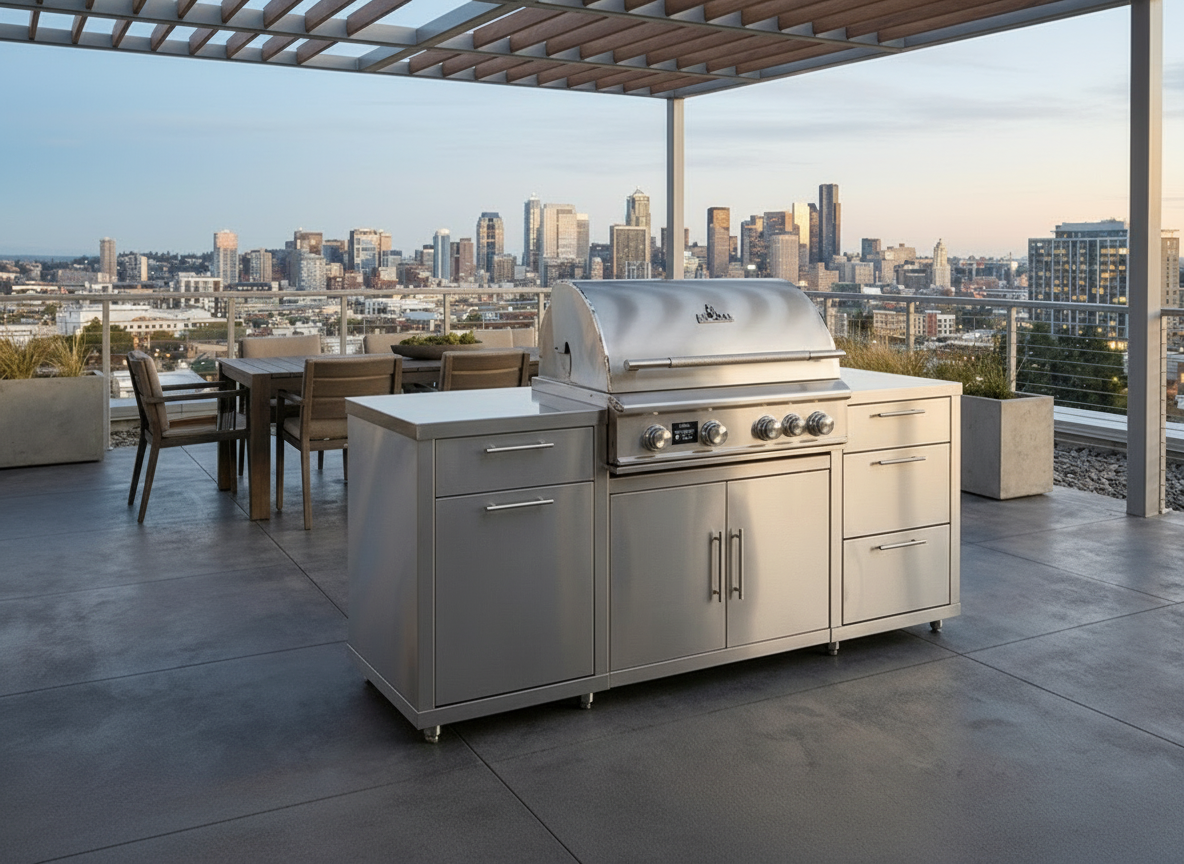
Winterizing your grill is only half the job. If your outdoor kitchen includes plumbing, refrigeration, cabinetry, electrical outlets, or built-in appliances, each component requires attention before freezing temperatures arrive.
Ignoring these areas can lead to burst pipes, cracked fittings, mold growth, damaged finishes, electrical corrosion, and repairs that often cost far more than the time required to prepare everything properly.
Treat your outdoor kitchen as a complete system rather than a collection of individual appliances.
Sinks and Plumbing — Shut Off, Drain, and Blow Out Water Lines
Water is responsible for the most expensive winter damage in outdoor kitchens.
Unlike indoor plumbing, outdoor water lines are directly exposed to freezing temperatures. As water freezes, it expands by roughly nine percent, placing enormous pressure on pipes, valves, faucets, filters, and fittings. Even a small amount of trapped water can crack copper, PEX, PVC, faucet cartridges, or supply lines.
Outdoor Refrigerators, Ice Makers, and Kegerators
Outdoor refrigeration units require more than simply unplugging them.
Food residue, standing water, and closed doors create ideal conditions for mold, mildew, and unpleasant odors during months of storage.
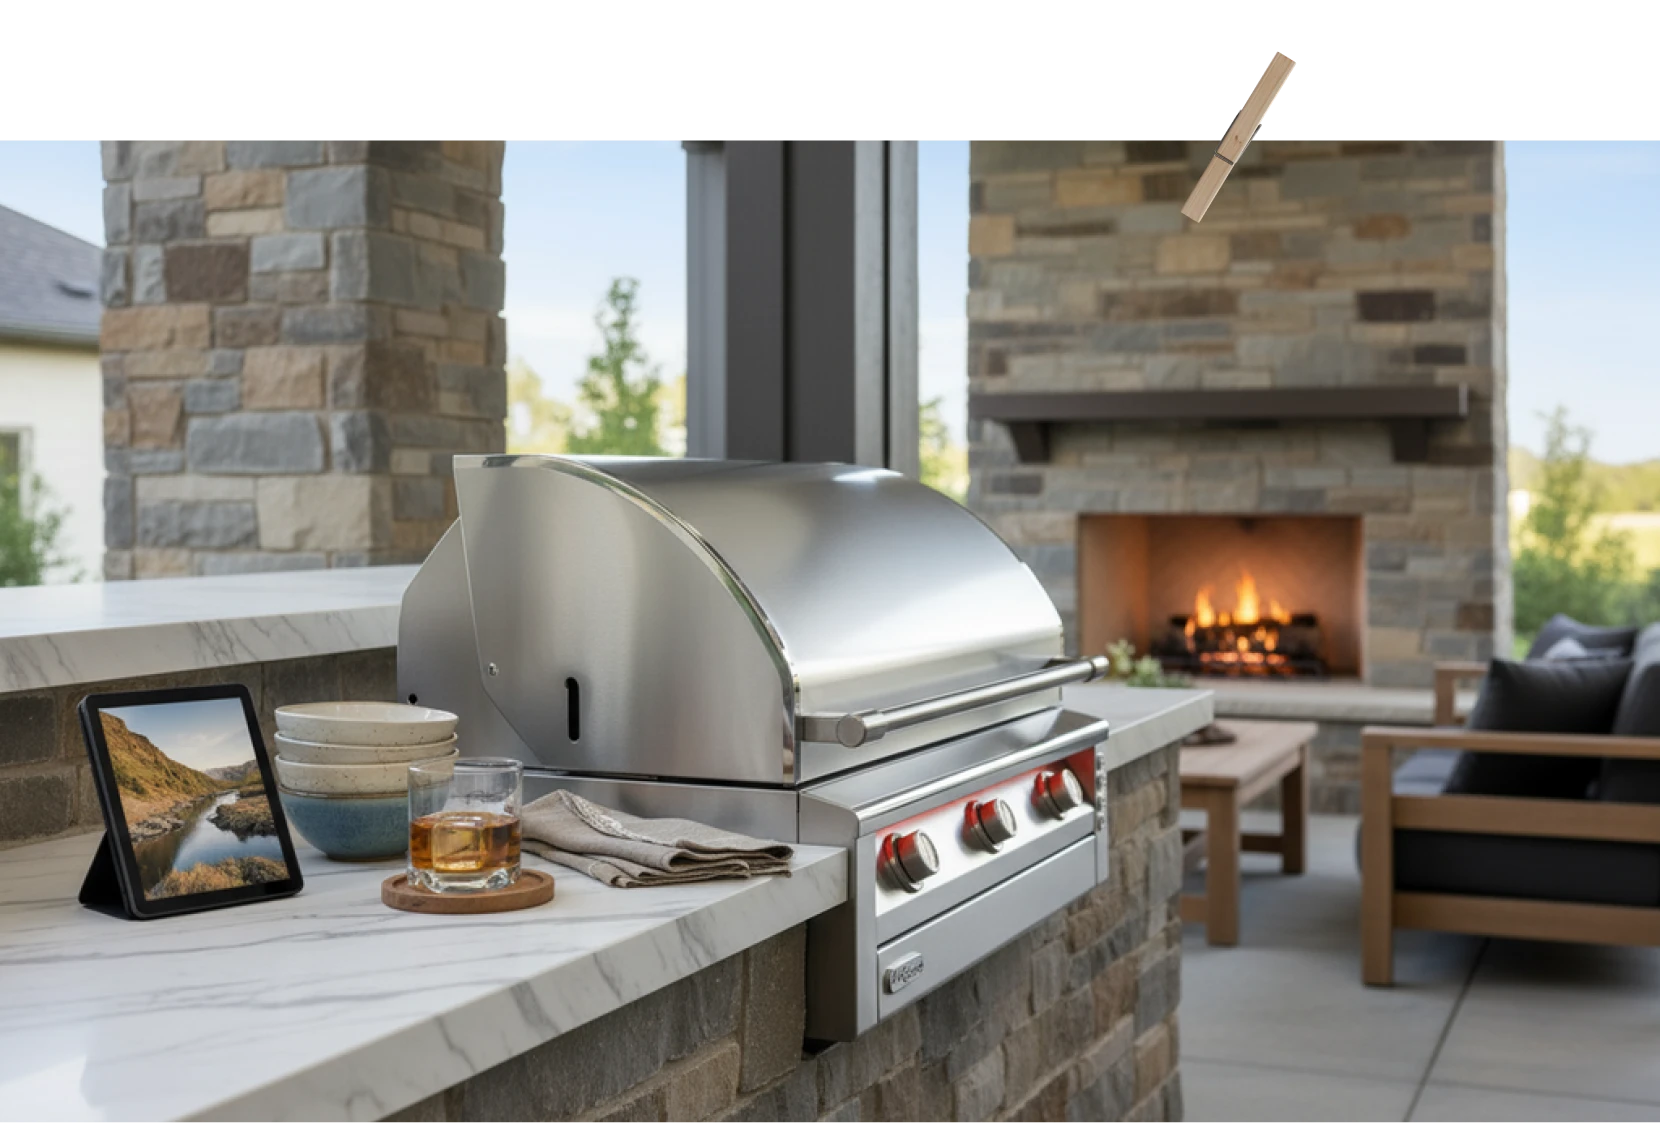
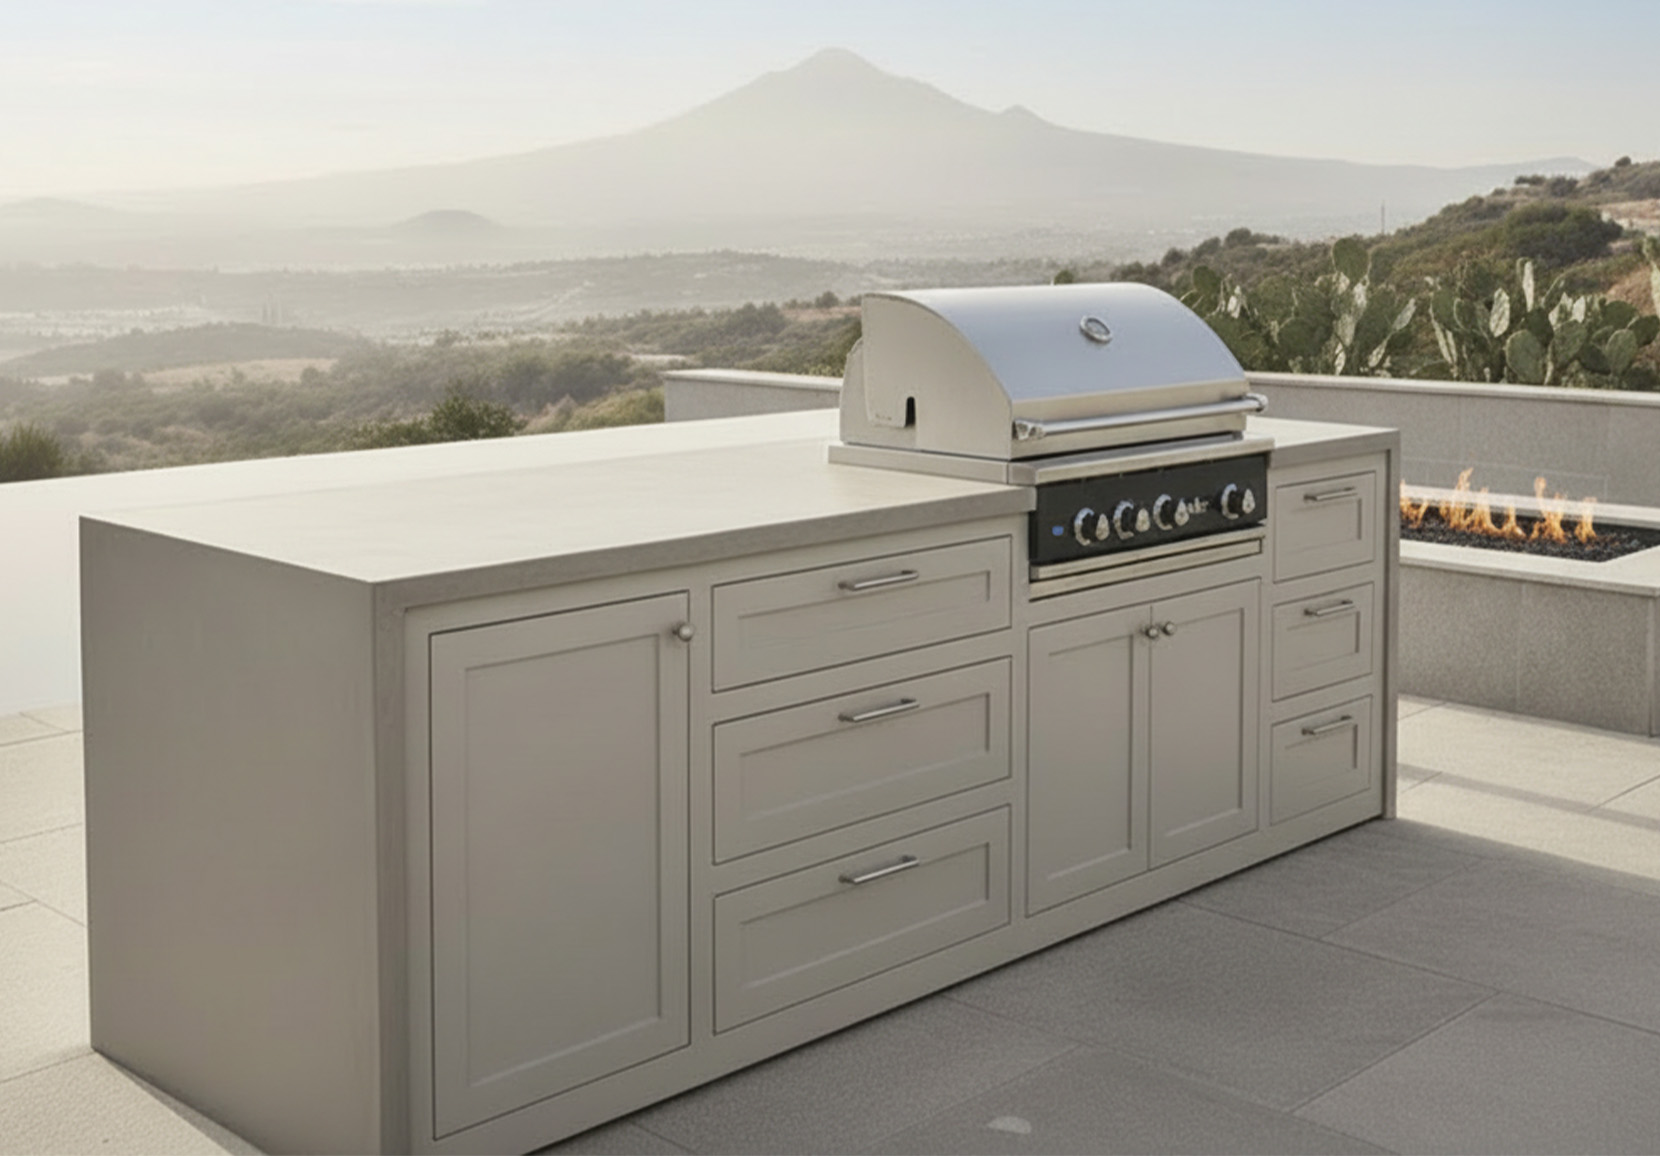
Countertops and Cabinetry
Countertops may appear durable, but winter weather slowly takes its toll if surfaces aren’t properly protected.
Different materials require different care.
Empty Every Cabinet
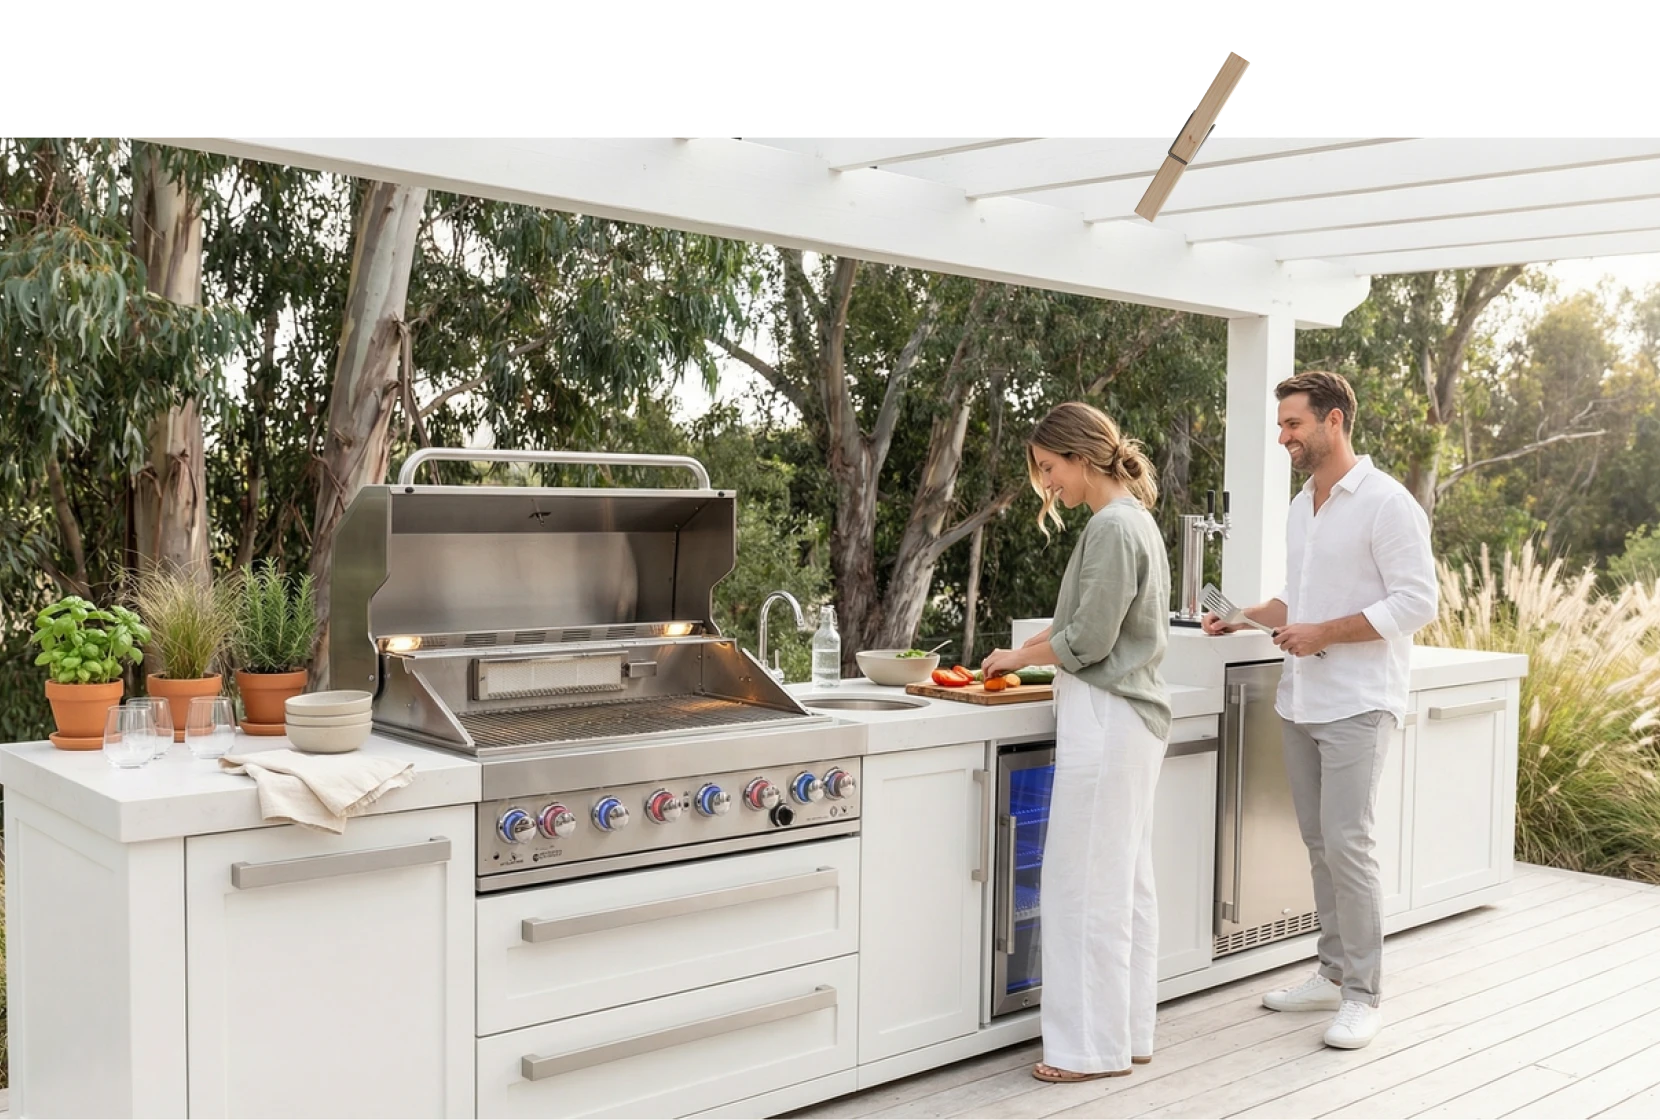
Outdoor cabinets often become unexpected winter homes for rodents.
Paper towels
Spices
Cleaning supplies
Grill tools
Charcoal starters
Plastic utensils
Pet food
Linens
Vacuum cabinet interiors before closing them for the season.
Adding moisture absorbers inside enclosed cabinets can also help reduce humidity in damp climates.
Outdoor Appliances & Electrical Components
Outdoor kitchens frequently include:
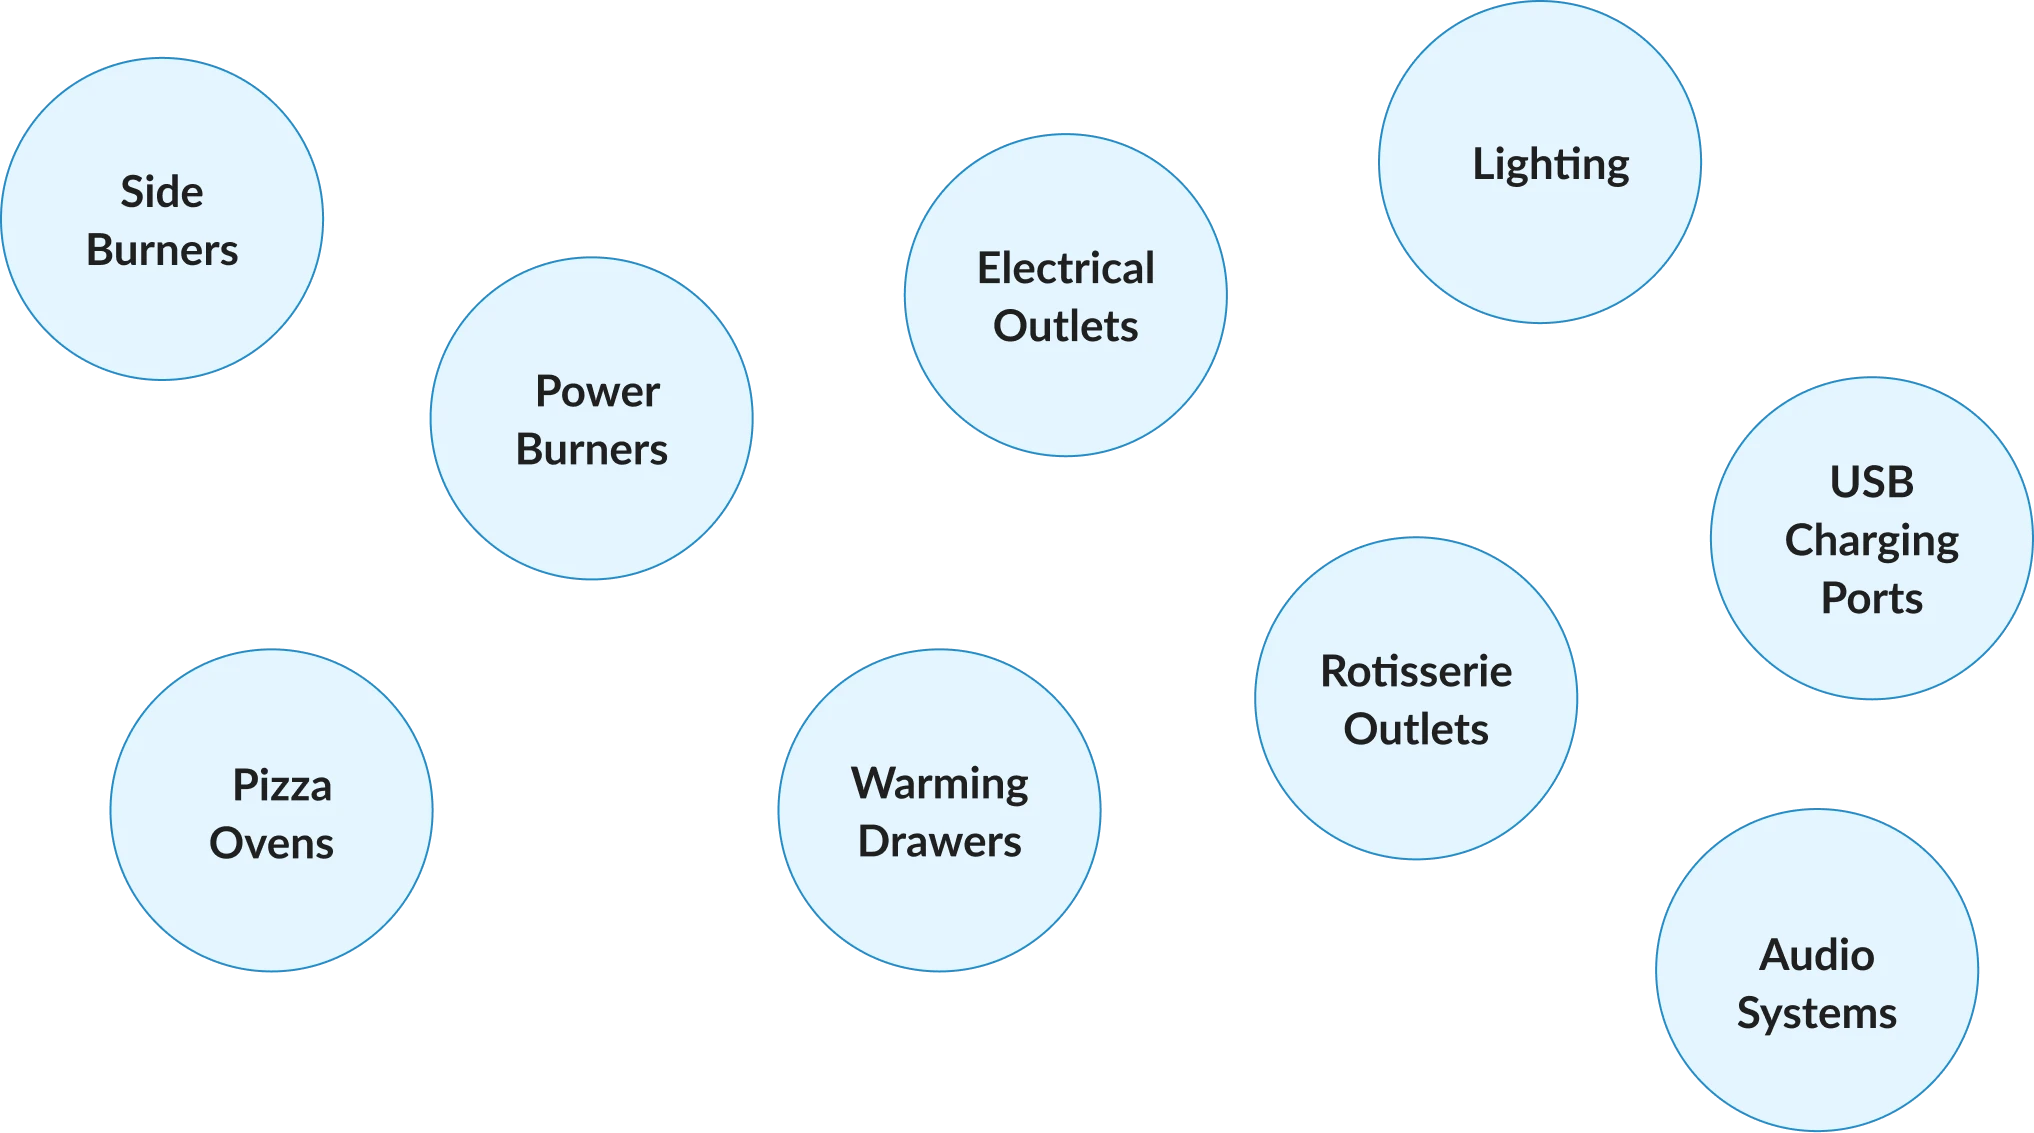
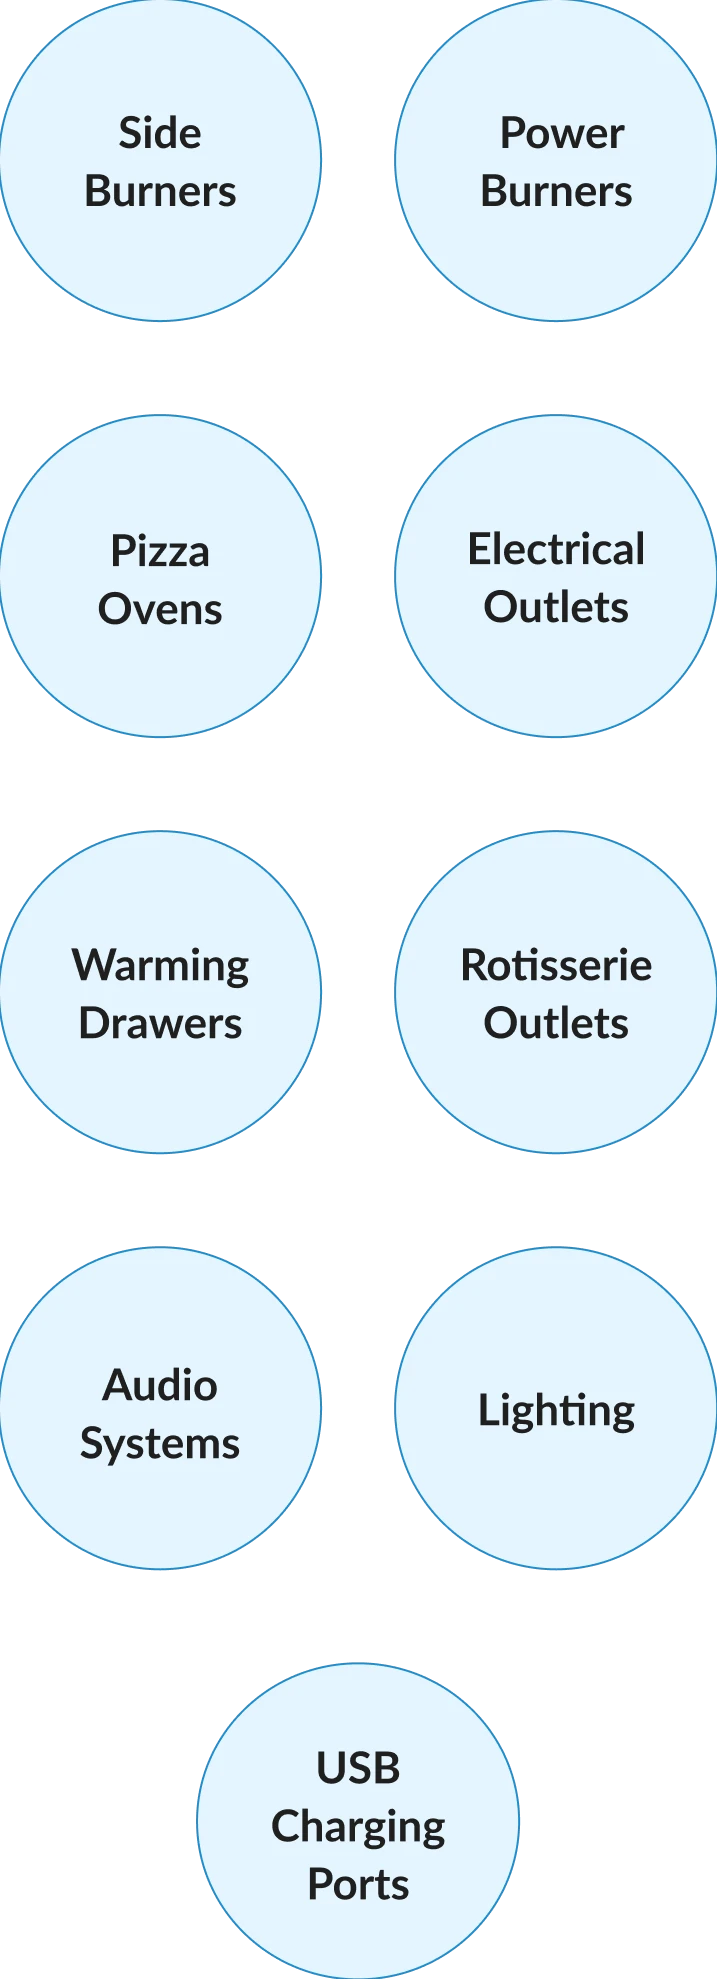
Each deserves a quick inspection.
Should You Cover or Store Your Grill for Winter?
Winterize Your Outdoor Kitchen & Grill
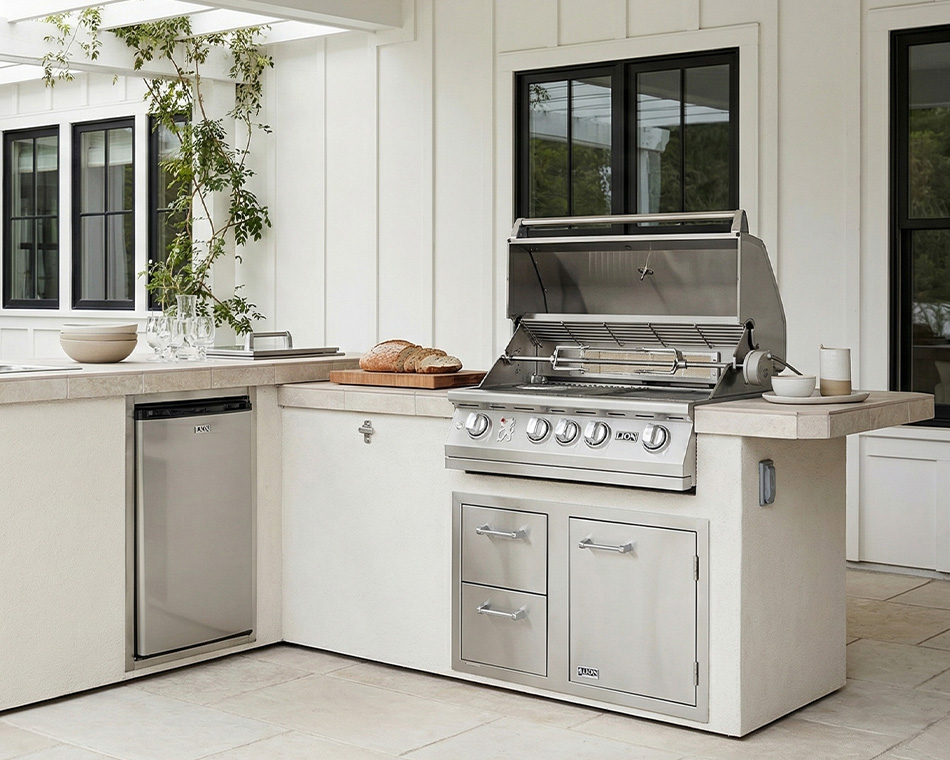
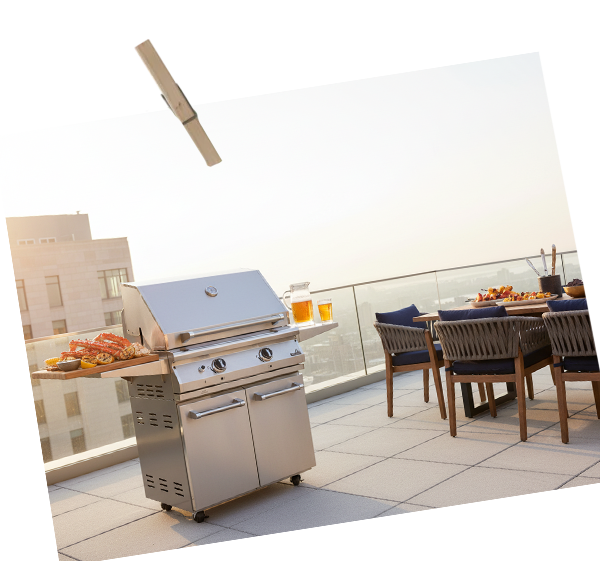
Yes—but the best answer depends on your climate, available storage space, and the type of grill you own.
Whenever possible, storing a grill inside a detached garage, storage shed, or enclosed outbuilding provides the greatest protection.
However, millions of homeowners successfully leave grills outdoors year-round.
The difference is preparation.
A properly fitted weather-resistant cover is one of the simplest—and most effective—ways to extend the life of your grill. If your existing cover has torn seams, faded waterproofing, or no longer fits properly, replacing it before winter is a worthwhile investment. Grillio offers a range of durable grill covers designed to shield outdoor cooking equipment from snow, rain, UV exposure, and everyday outdoor debris while still allowing airflow to reduce trapped moisture.
What If You Don’t Have Indoor Storage?
No garage?
No problem.
Many homeowners successfully protect grills outdoors by:
Placing the grill on a paved surface rather than grass.
Keeping snow from accumulating around wheels.
Clearing standing water after storms.
Tightening cover straps regularly.
Inspecting the grill monthly during winter.
Even a five-minute inspection every few weeks helps catch problems before they become expensive repairs.
Common Winterizing Mistakes to Avoid
Winterize Your Outdoor Kitchen & Grill
Even experienced grill owners overlook important details.
Avoid these common mistakes:
Spring Reopening Checklist
Winterize Your Outdoor Kitchen & Grill
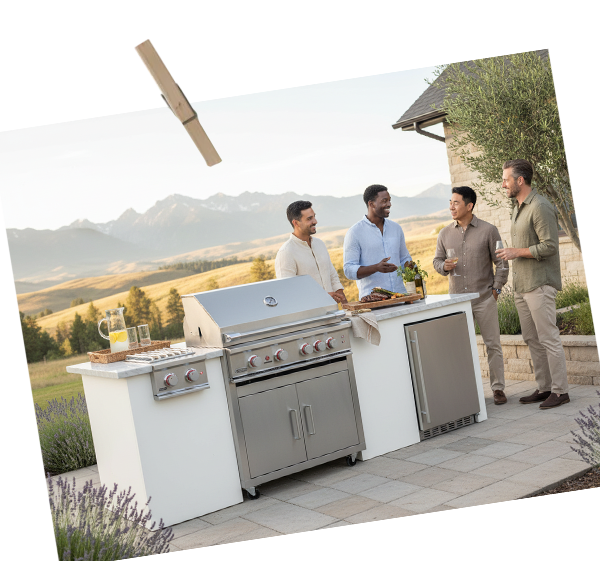
When warmer weather returns, resist the temptation to immediately fire up the grill.
Instead, spend a few minutes inspecting everything carefully.
Your Spring Checklist

A careful spring inspection helps ensure your first cookout is memorable for the food—not unexpected maintenance issues.
Final Thoughts
Winterize Your Outdoor Kitchen & Grill
By cleaning thoroughly, protecting vulnerable metal surfaces, shutting down gas and water systems correctly, inspecting appliances before storage, and investing in quality protective covers, you’ll dramatically reduce the likelihood of costly repairs while extending the life of your outdoor kitchen.
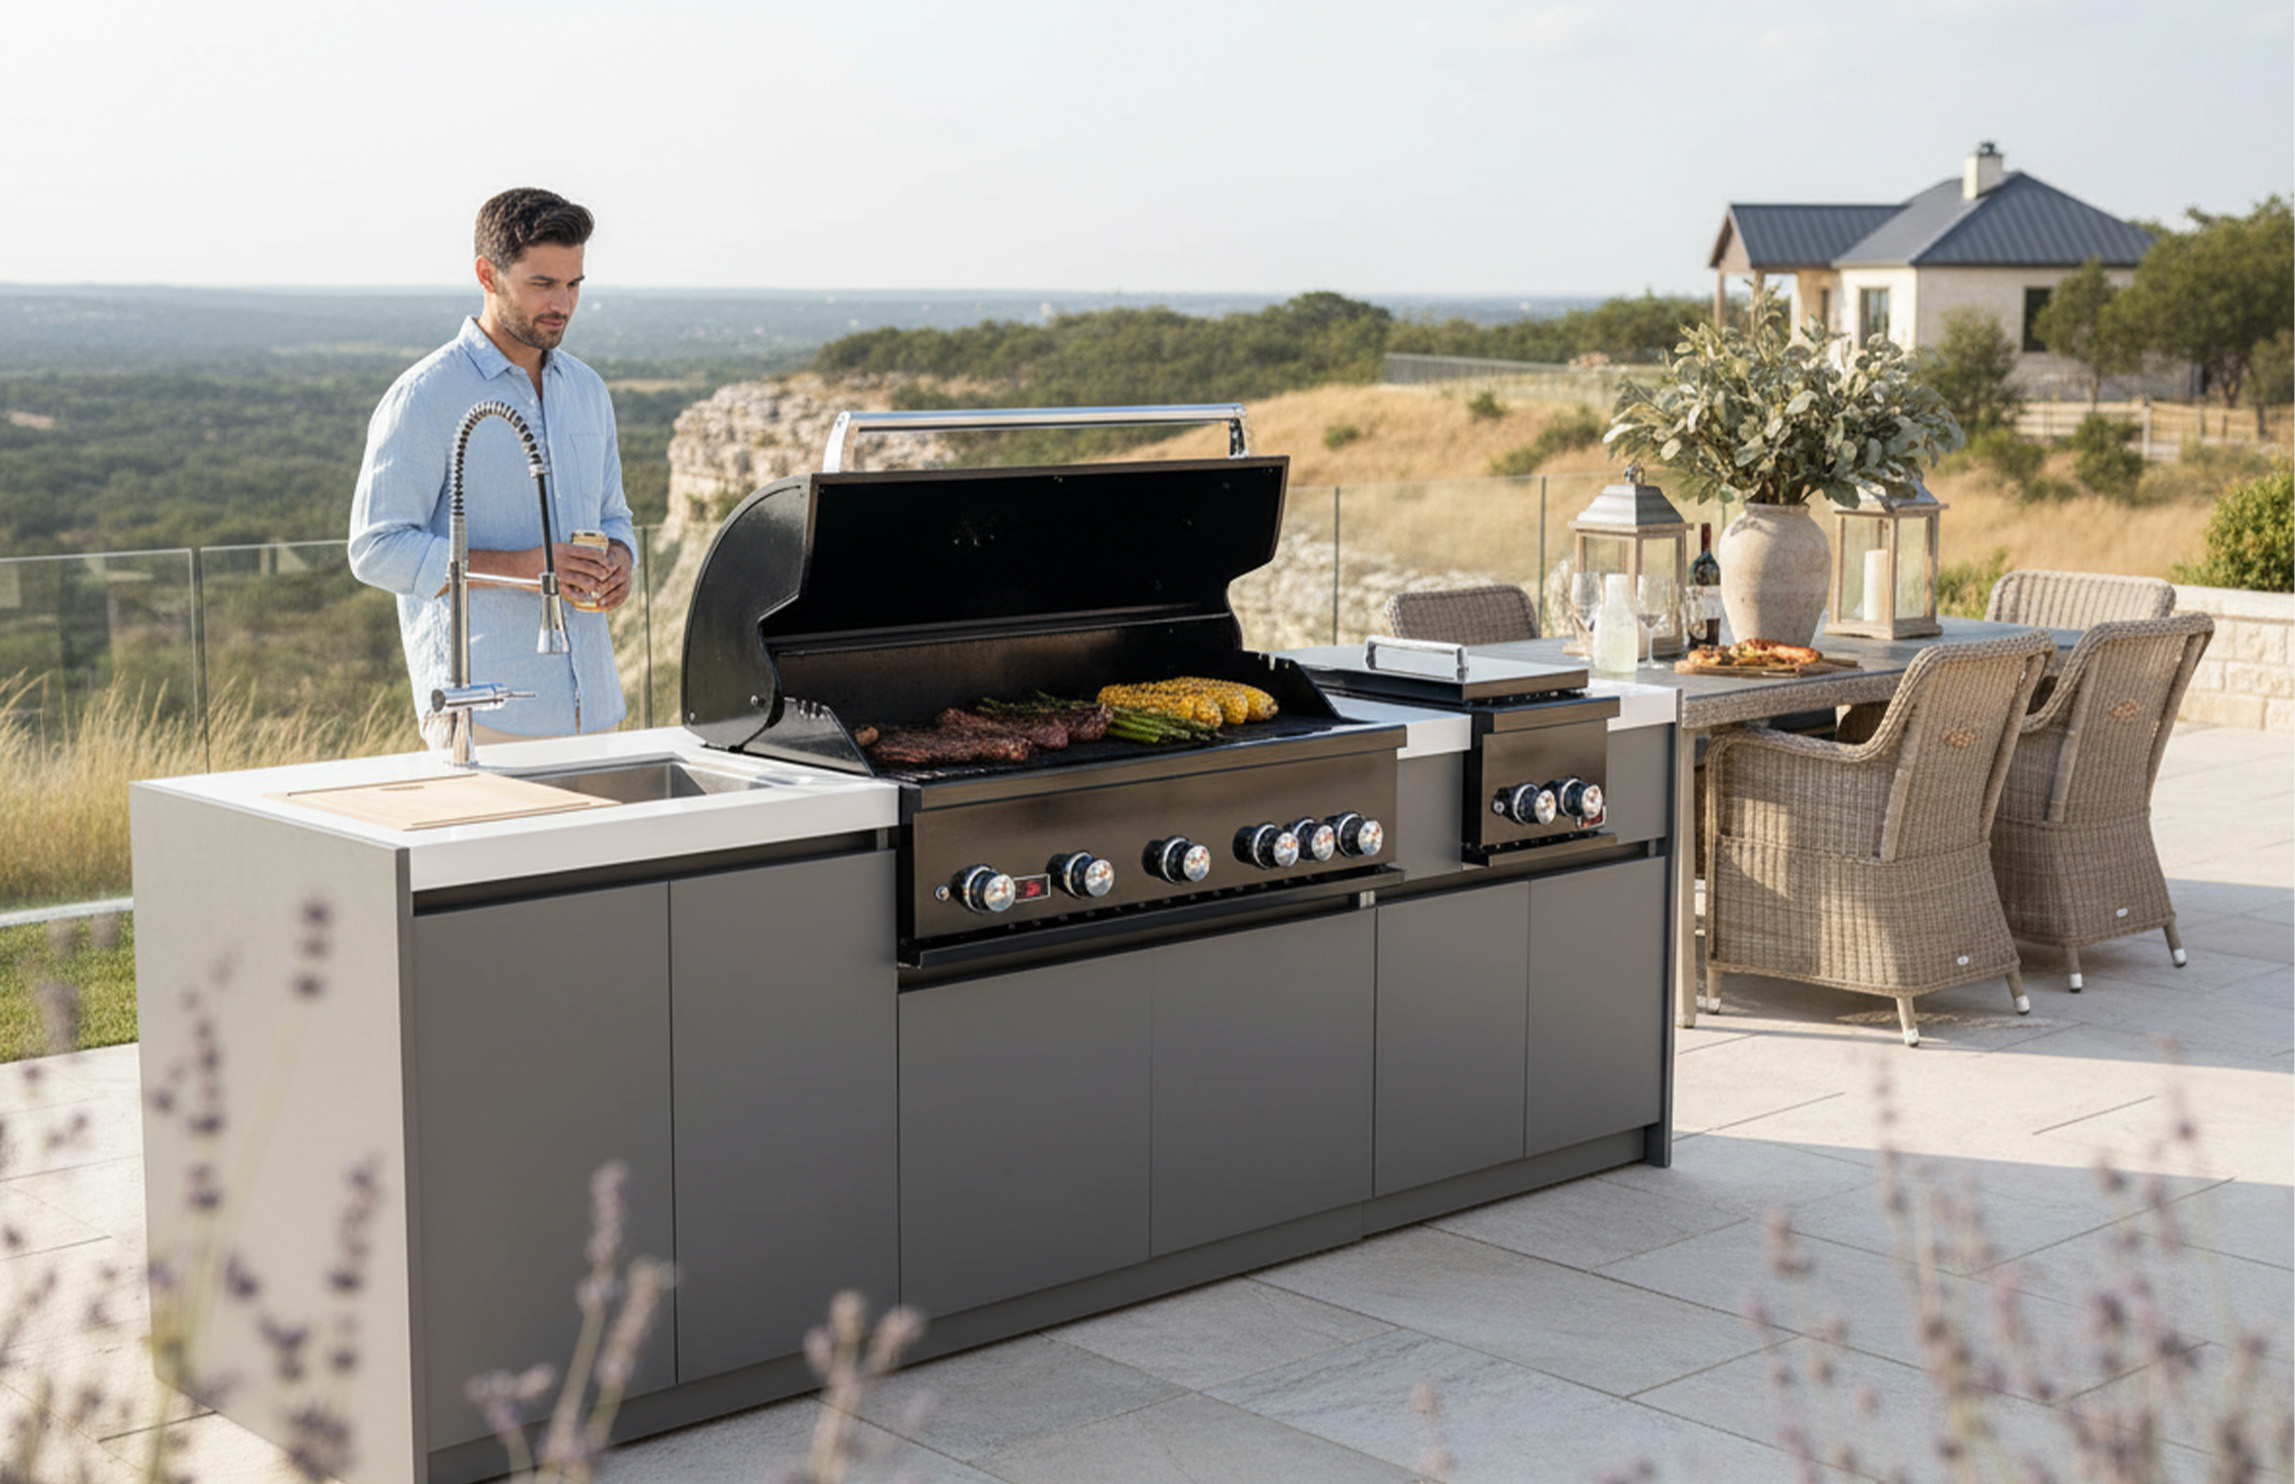
By cleaning thoroughly, protecting vulnerable metal surfaces, shutting down gas and water systems correctly, inspecting appliances before storage, and investing in quality protective covers, you’ll dramatically reduce the likelihood of costly repairs while extending the life of your outdoor kitchen.