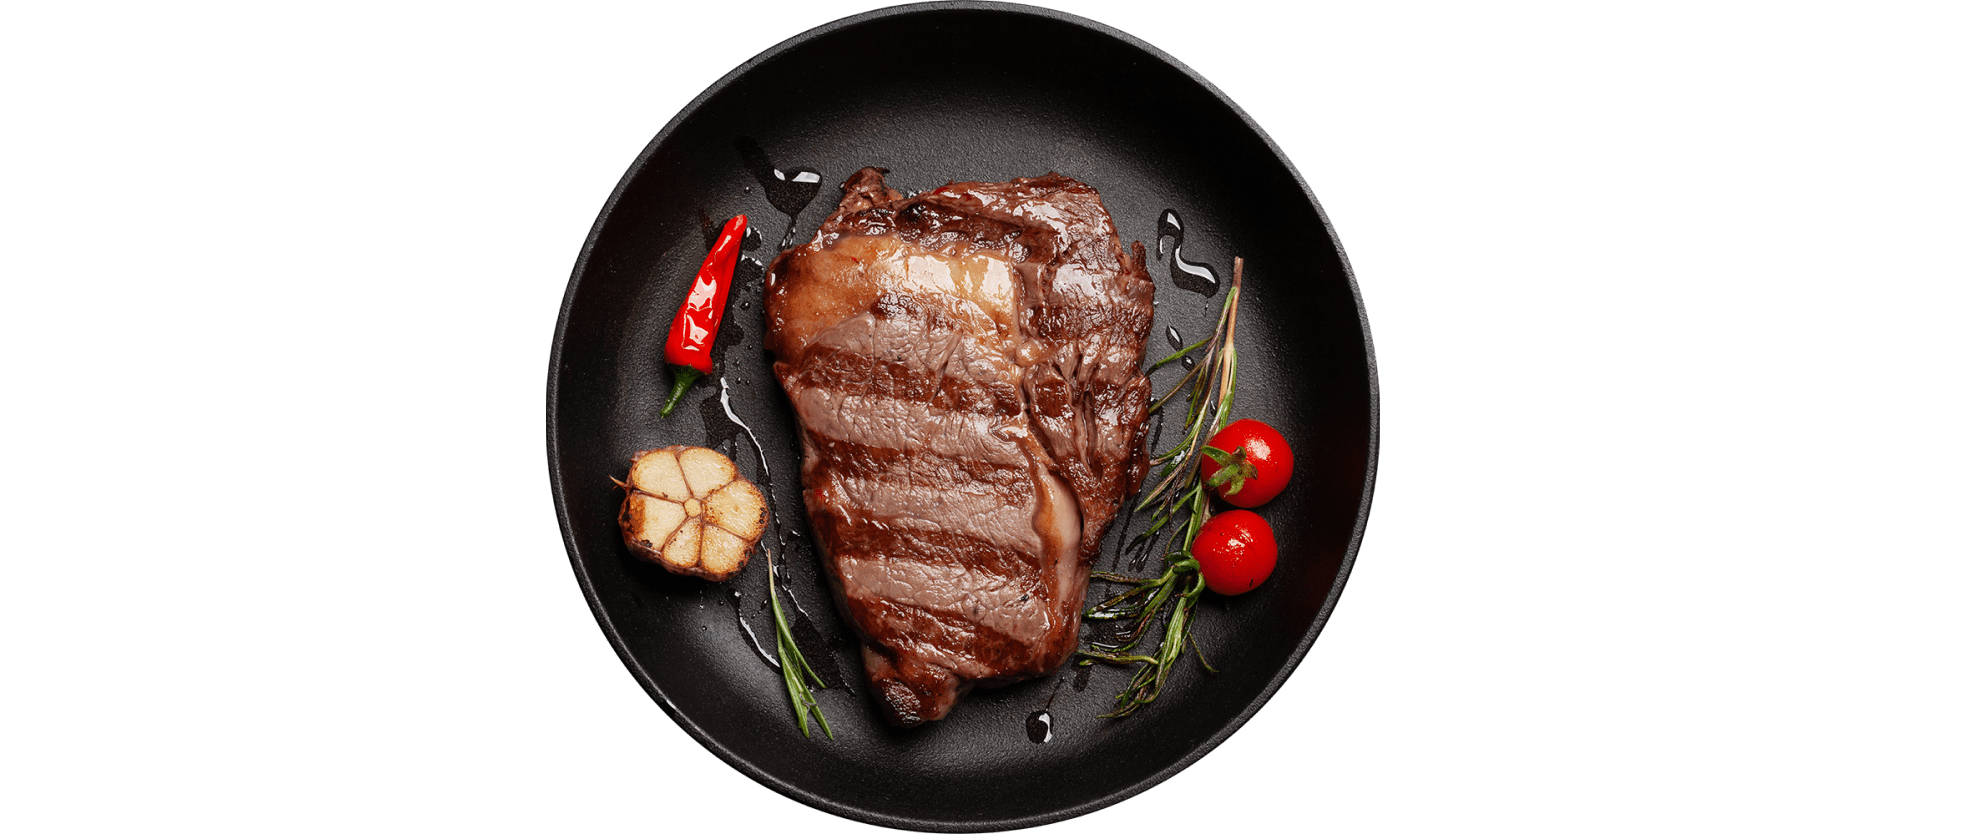
What is Reverse Searing?


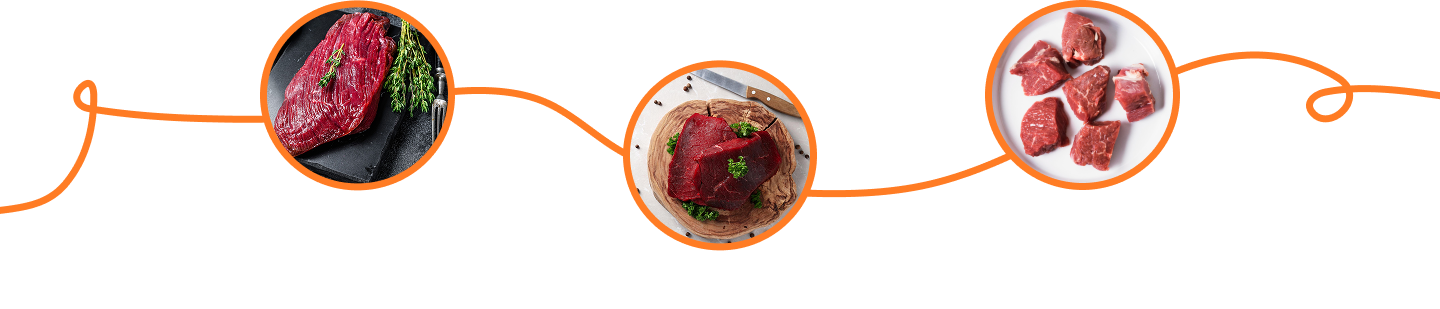
Slicing into your meat to find that it’s too dry is incredibly frustrating, especially if you’ve spent your well-earned dollars on a premium cut.
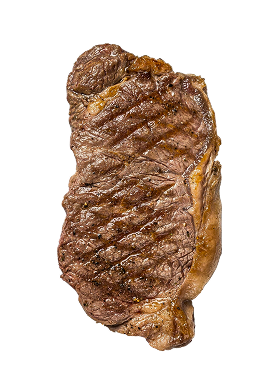
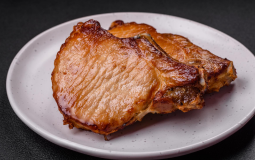
Even if you’ve invested in the right equipment, it might be time to take a look at your cooking technique. While the traditional searing method is great for thinner cuts, thicker meats require a different approach for maximizing moisture.
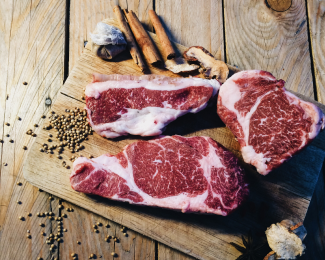
traditional searing
method is great for
thinner cuts
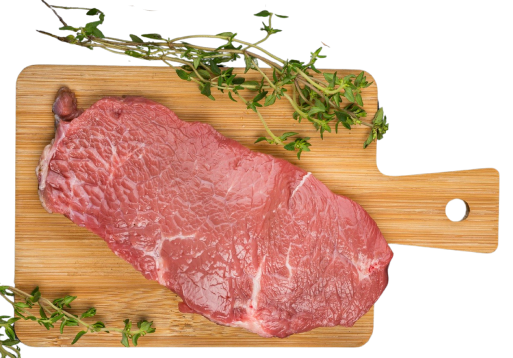
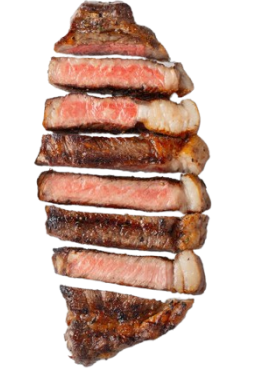
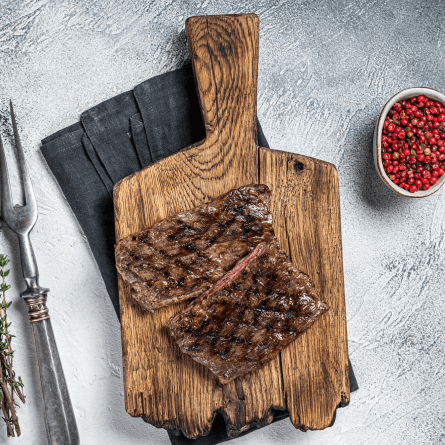
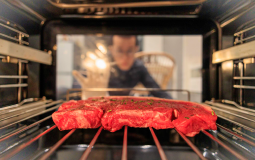
Thick meats benefit
from reverse searing
for moisture.
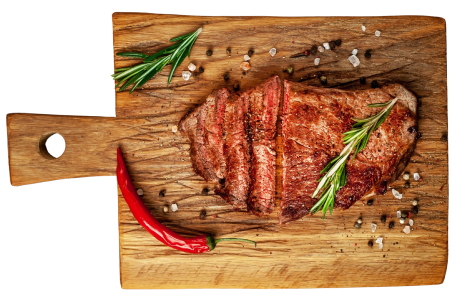
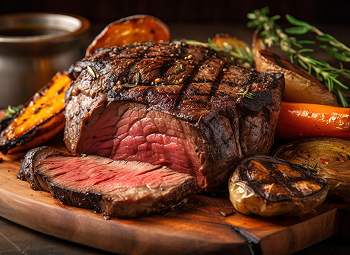
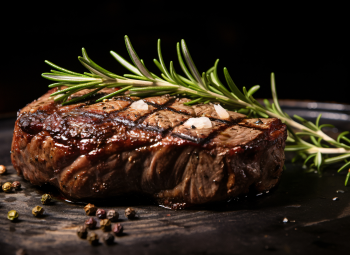
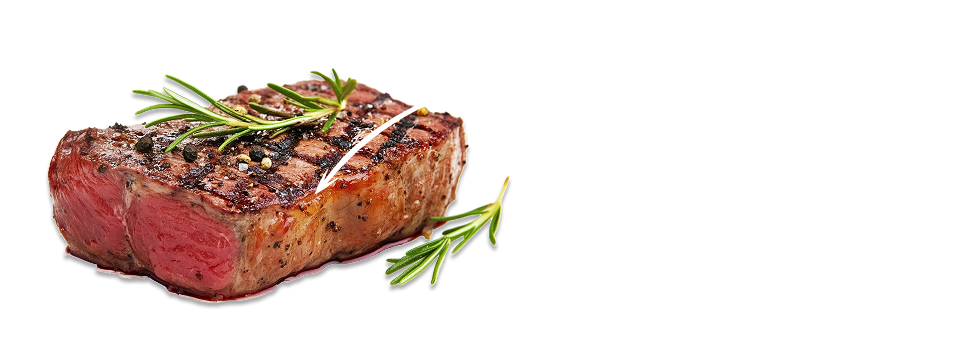
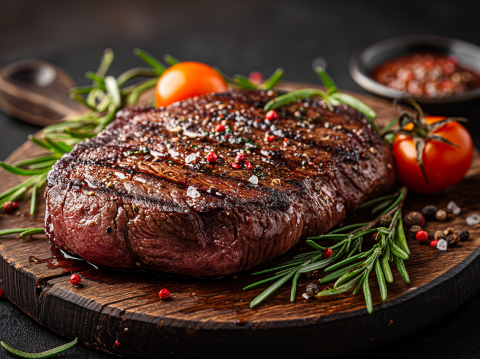
Introducing reverse searing, which produces consistently cooked pieces of meat with delicious golden crusts.

In this comprehensive guide, our experts here at Grillio will explain the ins and outs of this method, so that you can serve perfectly cooked meat every time.
Understanding
Reverse Searing
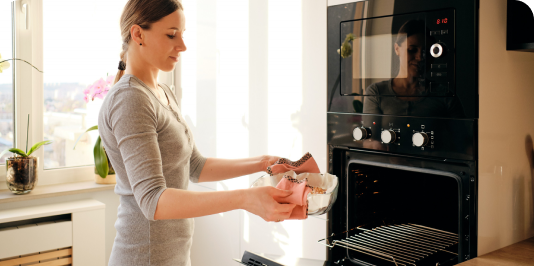
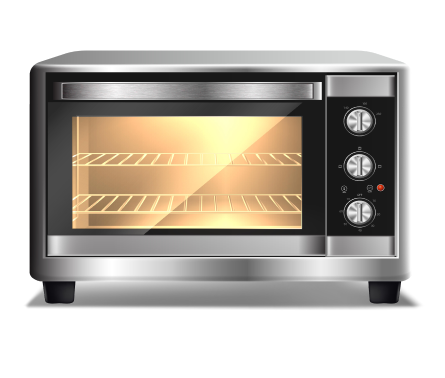
Reverse searing involves baking a piece of meat at a low temperature, before ramping up the heat to finish it off. While the first phase takes place in an oven, the final stage should involve a hot pan or good-quality gas grill.
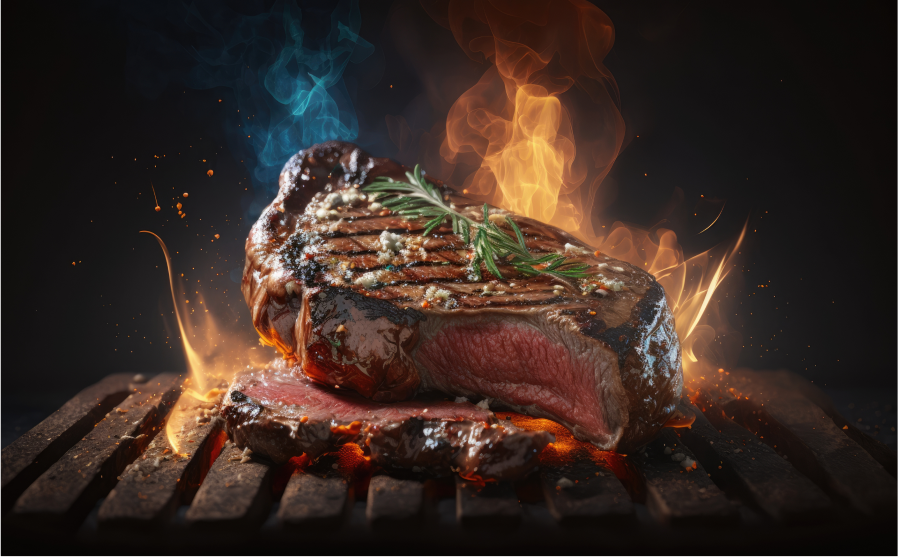
With most of the cooking time being spent at a low temperature for a velvety soft inside, the final 1 to 2 minutes must be completed over an extremely high heat, which creates a flavourful crust on the outside.
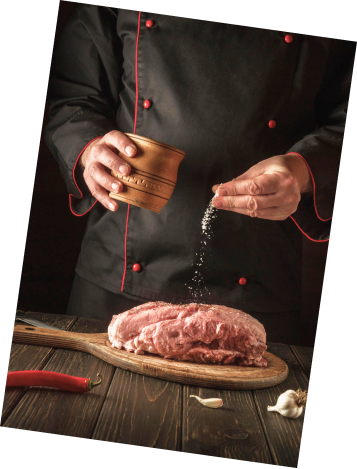
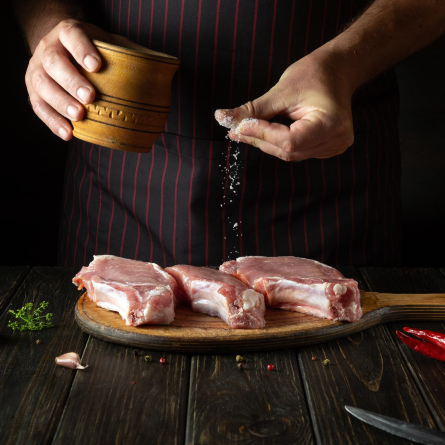
Season meat generously
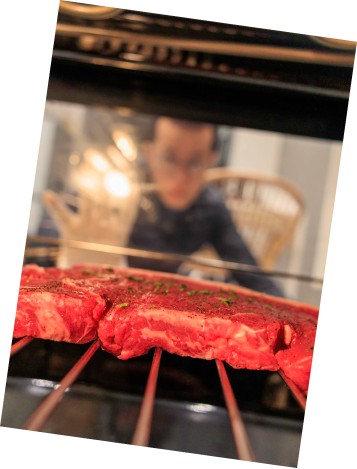
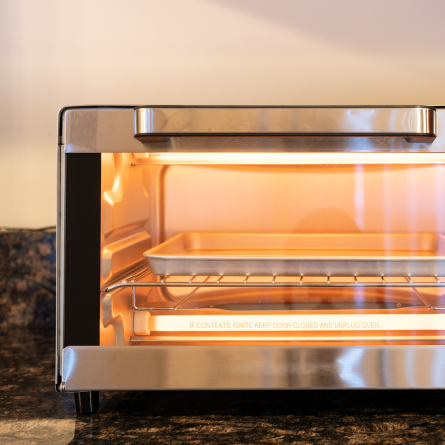
Slowly cook in low-temperature oven
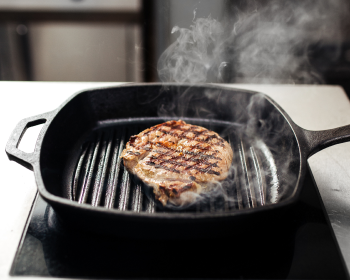
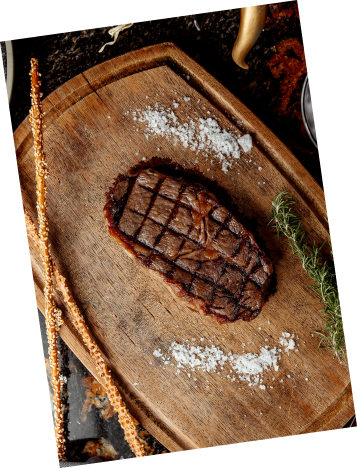
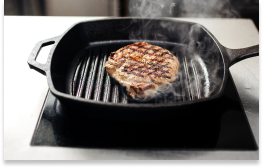
Finish with high-heat sear
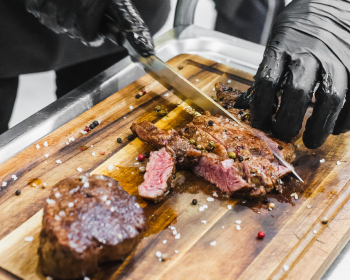
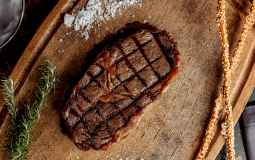
Rest before slicing and serving.
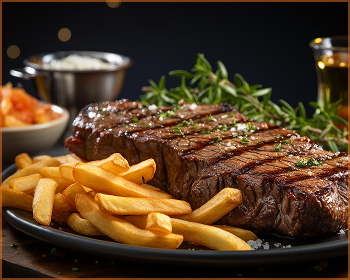
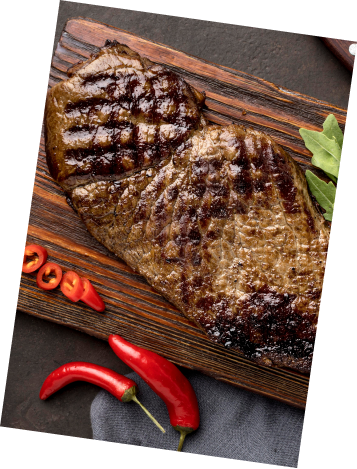
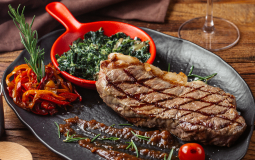
Serve the flavourful crusted meat
What is the Difference Between Traditional Searing and Reverse Searing?
Both techniques are similar for producing evenly cooked meats, but reverse searing takes an opposite approach to the traditional sear. Here are the main differences:
The traditional or “front” searing method involves first cooking your favorite piece of meat at a high temperature in a pan. The meat is then transferred to an oven or cooler part of the grill, where it should be roasted at a lower temperature.
Choosing to sear a piece of meat this way quickly creates a golden brown crust on the outside, as the heat does most of the cooking for you.
Reverse searing takes pretty much the same approach, but in the opposite order. The magic of this method is all in the low temperature, which creates a more even finish for your meat overall.
Rather than starting on high heat, you’ll instead place the desired cut of meat in an oven or lower-temperature grill. Let it cook until it reaches the correct internal temperature, before placing the meat in a hot pan to quickly finish forming the crust.
Benefits of
Reverse Searing
If you’re a meat enthusiast, reverse searing provides a great opportunity to level up your cooking game. Get your electric grill fired up and explore three benefits of this fantastic method below:
01 Consistent
Cooking
Slow oven ensures proper cooking.
Reverse searing avoids overcooking
Gives Golden crust, juicy interior.
When cooking a thicker cut, you will always run the risk of getting a crisp outside, but an under-done middle. In this scenario, you’ll need to place it back into a pan or oven, hence potentially overcooking that perfect crust and leaving the meat dry.
However, the low oven temperature of reverse searing allows the meat to cook through properly, without overcooking the outside. The fast final sear helps the golden crust fully develop, leaving a medium-rare interior that isn’t tough or chewy.
02 CImproved Texture and
Moisture Retention
In comparison to the traditional method, studies show that meats cooked using a mild heat treatment method are less chewy.
By gradually bringing your meat to its ideal internal temperature on a low heat, connective tissues within the muscle fibers are less likely to constrict. Instead, the tissues will relax, which allows more moisture in rather than squeezing it out.
At the end of the process, searing on high heat for a short time locks in that water content, therefore keeping the meat nice and juicy.
Mild heat treatment reduces meat chewiness
Low heat relaxes connective tissues
High heat searing preserves meat juiciness
03 Enhanced
Flavor
Low heat ensures even internal temperature
Remove moisture for effective reverse searing
Melanoidins create delicious dark browning
While meat cooked low and slow will reach an even internal temperature, it needs to be cooked over high heat to form the flavorsome gold crust. However, this will only work if the exterior is dry enough.
By removing surface moisture, reverse searing makes this easier. The method encourages a process called the Maillard Reaction, where the high temperature forms new flavor and aroma molecules. This reaction also creates edible pigment molecules called melanoidins, which are responsible for that delicious dark brown exterior.
Disadvantages of
Reverse Searing
Despite increasing your chances of producing perfectly cooked meat, reverse searing does have some downsides. Consider these factors before adding this method to your repertoire:
01 Longer
Process
The reverse sear’s first stage essentially involves a slow cook. While this is key to creating an evenly cooked end product, it can add a lot of time to the process, which isn’t always ideal.
Depending on the size and thickness of your chosen cut, the slow cook can take anywhere from 45 minutes to more than an hour. Although the final sear takes around 1 to 2 minutes on either side, you’ll also need to factor in around 10 minutes resting time, as well as a further few minutes rest at the end.
Slow cooking for even doneness
it can add a lot of time to the process
cooking takes 45 min. to over one hour
02 Requires
More Planning
This method challenges busy schedules.
Requires over an hour of cooking.
Planning crucial for flavorful outcome
Whether you’re a busy parent or have a full work schedule, the longer cooking time of reverse searing can make this method more difficult to fit into everyday life.
With the oven or grill stage taking over an hour in some cases, you’ll have to plan meticulously if you’re hoping to form the flavorsome crust on your meat.
When to Use
Reverse Searing
To help you decide on the best cooking approach for some popular protein sources, we’ve explained the most ideal types of meat for reverse searing below.
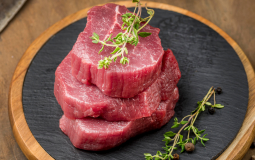
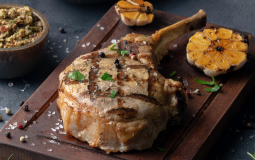
Thick-Cut Steaks
When thinking of reverse searing, the type of meat that immediately springs to mind is steak.
Steaks that are one and a half to two inches thick are the perfect candidates, as thinner types will cook through too quickly and become tough, even at lower temperatures.
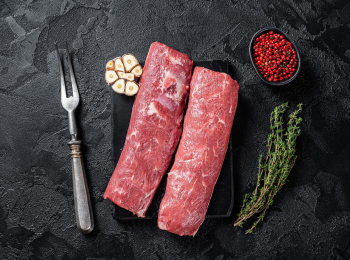
Ribeye, New York Strip, and Filet Mignon
Rather than skirt or sirloin, thicker cuts of beef like ribeye, New York strip, and filet mignon can benefit the most from reverse searing.

Not only will the low and slow method allow these thick cuts to evenly cook, but it also helps the fat render slowly.
Instead of burning, this fat will begin to melt, which adds a deliciously meaty flavor while keeping the interior juicy and soft.
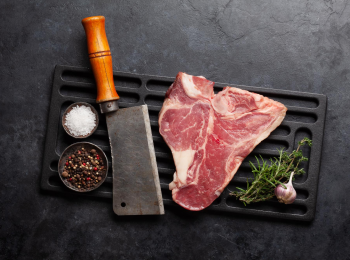

Porterhouse and T-Bone
Often known as kings of the steakhouse, the porterhouse is taken from the rear end of the short loin, while T-bones are closer to the front. Both combine different cuts, which include the filet mignon and the New York strip.

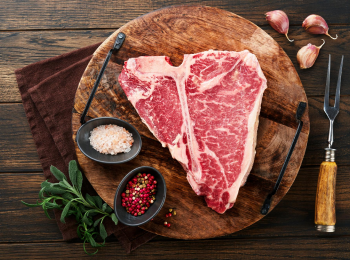

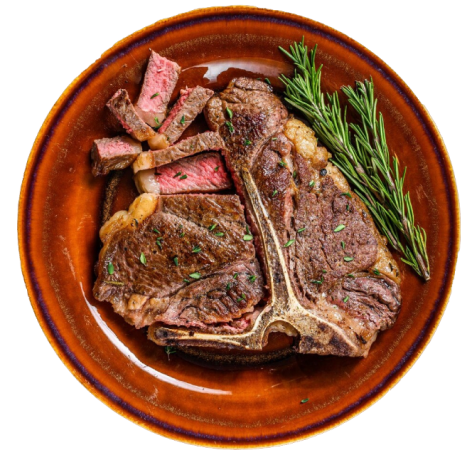
It’s usually difficult to nail the cooking of these cuts due to the variety of textures, particularly as the tenderloin cooks more quickly than the strip. However, cooking at a low temperature ensures that a porterhouse or T-bone steak is evenly cooked all the way through, regardless of these textural combinations.
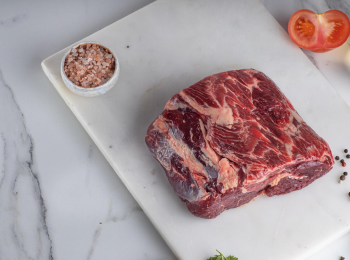

Roasts and Larger Cuts of Beef
As a more expensive cut of beef, it’s important to treat prime rib with the care and attention that it deserves. Searing this meat using the traditional method can result in a well-cooked interior, but an overdone band of gray on the outside, which reverse searing prevents.
Also, with its incredibly tender, melt-in-the-mouth texture, preparing a chuck roast using reverse searing can help to maintain this by carefully breaking down its connective tissues. This results in a more controlled cooking process, delivering a buttery texture and a perfectly cooked outer layer for both large cuts.
Pork
Beef isn’t the only meat that benefits from the reverse searing method; try it with the following types of pork too!
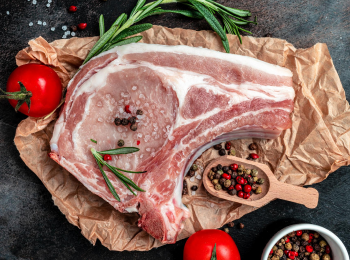

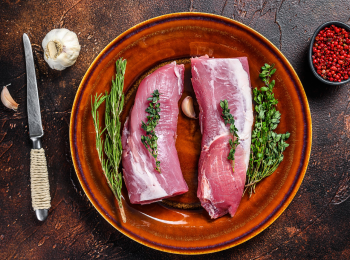
Thick-Cut Pork Chops and Pork Tenderloin
As unprocessed, leaner types of meat, pork chops and tenderloin are notorious for quickly overcooking in the pan. So, if you’re hoping to create a nicely browned crust with a juicy center, try reverse searing for thick, bone-in cuts of pork.
The bone acts like an insulator, keeping the inside cool to prevent overcooking. Having less surface area exposed with a bone-in chop also allows the pork to retain more moisture.

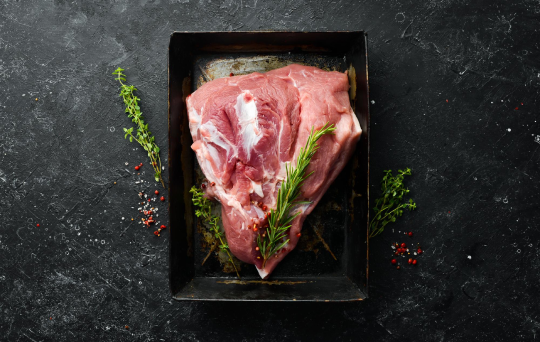
Pork Roasts
Larger cuts like pork roast can also be kept deliciously tender through the reverse sear method.
For this process, choose either boneless or bone-in pork shoulder or “Boston” butt. Both cuts are quite fatty and tough, so a slow, gentle cooking method is most ideal for retaining as much moisture as possible.

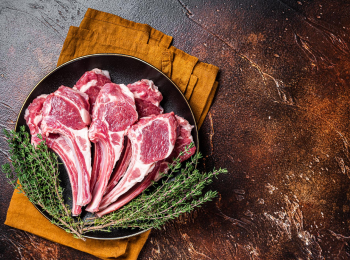
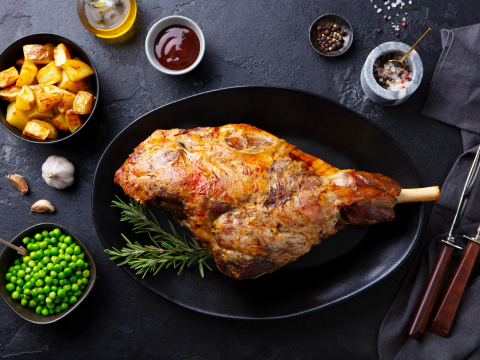
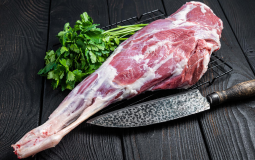
Lamb
Whether you’re cooking for a dinner party or looking for simple midweek inspiration, reverse searing is excellent for either a whole leg or chops. The two main types of lamb chop include loin or rib chops, and both work as long as they are relatively thick.
With these thicker cuts, the goal is to achieve a pinkish medium-rare interior and a delicious brown color on the outside, which perfectly complements that rich lamb taste. And reverse searing can achieve exactly that, ensuring that the lamb is properly cooked all the way through, yet maintaining its tenderness.

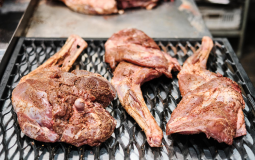
Game Meats
Although reverse searing can be useful for rendering fat, it’s also a great method for cooking leaner meats that easily dry out.
While not carrying much fat, game meats like venison, elk, and bison deliver a rich flavor and tender texture that direct high heat destroys. To provide an even cook and maintain the moisture of these more exotic meats, choose large, thick cuts like steaks or backstrap of venison.
Other Considerations
Reverse searing is ideal for all types of meat apart from poultry, which needs to be properly cooked all the way through.
However, two common factors make some cuts better than others.
One essential element to consider is the thickness of the cut. Generally, meats at least 1.5 inches thick benefit the most from reverse searing, as anything thinner becomes dry as soon as it hits the heat of a cast iron skillet.
You should also think about fat content when reverse searing. While preventing muscle fibers in leaner cuts from constricting and becoming tough, the initial slow cook allows the fat to properly render and melt into the meat.
Overall, this technique can seriously enhance the delicious meaty flavor and soft, buttery texture of thick, fatty cuts of meat.
How to Reverse
Sear
Armed with the right tools and tips, cooking meat well can be easily achieved when you know how. So, follow our simple instructions and you’ll be well on your way to creating the perfect reverse sear.
Required Tools
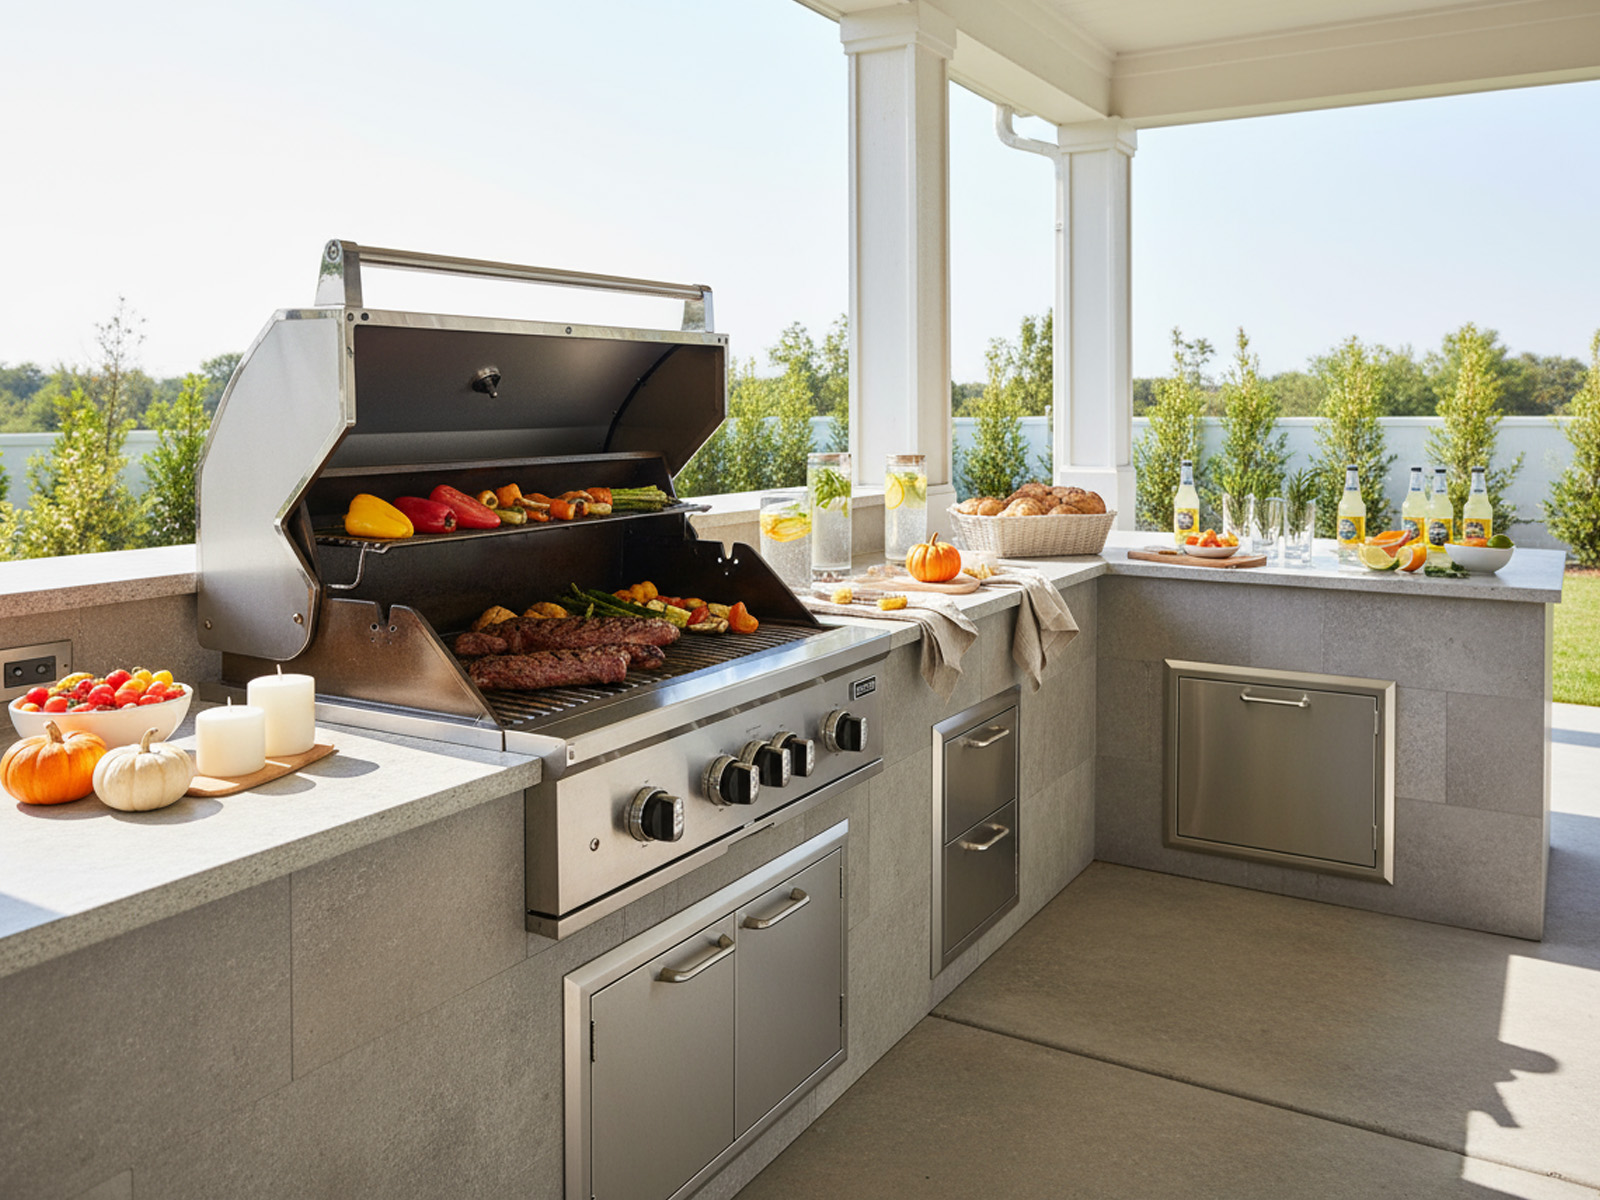
Before jumping straight in, you’ll need the right equipment to get the job done. As long as you’re fully stocked up on the following items, you can perform this technique anywhere; even in an adventurous outdoor kitchen!
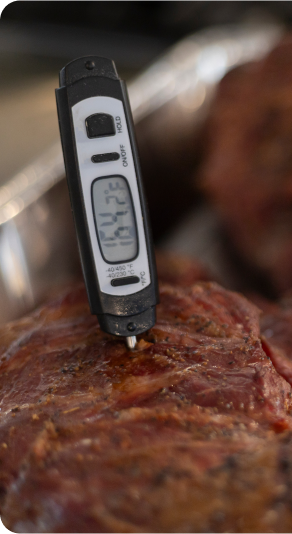
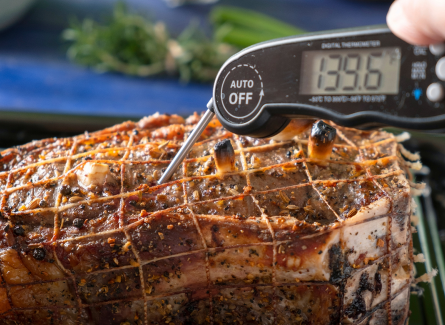
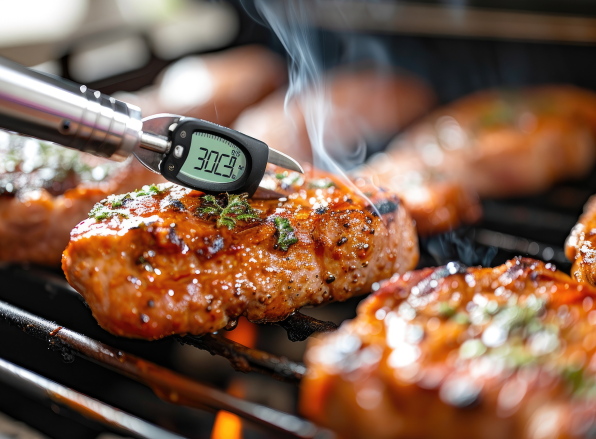
Meat Thermometer
If you’re hoping for perfectly cooked meat, purchasing a digital instant-read thermometer is essential. By periodically inserting the thermometer into the meat, you’ll be able to make sure that it isn’t overcooked or underdone so that it gets sufficient time in the oven.
Meat thermometers also give you plenty of control over the finish of your meat, particularly when it comes to steaks. For example, ribeyes should reach around 115°F before being taken out of the oven if you’re looking for a medium-rare finish.
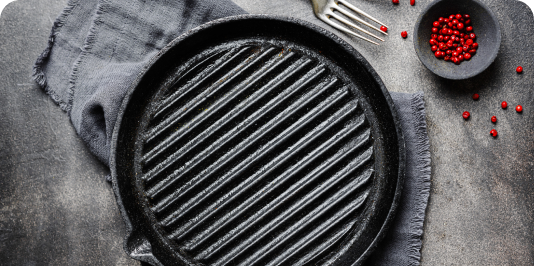
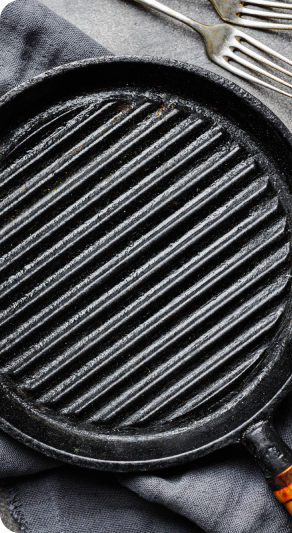
Skillet or Cast Iron Pan
Although a normal pan can do the job, it’s best to invest in a cast iron pan or skillet for the searing stage. Cast iron retains heat more effectively, which ensures that your meat will be cooked evenly at the correct temperature.
Plus, cast iron can withstand extreme temperatures without becoming damaged, so you won’t have to worry about losing the pan’s natural non-stick qualities.
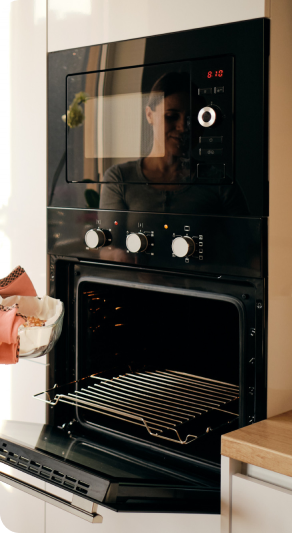
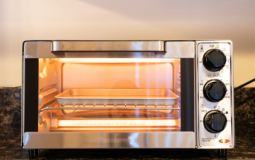
Oven or Grill
For the first stage of reverse searing, you’ll need an effective oven. Alternatively, if you’re cooking outside or hosting a barbecue for friends, you can make the most of your grill, but check that it’s set to a low enough heat for a slow cook.
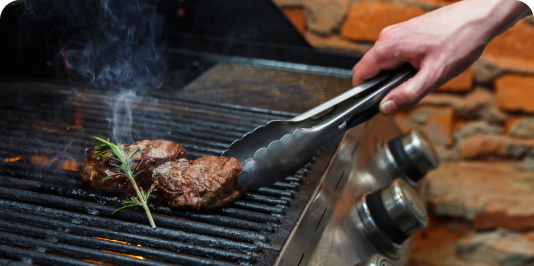
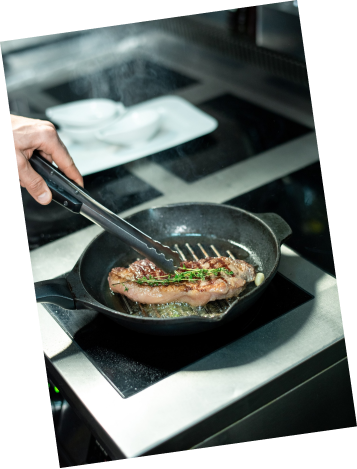
Tongs
When working with such intense heat, safety is key. The last thing you want to be dealing with while trying to create the perfect sear is burns, so keep your hands protected with tongs.
Choose stainless steel tongs that auto lock to help you maintain a secure and comfortable grip on your meat. You’ll also need tongs to flip the meat during the final searing stage so that all sides are evenly colored.
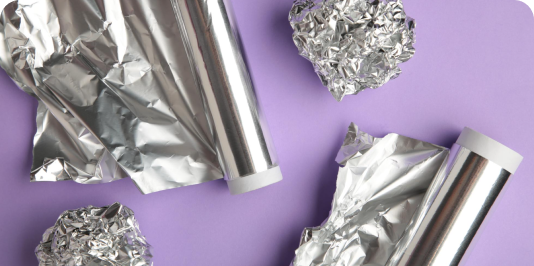
Aluminum Foil
As we’ll explain in our step-by-step guide, resting is one of the most important stages for creating that tender and juicy end product. However, the last thing you’ll want to do is let the meat cool down too much, so try using aluminum foil to prevent this.
After the initial slow cook, create a tent over the top of the meat. The foil will reflect any heat into the dish, therefore keeping the meat warm while it releases its juices.
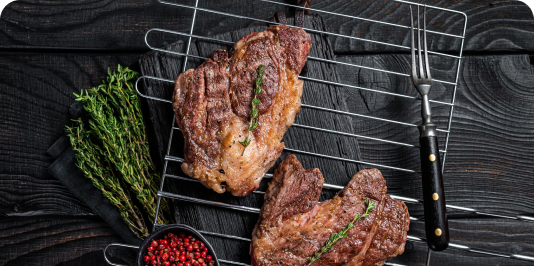
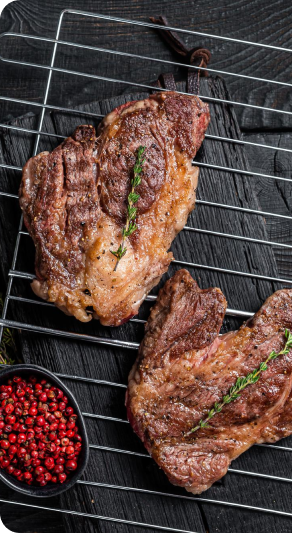
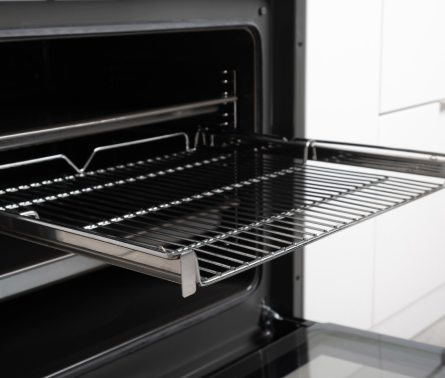
Wire Rack and Baking Sheet
When putting your chosen cut of meat into the oven or grill for the first stage, placing it on top of a wire rack above a baking sheet can boost air circulation for an even cook. You can also catch any meat drippings in the sheet below and use them to make a delicious sauce or gravy to complete your dish.
Step-By-Step Instructions
Now that you know exactly what tools are required, you may be wondering how to complete the reverse sear.
To help you achieve evenly cooked, tender, and flavorsome pieces of meat, here are our comprehensive, yet simple step-by-step instructions:
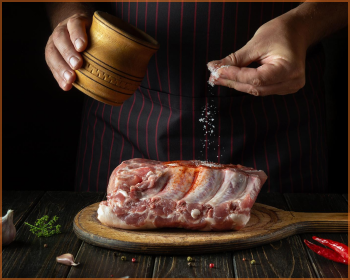
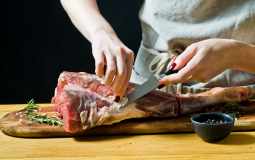
Season the meat
Creating the ultimate reverse sear can begin up to 24 hours earlier. Start by seasoning your meat generously with salt, pepper, and any other desired flavorings to give it the unique taste you’re aiming for.
The earlier you complete this step the better, as this gives the seasonings a chance to penetrate the meat even deeper.
Season the meat with
salt
pepper
other flavorings
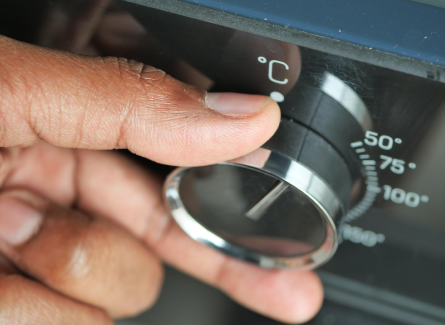
Preheat the oven
set to low temperature
Temp between 200°F and 275°F
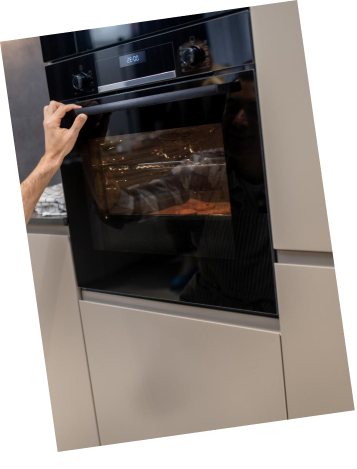
Preheat the oven or grill
You’ll then need to preheat your chosen oven or grill ready for the slow cooking phase. Depending on the type and cut of meat, set it to a low temperature between 200°F and 275°F (93°C and 135°C) for an even cook.
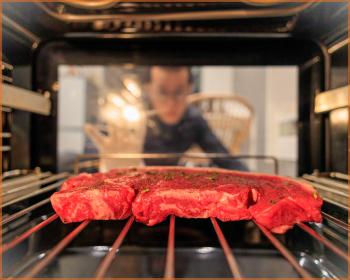
Initial slow cooking
To begin the slow cook, set your meat on a wire rack positioned over a baking sheet. Locate the thickest part and insert the meat thermometer to keep track of the internal temperature as it cooks.
Once preheated, place the meat in the oven or grill and regularly check the thermometer. You’ll know it’s done when the temperature reaches 10 to 15°F (5 to 8°C) below your desired final temperature. This will depend on your chosen type of meat, cut, and finish (rare, medium-rare, or well-done, for example).
slow cooking
set meat on wire rack over sheet.
Check temp. with thermometer
After preheat, cook meat in oven/grill.
Rest the meat
Rest around 10 minutes
Resting essential for relaxed muscle fibers.
Resting makes meat juicy and tender
Rest the meat
When complete, take the meat out of the oven and allow it to rest for around 10 minutes. Don’t skip this step, as resting is essential for relaxing the muscle fibers, which release juices that keep the meat juicy and tender.
To help the meat retain heat without continuing to cook, create a light tent over the top with aluminum foil.
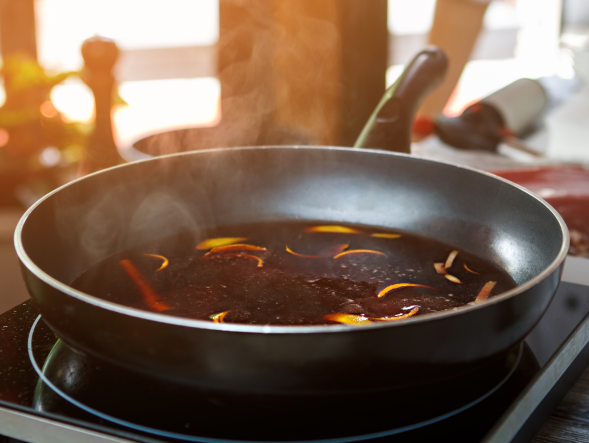
Preheat the skillet
Next, get everything prepared for the final cooking stage. Using high heat, preheat the cast iron pan or skillet so that it’s ready to create a quick sear.
Preheat pan
final cooking stage
High heat, preheat cast iron.
it’s ready to create a quick sear
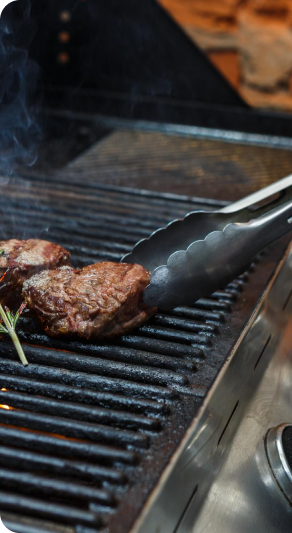
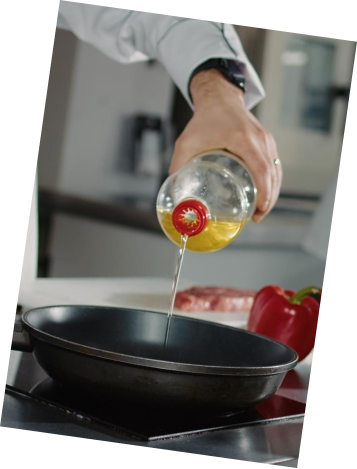
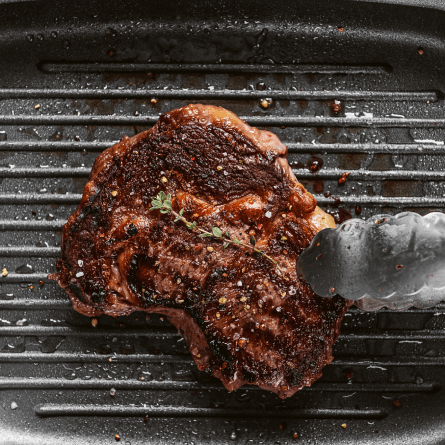
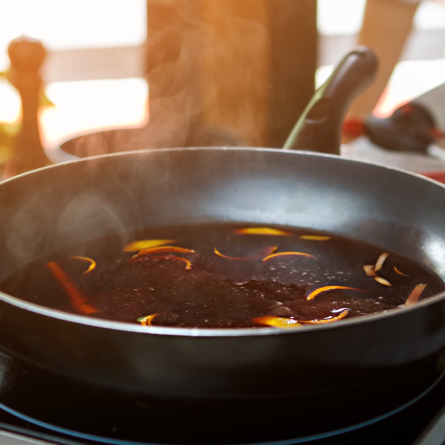
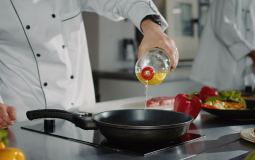
Searing the meat
add a dash of oil with a high smoke point
oil can handle high heat without burning
searing on both sides for 1 to 2 minutes.
Sear the meat
Once the pan or skillet is hot enough, add a dash of oil with a high smoke point, such as avocado oil. This can handle high heat without burning.
Place the meat in the pan, searing on both sides for 1 to 2 minutes. Use tongs to hold the meat on its side, ensuring that it forms a brown crust all the way around.
Final rest
Finally, allow the juices to redistribute through the meat by letting it rest. This doesn’t need to be too long thanks to the first rest, so after a few minutes, you can slice and serve!
serve the meat
Give short rest to meat
now it’s ready to serve
Tips for Temperature Control and Timing
As we’ve explained, one of the most important factors for performing the reverse sear is using the right temperatures, at the right times. If you’re unsure of exactly how to keep track of this, read our six top temperature control tips:
1 Use a Reliable Meat Thermometer
While there is a huge variety of meat thermometers on the market, choosing one with a digital instant-read feature is essential for accurately monitoring the internal temperature.
Some thermometers even come with a connected mobile app that provides updates on the progress of your cook, ensuring that you take the meat out at exactly the right time.
2 Know Your Desired Doneness

To calculate how long you need to cook your piece of meat, you’ll first need to decide how cooked through you’d prefer it to be.
For instance, if you’re using a thick-cut beef steak that’s one and a half inches thick, you should remove it from the oven at one of the following temperatures:

3 Adjust Temperature Based on Thickness
Although the temperatures we mentioned above are ideal for steaks around one and a half inches thick, thicker cuts may require a lower temperature. This will help them cook evenly all the way through, while ensuring that the exterior doesn’t overcook.
So, where you may cook a thinner filet mignon at an oven temperature of 275°F, a thicker porterhouse cut may be best at around 200 to 225°F.
4 Allow for Carryover Cooking
Carryover cooking simply means that the meat will continue to cook once you’ve removed it from the oven and after the searing stage is complete. When choosing your target internal temperature for the end product, it’s therefore crucial to account for this rise.
To achieve the perfect finish, take the meat out of the oven when your thermometer shows that it has reached a temp of around 10 to 15°F lower than the target.
5 High Heat for Searing
The key to creating the perfect sear is keeping it low and slow in the oven, followed by hot and high in the pan. An extremely high temperature will trigger the Maillard Reaction, which helps that golden brown crust to form.
So, make sure your pan or skillet is piping hot before the meat even touches its surface.
6 Keep an Eye on the Clock

Every oven will take a slightly different time to reach the correct temperature, and each piece of meat will be unique in size. Using a reliable thermometer, keeping track of the time it takes for the meat to reach your desired internal temperature is therefore crucial.
Make note of these timings for future reference with different types of meat, so you’ll always have a guide on hand for your specific oven or grill.
Troubleshooting
Common Issues
Struggling to perfect that final sear? Discover the answers to all of your questions in this section.
Addressing Common Mistakes and How to Avoid Them
Overcooking During Sear
With the reverse searing technique, you should always be aiming for that golden brown crust and a succulent inside. Once the meat has been removed from the oven, it therefore shouldn’t require any more interior cooking.
To maintain that tenderness, ensure that your pan is hot enough to create a rapid sear on the outside. This will prevent the heat from penetrating the inside, which can lead to dry, overcooked meat.
Not Resting the Meat
Compared to traditional methods, reverse-seared meats require little resting time, as even cooking should result in a juicy end product.
However, even resting for just a couple of minutes can help the meat to stay tender by reabsorbing its juices, so don’t skimp out on this step.
Inadequate Seasoning
There’s nothing worse than dedicating time to producing a perfectly cooked piece of meat, only for it to be flavorless at the end. To avoid this, ensure that you generously season the meat before cooking.
Along with encouraging those delicious meaty flavors to develop, using salt can help your cut retain moisture and stay juicy during the cooking process.
Using Too Low a Temperature for Searing
Cooking over such intense heat may seem scary, but not getting the pan hot enough can cause your meat to go soggy on the outside. It’s therefore crucial to ramp up the temperature of your cast iron skillet or pan, ensuring that it is smoking hot before any meat touches the surface.
Forgetting to Preheat the Oven
Reverse searing may be a time-intensive process, but you shouldn’t skip any steps. This includes preheating the oven, which is vital for controlling temperature and timing.
Putting the meat straight into a cold oven can mess up the timings and lead to inconsistent results, so always ensure that it has reached the desired temperature before starting.
How to Adjust for Different Types of Grills or Ovens
Reverse searing requires precision, but with every oven being slightly different, perfecting this can be difficult.
To ensure accuracy, here’s a quick guide to the process with different oven types:
Conventional Ovens
If you’re using a normal oven, the most important element is preheating accuracy. Before putting the meat anywhere near heat, use an oven or grill top thermometer to achieve the right temperature for the slow cooking phase.
We’ve already mentioned using a wire rack over a baking sheet, but positioning this rack in the middle of the oven is essential for encouraging even heat distribution and cooking on all sides.
Convection Ovens
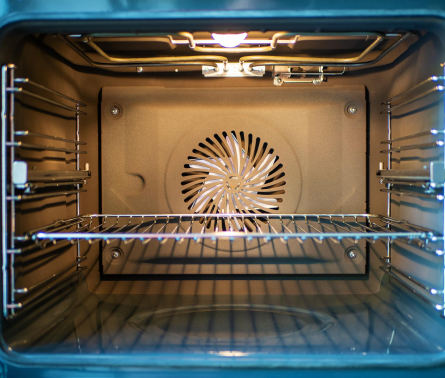
Convection ovens circulate hot air, which provides a much more even and quicker reverse sear compared to a conventional oven. You’ll therefore need to lower the temperature by around 25°F (15°C) to prevent overcooking.
Keep an extra close eye on the internal temperature too, regularly monitoring with a thermometer to keep on top of the quicker cooking process.
Gas Grills
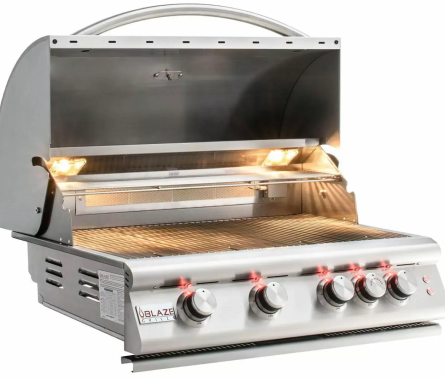
If you prefer cooking outdoors, the indirect heat of a gas grill is perfect for reverse searing. Turn the burners on only one side, before placing your meat on the other side to replicate that low-temperature oven.
As the meat cooks and releases its juices, keep an eye on the drippings, as flare-ups can cause a fire hazard. If the flames start to get too high, move the meat to a cooler part of the grill.
Charcoal Grills
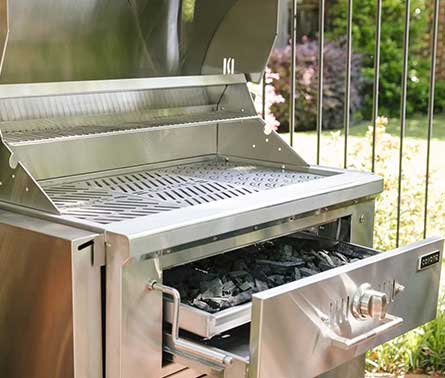
Like with gas grills, you’ll need to create a “two-zone setup with charcoal grills to perform both stages of the process. Put coals on only one side for the searing phase, and start slow cooking on the empty side.
All good charcoal grills should have vents for accurate temperature control, so close them to lower the temperature, and open them to boost heat and airflow.
Pellet Grills
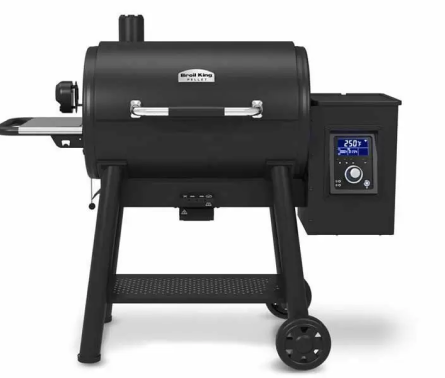
Thanks to their unique system of fans and wood pellets for fuel, pellet grills are ideal for smoking, grilling, and even braising foods. They’re particularly great for reverse searing as they can maintain steady temperatures, which is essential for the slow cooking phase.
However, the downside is that not all pellet grills can reach a high enough heat. You may therefore need to use a cast iron pan on a separate grill or stove to form that flavorsome crust.
Electric Ovens and Grills
Like convection ovens, electric ovens and grills are a great tool for the slow cooking phase due to their even heat distribution. Choose an oven with a broiler for searing, as this can provide the high heat that’s essential during this phase.
To perfect that fast sear, ensure that you preheat the broiler and place the meat as close as possible to the heating element.
Recipe Ideas and
Variations
If you’re looking for inspiration, select one of the following recipes to create a perfectly reverse-seared cut of meat:
Reverse-Seared Ribeye Steak
Ingredients:

(Garlic powder, thyme, or rosemary work well)
Instructions:
Step: 01
Preheat the oven to 275°F (135°C) and season the steak generously on both sides.
Step: 02
Transfer the meat to a wire rack over a baking sheet. Cook for around 45 to 60 minutes until the internal temperature is 10 to 15°F below your desired final temperature.
Step: 03
Remove your steak from the oven and allow it to rest for approximately 10 minutes.
Step: 04
Preheat a cast iron pan over high heat until it starts smoking. Sear the steak for 1 to 2 minutes on each side until a brown crust forms.
Step: 05
After resting the steak for a few more minutes, slice and serve.
Reverse-Seared Pork Chops

Ingredients:
(Garlic cloves, rosemary, and thyme)
Instructions:

Step: 01
Preheat your oven or grill to 250°F (120°C), before generously seasoning the pork chops.

Step: 02
Once preheated, cook the chops on a wire rack over a baking sheet for 30 to 45 minutes. Check the internal temperature regularly, and remove at around 125°F for a medium finish.
Step: 03
While your cast iron skillet preheats, let the chops rest for 10 minutes.
Step: 04
When smoking, add the oil to the skillet before placing the pork chops and aromatics in. Sear either side for 1 to 2 minutes.
Step: 05
Briefly rest and then serve with homemade applesauce.
Reverse-Seared Leg of Lamb
Ingredients:
Instructions:
Step: 01
Set your oven to preheat at 275°F (135°C).
Step: 02
Use a sharp knife to make small slits in the lamb, and then insert the minced garlic. Rub olive oil and seasonings all over the leg.
Step: 03
Cook the lamb on a wire rack, regularly checking the internal temperature. Remove the leg when it reaches around 130°F, which could take anywhere from 2 to 3 hours.
Step: 04
Allow the lamb to rest for 15 to 20 minutes and preheat a skillet over high heat. Sear on all sides for 2 to 3 minutes until a brown crust forms.
Step: 05
Complete the final rest for a few minutes, before serving with roasted vegetables and herby new potatoes.
Conclusion
When it comes to creating evenly cooked, moist, and flavorsome pieces of meat, reverse searing is the ideal cooking method. While it may be timely, carefully following this process for thicker cuts of meat can eliminate that tough texture and provide the perfect cook every time.
Along with high-quality produce, investing in excellent equipment is important for creating a great all-round sear. Visit the Grillio website to explore our vast range of grill options and start building your dream outdoor kitchen today!
What does reverse searing mean?
Reverse searing is a cooking method in which the meat is first slow-cooked at a low temperature before being finished with a high-heat sear. This helps achieve a perfectly cooked and juicy steak with a nice, caramelized crust.
What do you need to reverse sear a steak?
To reverse sear a steak, you will need a thick cut of steak, salt, pepper, an oven-safe thermometer, and an oven or grill.
How long do you reverse-sear a steak?
Cook steak in a low oven for 45-60 mins, then sear in a hot pan. Use a meat thermometer to check doneness.
What temperature do you use to reverse sear steak?
Cook steak at 225°F-275°F until you reach the desired doneness.
How is reverse searing different from the sous vide method?
Reverse searing cooks meat slowly, then sears. Sous vide cooks in a water bath, then sears. The main difference is the order of cooking methods and the control over the temperature during cooking.
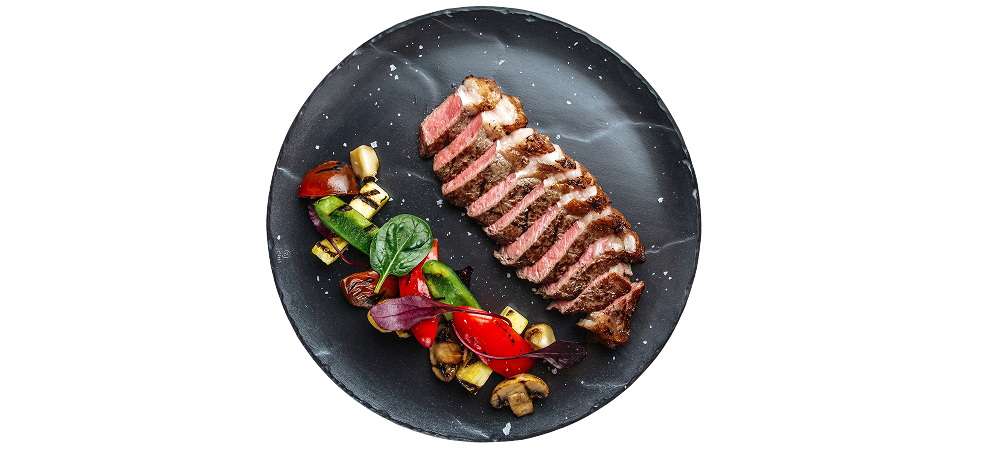
What to serve with a reverse-seared steak?
Options to serve with a reverse-seared steak include roasted vegetables, garlic mashed potatoes, a fresh salad, or a side of seasoned rice. To complement the steak’s rich flavor, try pairing it with a flavorful sauce or a compound butter.
What are the disadvantages of reverse sear?
The reverse sear method can take longer to cook the meat than traditional methods. Additionally, if not done properly, the meat can become overcooked or dry.
When should you not reverse sear?
You should not reverse-sear when you are looking for a quick way to cook a piece of meat, as reverse-searing requires more time and attention to detail.